


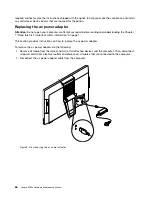


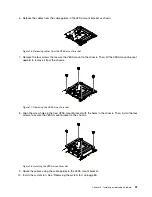


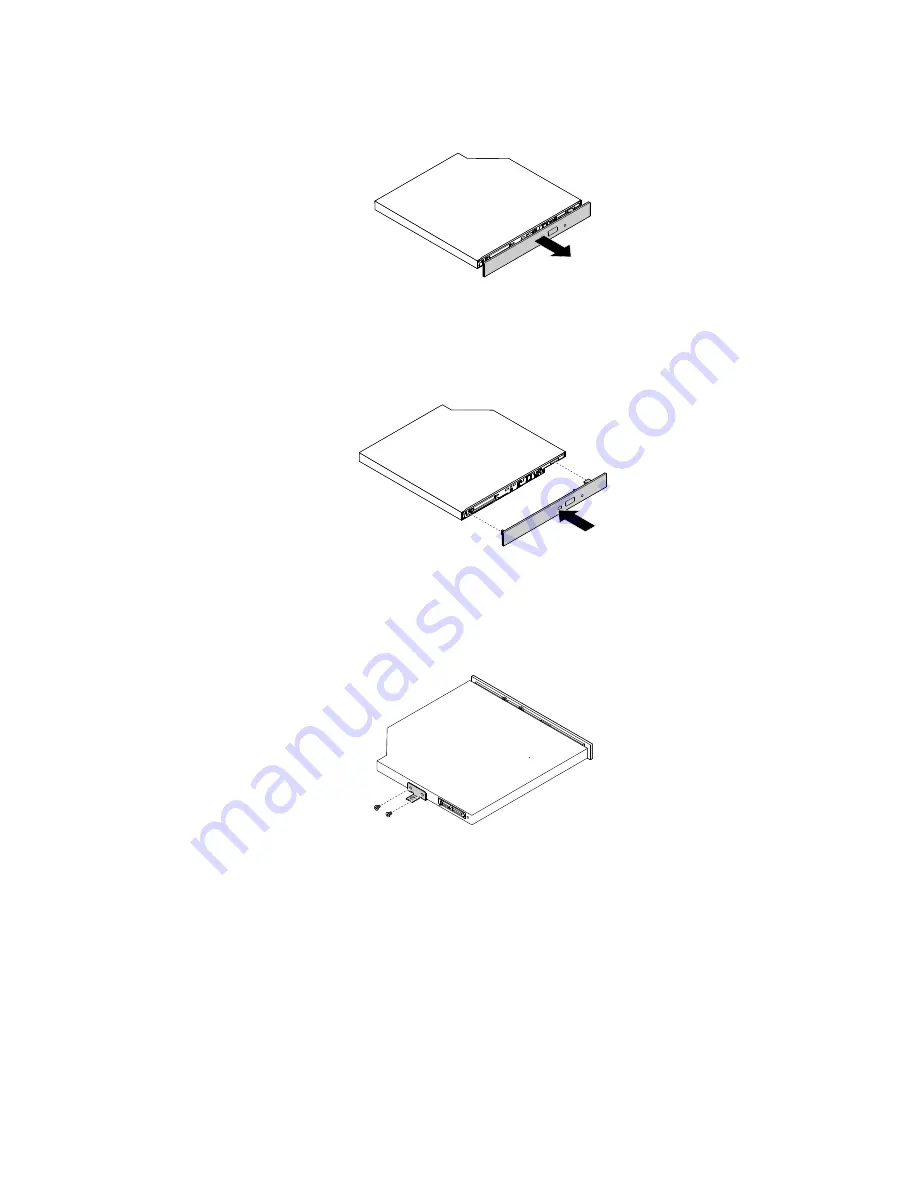
7. Pull out the optical drive bezel as shown to remove it from the optical drive.
Figure 21. Removing the optical drive bezel from the optical drive
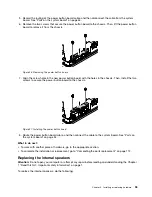
8. Align the retaining clips on the optical drive bezel with the corresponding holes in the new optical drive.
Then, press the optical drive bezel as shown until it snaps into position.
Figure 22. Installing the optical drive bezel to the optical drive
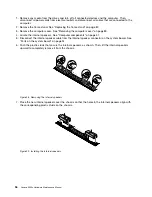
9. Align the screw holes in the optical drive bracket with the holes in the new optical drive. Then, install the
two screws to secure the optical drive bracket to the optical drive.
Figure 23. Installing the optical drive bracket to the optical drive
Installing or replacing hardware
93
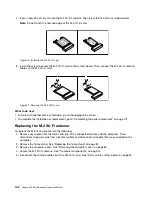
Summary of Contents for 10HA
Page 1: ...Lenovo S200z Hardware Maintenance Manual Machine Types 10HA 10K1 10K4 and 10K5 ...
Page 6: ...iv Lenovo S200z Hardware Maintenance Manual ...
Page 17: ...1 2 Chapter 1 Read this first Important safety information 11 ...
Page 18: ...12 Lenovo S200z Hardware Maintenance Manual ...
Page 24: ...18 Lenovo S200z Hardware Maintenance Manual ...
Page 28: ...22 Lenovo S200z Hardware Maintenance Manual ...
Page 32: ...26 Lenovo S200z Hardware Maintenance Manual ...
Page 48: ...42 Lenovo S200z Hardware Maintenance Manual ...
Page 62: ...56 Lenovo S200z Hardware Maintenance Manual ...
Page 66: ...60 Lenovo S200z Hardware Maintenance Manual ...
Page 72: ...66 Lenovo S200z Hardware Maintenance Manual ...
Page 120: ...114 Lenovo S200z Hardware Maintenance Manual ...
Page 124: ...118 Lenovo S200z Hardware Maintenance Manual ...
Page 132: ...126 Lenovo S200z Hardware Maintenance Manual ...
Page 135: ...Appendix D China Energy Label Copyright Lenovo 2015 2016 129 ...
Page 136: ...130 Lenovo S200z Hardware Maintenance Manual ...
Page 138: ...132 Lenovo S200z Hardware Maintenance Manual ...
Page 141: ......
Page 142: ......


