


10-2
Style Record mode
Style Import/Export
Going deeper into the Style structure, we can see that each
Chord Variation is made up of
Track Sequences,
and the KD
supports 8 different tracks. DRUM and PERC are used for
drum and percussion sequences, BASS for bass and ACC1-5
are for accompaniment sequences (string, guitar, piano or
other accompaniment instruments).
Just to summarize, when you play a chord on the chord rec-
ognition area, the arranger determines which Style Element
to use, then selects the Chord Variation should be used for
the chord, which Style sequence used for every track of that
Chord Variation and transposes from the original chord to
the recognized chord using the NTT. This is the process every
time you play a chord.
Note:
The Break and the Count In are not Style Elements, and
cannot be programmed by the user. While in record/edit, the
BREAK/COUNT IN button does not work.
What to record
Recording a Style is a matter of recording tracks, within a
series of Chord Variations, within a series of Style Elements
and within the Style itself.
You don’t need to record all the Chord Variations for all Style
Elements. It is often only enough to record just one Chord
Variation for each Style Element. Exceptions are the Intro 1
and Ending 1, where we suggest to record both a Major and
minor Chord Variations.
STYLE IMPORT/EXPORT
You can use KD’s
Style To Midi
converter to exchange Styles
between your computer and the KD using the Standard
MIDI File (SMF) format. The application is downloadable
from
www.samickmusicusa.com
. Please read the included
instructions.
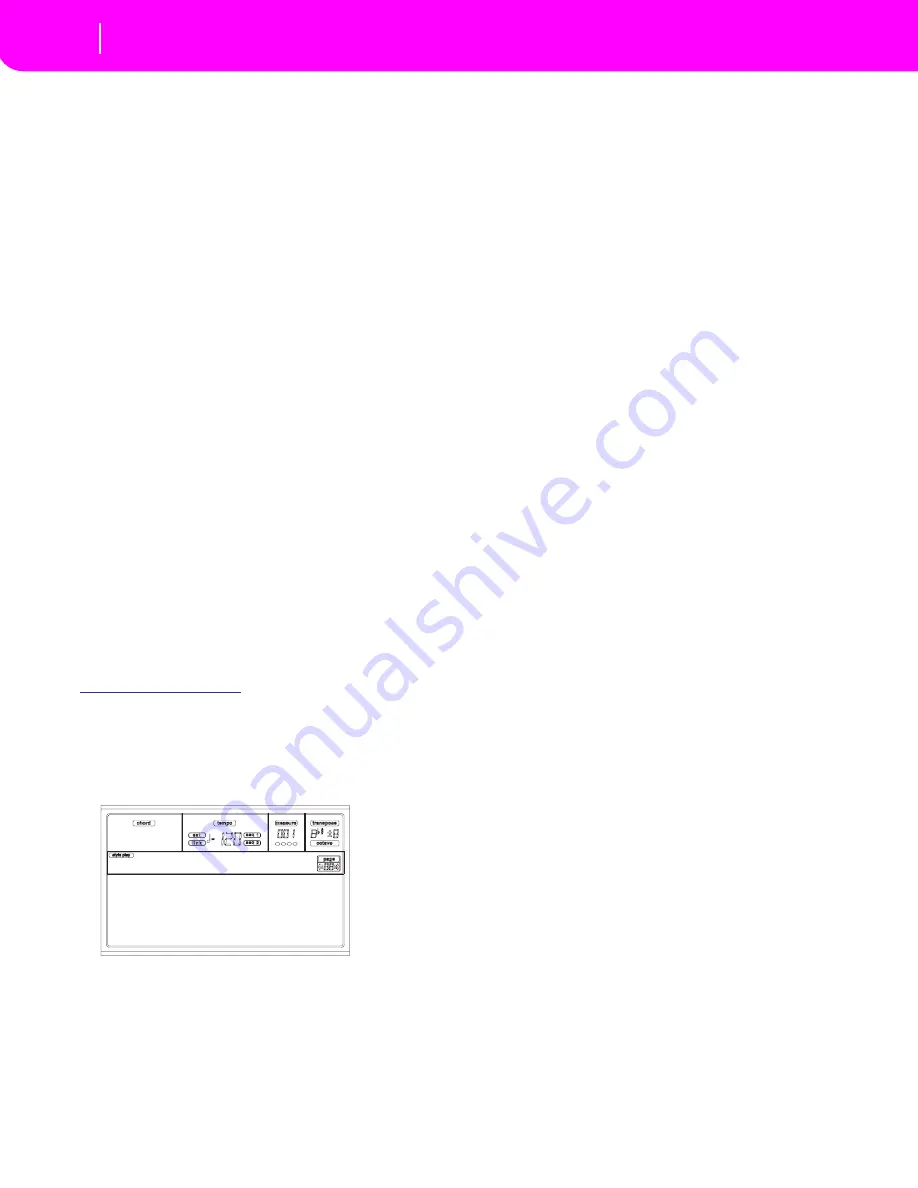
ENTERING THE RECORD MODE
While in the Style Play operating mode, press RECORD. The
following page will appear in the display:
•
Select
Current Style
to edit the current Style. If it is a
Factory Style, you will not be able to save it to the origi-
nal location, but to a User Style location instead.
When editing an existing Style, the original Style Perfor-
mance is recalled, but the following parameters are reset
to their default values: Drum Mapping (0), Snare & Kick
Designation (Off), Program (Original), Keyboard
Range (Original). This means that you can hear some
differences between the Style in play and the same Style
being edited; for example, resetting the Drum Mapping
may lead to some instrument’s replacement.
After editing the Style, please save it (see “Exit and Save/
Abort Style” below). Then, edit the Style Performance to
adjust the track’s settings (Tempo, Volume, Pan, FX
Send… see page 9-5 and following in the “Style Play
operating mode” chapter) and save it by pressing the
WRITE button.
•
Select
New Style
to start from a new, empty Style. A
default Style Performance will be recalled. When fin-
ished recording, you will save the new Style to a User
Style location.
After recording the Style, please save it (see “Exit and
Save/Abort Style” below). Then, edit the Style Perfor-
mance to adjust the track’s settings (Tempo, Volume,
Pan, FX Send… see page 9-5 and following in the “Style
Play operating mode” chapter) and save it by pressing
the WRITE button.
Note: After a record or edit operation, the Style is rewritten
in memory. When you press START/STOP there is a delay
before you can actually listen to the Style. This delay is
longer if a Style contains high number of MIDI events.
Note: While in Record mode, all footswitches and EC5 ped-
als are disabled.
LISTENING TO THE STYLE WHILE IN RECORD/
EDIT MODE
While you are in Record/Edit mode, you can listen to the
selected Chord Variation or to the whole Style, depending
on the page you are in.
To select a Chord Variation, go to the Main page of the
Record/Edit mode (see “E (Style Element)” and “CV
(Chord Variation)” on page 10-4).
•
When you are in the Quantize, Transpose, Velocity, or
Delete pages, you can listen to the selected Chord Vari-
ation. Press START/STOP to check how it works. Press
START/STOP again to stop the playback.
•
When you are in the Delete All, Copy, Style Element
Controls or Style Control pages, you can listen to the
complete Style. Press START/STOP and play a few
chords to run a tests. Select any Style Element using
the control panel buttons (VARIATION 1-4, INTRO 1-
2, FILL 1-2, ENDING 1-2). Press START/STOP again to
stop the playback.
Note: During the above tests, the Fingered 3 Chord Scanning
mode is automatically selected.
EXIT AND SAVE/ABORT STYLE
When finished editing, you can save your Style in the mem-
ory, or abort any changes. Press WRITE or RECORD to go to
the Write page (see “The Write window” on page 10-3).
Note:
When saving the Style in memory, KD automatically
compresses it to reduce its size and save memory.
Current Style
New Style
Record
Summary of Contents for KD-150
Page 1: ......
Page 5: ......
Page 11: ...TOC 6 ...
Page 12: ...INTRODUCTION ...
Page 13: ......
Page 29: ...4 4 Display and User Interface Grayed out non available parameters ...
Page 32: ...BASIC GUIDE ...
Page 33: ......
Page 39: ...6 6 Basic operations Shortcut to see the original bank for a Style Performance or Program ...
Page 47: ...7 8 Tutorial 5 Editing a Song ...
Page 53: ...8 6 MIDI Playing another instrument with the KD ...
Page 54: ...REFERENCE GUIDE ...
Page 55: ......
Page 103: ...11 14 Song Play operating mode Saving a list of Songs ...
Page 111: ...12 8 Backing Sequence operating mode How to delete a whole Song ...
Page 133: ...13 22 Song operating mode Event Edit procedure ...
Page 189: ...16 20 Disk edit environment Page 11 Card Restore ...
Page 190: ...APPENDIX ...
Page 191: ......
Page 225: ...17 34 Factory Data MIDI Setup ...
Page 283: ...18 58 Effects Mono Mono Chain ...
Page 287: ...19 4 Assignable parameters Scales ...
Page 303: ...24 2 Technical specifications ...
Page 307: ...25 4 Alphabetical Index ...


