
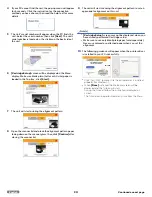


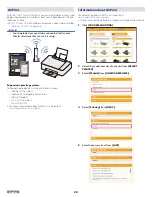

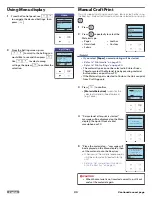

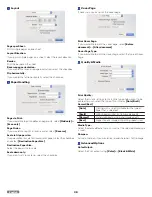


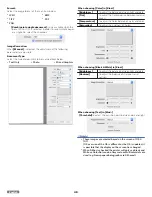
Using Menu display
1
From the Control panel, use
to navigate the desired Settings, then
press
.
2
From the Setting screen, press
to scroll to the Setting you
would like to use and then press
.
Use
to select among
settings, then press
to confirm the
selection.
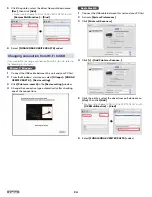
Home
Ink Levels
Scan
Setup
Select
Copy
Home
Copy Seing
Start B/W Copy
Copies 1
ality Text
Back
Select
Start Color Copy
e.g.) Copy
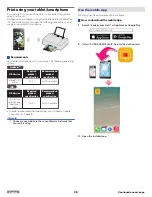
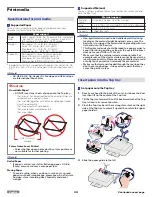
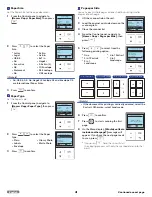
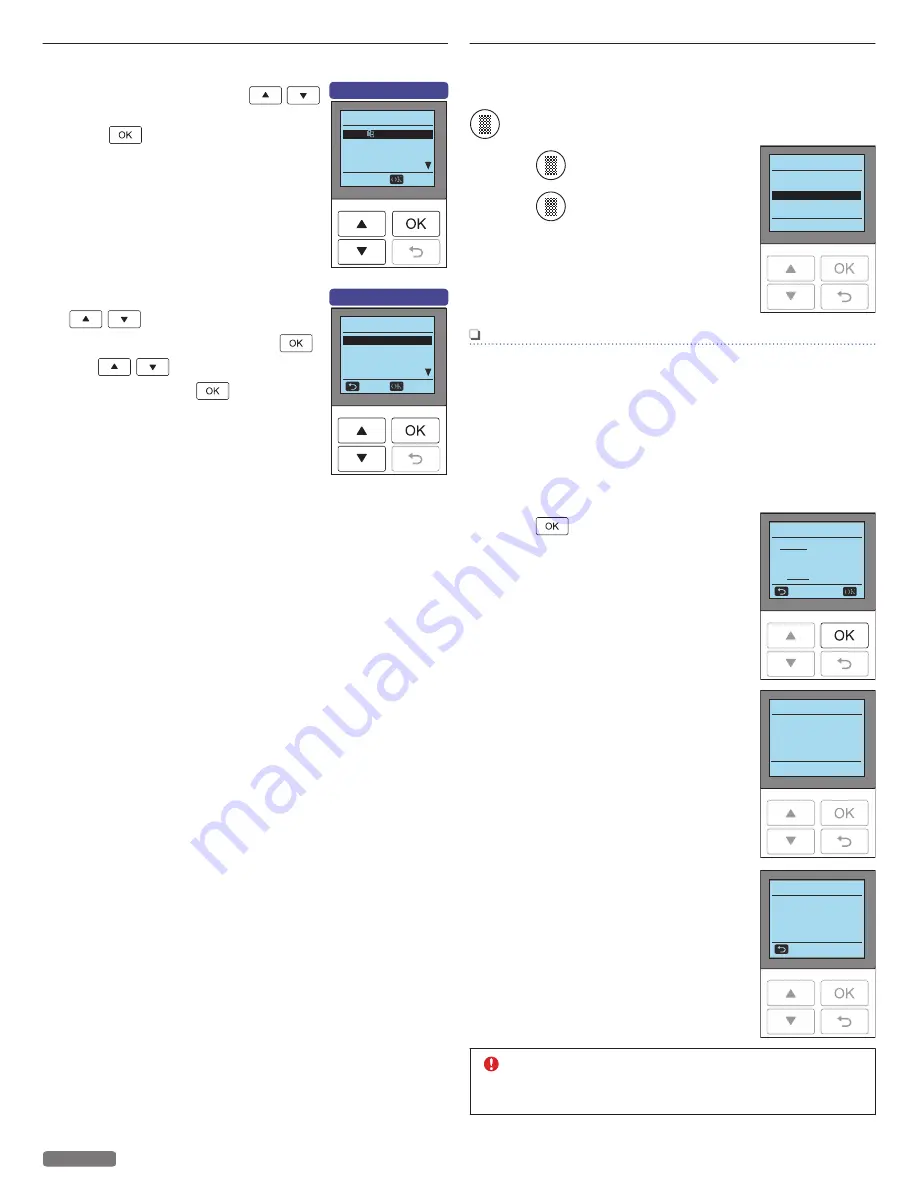
Manual Craft Print
This unit supports printing on card stock, fabric or leather by using
the Rear tray. Material (print medium) can be selected by pressing
.
1
Press
.
2
Press
repeatedly to select the
Material type.
●
Paper
●
Cardstock
●
Fabric
●
Leather
●
Custom
Note(s)
●
If you select
[Paper]
, normal printing will be started.
» Refer to “Print media” on page 30.
» Refer to “Print settings” on page 34.
●
The material type can not be selected in Printer Driver.
Therefore select the Material type by pressing material
button when you print from PC.
●
If the Material type is selected to Custom, the Unit can print
from Craft App only.
3
Press
to confirm.
●
[Material Selection]
screen for the
selected material will be displayed
(e.g. Fabric).
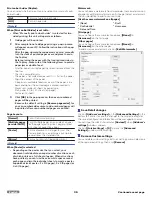
4
“Set material after print is started.”
message will be displayed on the Menu
display, then print from a tablet,
smartphone or PC.
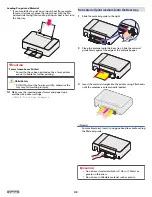
5
“Place the material on...” message will
be displayed on the Menu display, then
set the material onto the Rear tray.
●
When you set the material appropriately,
it will be automatically loaded into the
unit.
» Refer to “Set material (print medium)
onto the Rear tray” on page 32.
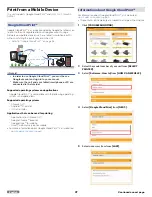
Material Selection
Paper
Cardstock
Leather
Custom
Fabric
Material Selection
FABRIC use for fabrics
backed by a carrier.
LOAD at rear tray
Cancel
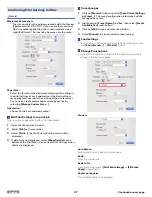
Material Selection
Set material
aer print is started.
Cra Print
Place the material on
the rear tray and
slightly push it
inward for printing.
Cancel
CAUTION
●
When the material is not inserted correctly, pull it out
and set the material again.
33
English
Continued on next page.


