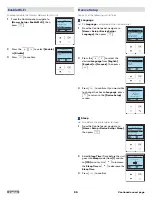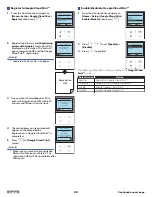
Register to Google Cloud Print™
1
From the Control panel, navigate to
[Home > Setup > Google Cloud Print >
Register]
, then press
.
2
Registration will start and
[Registering
printer with Google.]
message will be
displayed on the screen. The unit will
print a registration URL for the Google
Cloud Print™ registration.
Note(s)
●
Load plain Letter or A4 -size paper.
3
Use your tablet/smartphone or PC to
access that registration URL within 14
minutes and follow its instructions.
4
The mail address you registered will
appear on the Menu display,
Registration to Google Cloud Print™ is
completed.
5
Press
to
[Google Cloud Print]
screen.
Note(s)
●
Make sure you access the registration
URL within 14 minutes at Step 3. The
registration URL will be unavailable after
15 minutes.
Google Cloud Print
Status
Enable/Disable
Back
Select
Register
GCP Registration
Registering printer
with Google.
Cancel
Registration
URL
GCP Registration
Registration in progress
Waiting for
access to URL
Cancel
GCP Registration
Cloud Printer
Mail address
xxxxxxx [email protected]
VeriteC6-XXXX
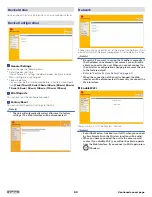
Enable/Disable to Google Cloud Print™
1
From the Control panel, navigate to
[Home > Setup > Google Cloud Print >
Enable/Disable]
, then press
.
2
Press
to set
[Enable]
or
[Disable]
.
3
Press
to confirm.
Google Cloud Print
Status
Register
Back
Select
Enable/Disable
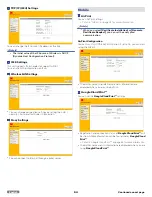
GCP Enable/Disable
Disable
Cancel
Select
Enable
The following table shows actions available in the
Google Cloud
Print™
action.
Select Action
Action
Register
Register to Google Cloud Print™
Unregister
Unregister from Google Cloud Print™
Enable
Enable Google Cloud Print™
Disable
Disable Google Cloud Print™
59
English
Continued on next page.


