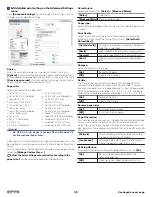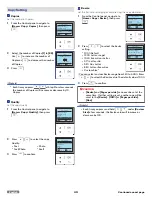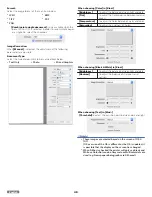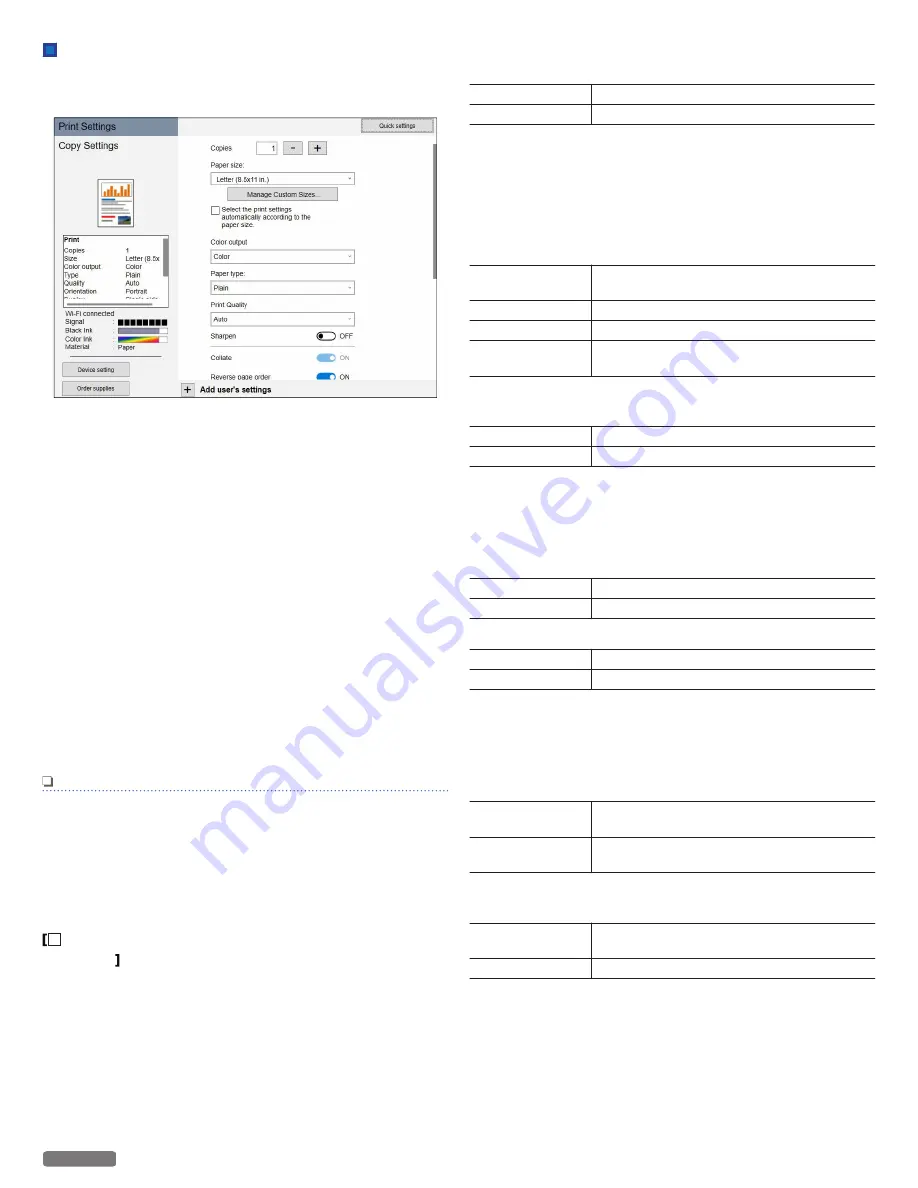
Edit detailed print setting on the Advanced Settings
menu
Click
[Advanced Settings]
on the top right corner if you want to
change specific detailed settings.
Copies:
Enter the number of copies you would like to print. Activate
[Collate]
, if you would like to print the copies sorted and not have
all the copies of one page behind each other in succession. Activate
[Reverse page order]
, if you would like to change the print order
to print the last page of your document first.
Paper size:
Select the format of the document.
●
Letter (8.5 x 11 in.)
●
Letter (8.5 x 11 in.) Borderles
●
Legal (8.5 x 14 in.)
●
Executive (7.25 x 10.5 in.)
●
Statement (5.5 x 8.5 in.)
●
4x6 in. (Postcard)
●
4x6 in. (Postcard) Borderless
●
3x5 in. (Index card)
●
5x7 in. (2L)
●
5x7 in. (2L) Borderless
●
3.5x5 in. (L)
●
3.5x5 in. (L) Borderless
●
A4 (210 x 297 mm)
●
A4 (210 x 297 mm) Borderless
●
JIS B5 (182 x 257 mm)
●
A5 (148 x 210 mm)
●
A5 (148 x 210 mm) Borderless
●
A6 (105 x 148 mm)
●
A6 (105 x 148 mm) Borderless
●
Hagaki (100 x 148 mm)
●
Hagaki (100 x 148 mm) Borderless
●
Envelope 10 (4.125 x 9.5 in.)
●
Envelope DL (110 x 220 mm)
●
Envelope C5 (162 x 229 mm)
Note(s)
●
A4, JIS B5, A5, A6, Hagaki, Envelope DL and Envelope C5
are International Paper Sizes.
Adjusting this setting in the print settings of each application is the
best option as many programs overwrite the settings of the printer
driver.
You can also create, edit or delete to manage custom paper size by
selecting
[Manage Custom Sizes...]
.
Select the print settings automatically according to the
paper size.
can be selected depend on the paper size.
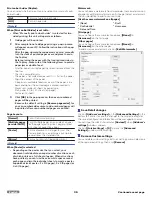
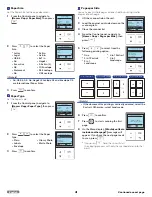
Color Output:
Select print output for
[Color]
or
[Black and White]
.
[Color]
Color print
[Black and White]
Black-and-white print
Paper type:
Select the desired paper type. Ensure that the selected paper size
is used.
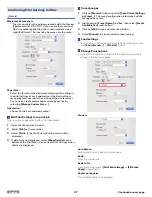
Print Quality:
Select the Quality settings to match the document type to be
printed. You can select the type of Print Quality
[Auto/Draft/
Normal/Best]
.
[Auto (default)]
Printing with a quality suitable for the paper
type that is selected.
[Draft]
High-speed printing, but low image quality.
[Normal]
Standard speed printing and image quality.
[Best]
Highest quality image, but printing speed is
low.
Sharpen:
Adds sharpness to the image.
[On]
Activates Sharpen.
[Off]
Deactivates Sharpen.
Collate:
The Collate feature controls the order of printed pages when
printing multiple copies of a document. For example, if you are
printing two copies of a five-page document, then the page order
of the collated output would be 1, 2, 3, 4, 5, 1, 2, 3, 4, 5. The page
order of the non-collated output would be 1, 1, 2, 2, 3, 3, 4, 4, 5, 5.
[On]
Activates Collate
[Off]
Deactivates Collate
Reverse page order:
[On]
Print from the last page.
[Off]
Print from the first page.
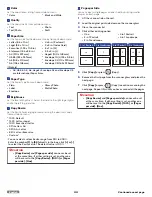
Page Orientation:
This function allows you to select the direction of printing on a page.
You can set whether to print in Portrait or Landscape format.
Adjusting this setting in the print settings of the application is the
best option as many programs overwrite the settings of the printer
driver.
[Portrait]
Portrait indicates vertical orientation, where
the page is taller than it is wide.
[Landscape]
Landscape indicates horizontal orientation,
where the page is wider than it is tall.
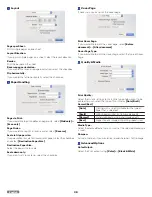
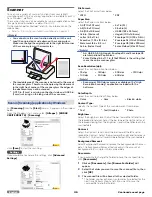
Resizing Options:
If you would like to resize the printing document, click on
[On]
.
[On]
Resizes the printing document to the
selected paper size.
[Off]
Does not resize. Keep the document size.
35
English
Continued on next page.


