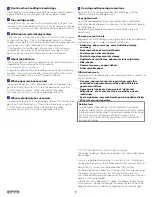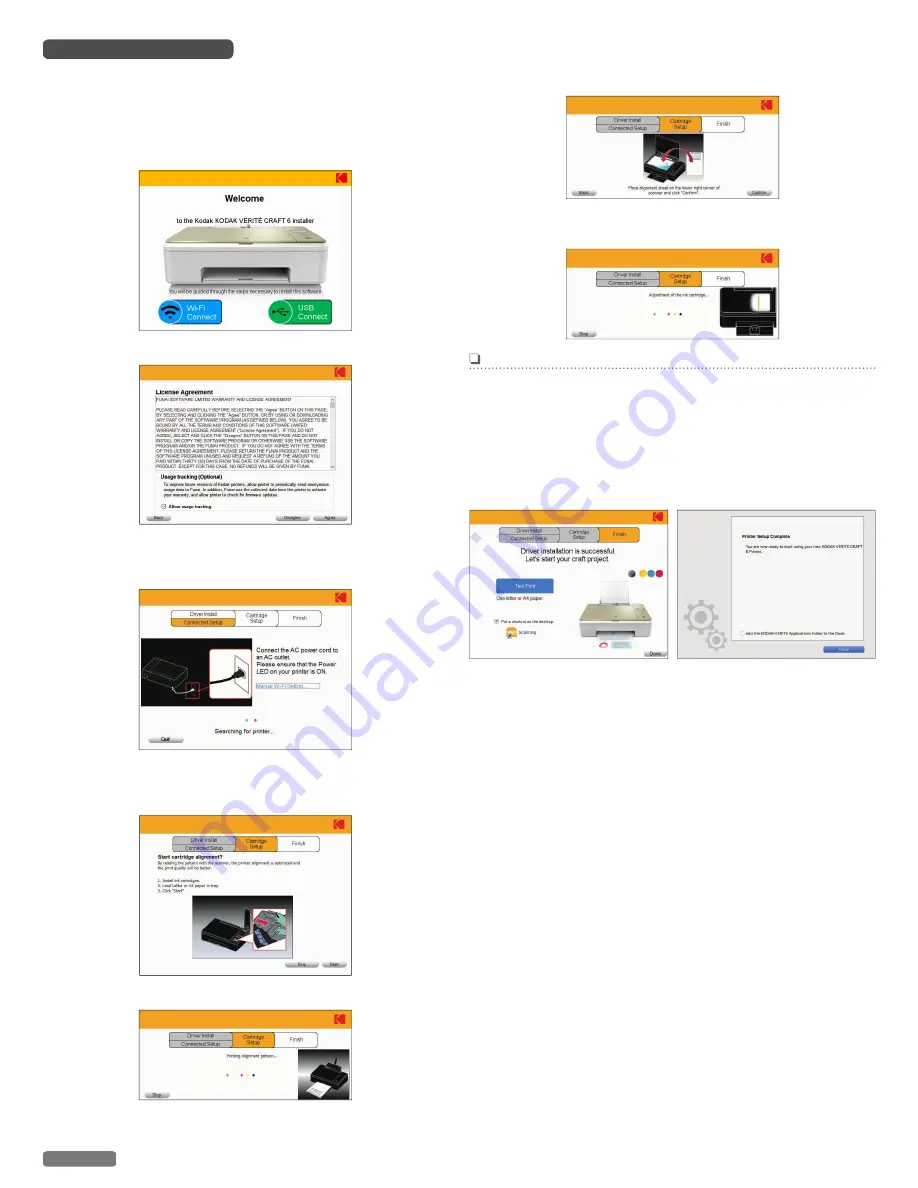
Using USB Printer cable
●
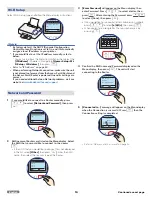
Double-click the printer driver installer and select “USB
Connect”. If you accept the License Agreement, the installation
of the driver will begin.
Select this unit's serial number to complete the printer driver
installation.
1
Click
[USB Connect]
.
2
Click
[Agree]
.
3
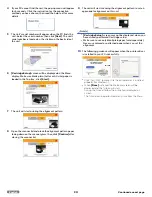
When the following window appears, connect printer AC
Power Cord to AC Outlet and then connect the USB cable
between the unit and your PC.
4
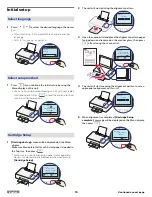
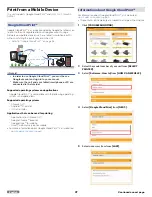
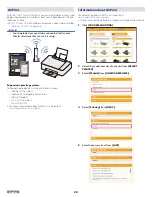
[Cartridge Setup]
screen will be displayed on the Menu
display. Make sure blank plain (Letter or A4 size) paper is
loaded in the Top tray, click
[Start]
.
5
The unit will start printing the alignment pattern.
6
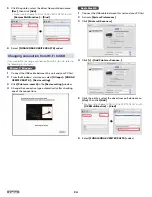
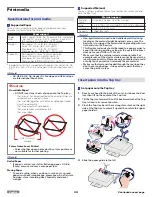
Open the scanner lid and place the alignment pattern paper
facing down on the scanner glass, then click
[Confirm]
after
closing the scanner lid.
7
The unit will start scanning the alignment pattern to set an
appropriate alignment on this unit.
Note(s)
●
[Cartridge Setup]
screen may not be displayed, when you
have already performed Cartridge setup.
●
Make sure to use only blank plain paper (sold separately).
Never use colored or patterned paper when you set the
alignment.
8
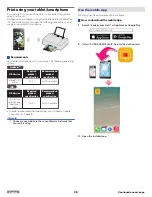
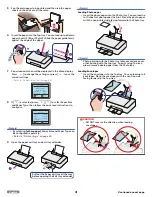
The following guidance will appear when the printer driver
is installed to your PC successfully.
●
Click “Test Print” to make sure the printer driver is installed
properly. (for Windows
®
)
●
When
[Done]
is clicked, the Welcome screen will be
displayed and the Tutorial will start.
During the Tutorial, follow the instructions displayed on
screen.
The Tutorial can be performed at any time from the Menu.
21
English
Continued on next page.

