6
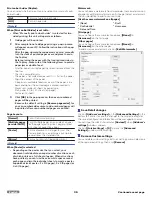
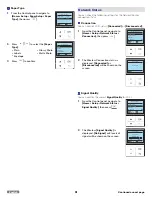
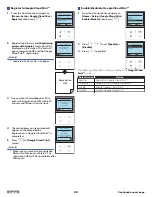
The unit will start scanning the
alignment pattern to set an appropriate
alignment on this unit.
7
When alignment is completed,
[Alignment successful.]
message will
be displayed on the Menu display, then
press
.
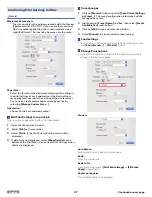
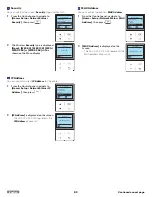
Cartridge Setup
Step 4 of 5 :
Test Scan
Cartridge Setup
Step 5 of 5 :
Alignment successful.
Press
.
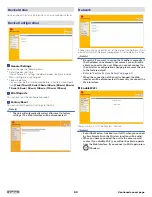
Paper Setup
Sets the Paper Type and Paper Size.
Note(s)
●
If you change the following Paper Settings, the default
paper setting values in the Copy Menu will also be changed.
●
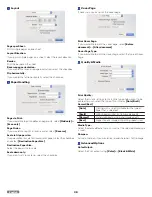
When the selected Paper Size/Paper Type does not match
the print setting made in “Paper Setup” the message “Is the
following paper loaded?” will be displayed in the Menu
display. Press
to continue printing if paper is correct.
No
Confirm print paper
Is the following
paper loaded?
Size 4x6 in.
Type Glossy
Paper Size
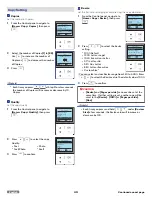
Set the Paper Size for the document copy.
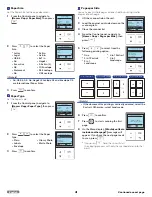
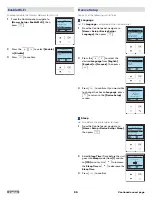
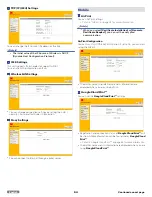
1
From the Control panel, navigate to
[Home > Setup > Paper Setup > Paper
Size]
, then press
.
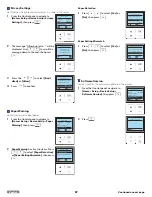
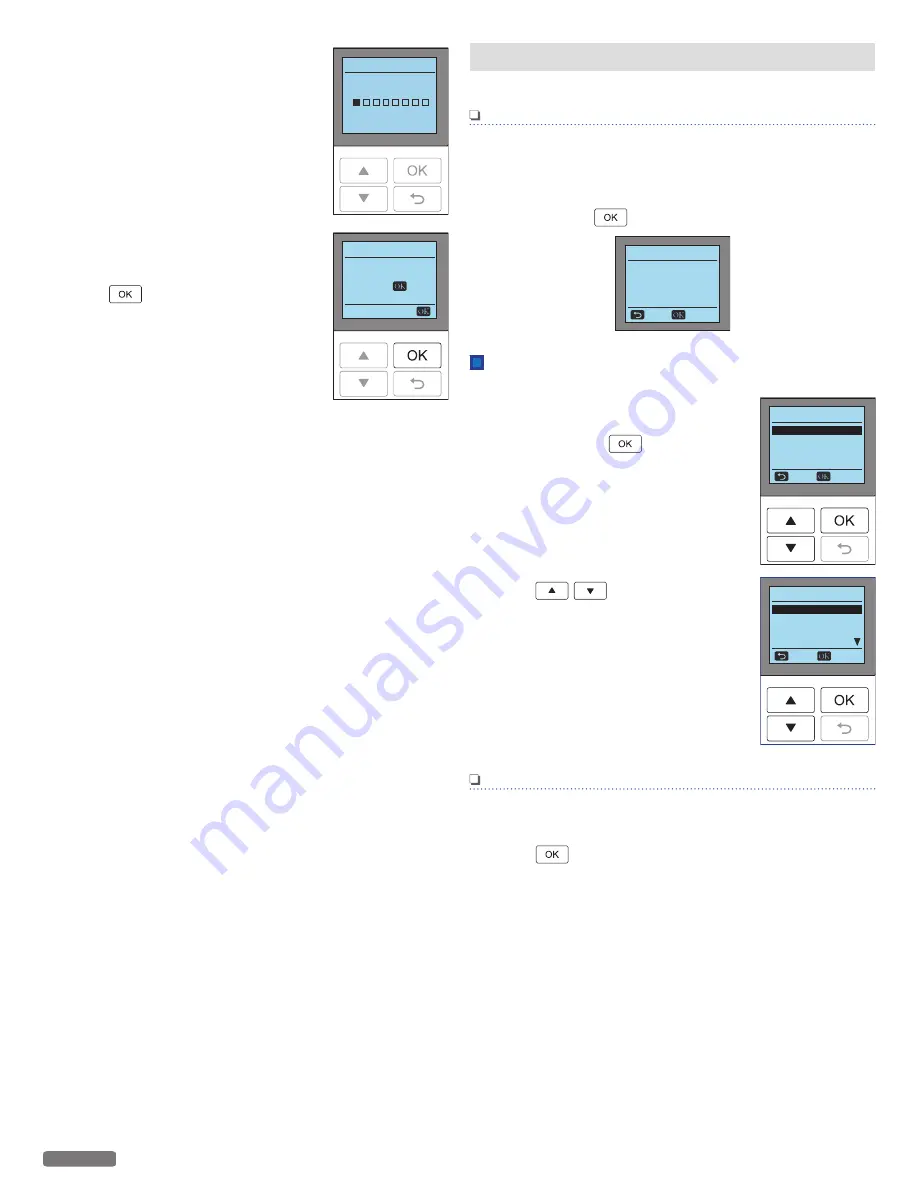
2
Press
to select the Paper
Size.
●
Letter
●
Legal
●
JIS B5
●
A4
●
Executive
●
A5
●
Statement
●
A6
●
3x5 in.
●
4x6 in.
●
5x7 in.
●
Hagaki
●
3.5x5 in.(L)
●
10 Envelope
●
DL Envelope
●
C5 Envelope
Note(s)
●
A4, JIS B5, A5, A6, Hagaki, Envelope DL and Envelope C5
are International Paper Sizes.
3
Press
to confirm.
Paper Setup
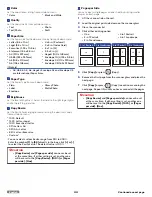
Paper Type
Plain
Back
Select
Paper Size
Leer
Paper Size
Legal
JIS B5
A4
Cancel
Select
Leer
50
English
Continued on next page.

