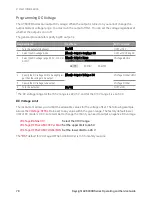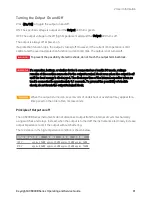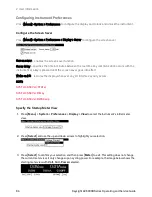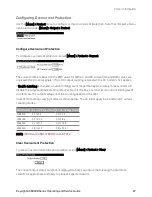
EXT-AC Mode
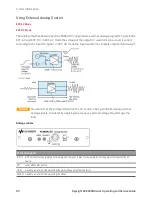
In EXT-AC mode, the unit outputs AC voltage ranging from 0 V to 155 V (when the 155 V range is
selected) or 0 V to 310 V (when the 310 V range is selected) with respect to a DC input signal ranging
from 0 V to ±10 V.
The ATT switch must be set ON. Otherwise the load can be damaged due to excessive
voltage.
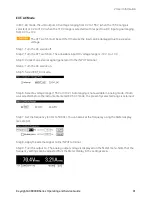
Step 1. Turn the AC source off
Step 2. Turn the ATT switch on. The allowable input DC voltage range is -10 V to +10 V.
Step 3. Connect an external signal (generator) to the INPUT terminal.
Step 4. Turn the AC source on.
Step 5. Select EXT_AC mode.
Step 6. Select a voltage range (155 V or 310 V). Autoranging is not available in analog mode. If Auto
was selected before the instrument entered EXT-AC mode, the presently selected range is retained.
Step 7. Set the frequency (40 Hz to 500 Hz). You can also set the frequency using the Meter display
(see step 9).
Step 8. Apply the external signal to the INPUT terminal.
Step 9. Turn the output on. The analog output voltage is displayed on the Meter menu. Note that the
frequency settings can be adjusted from the Meter display in the settings area.
Keysight AC6800B Series Operating and Service Guide
91
2 User Information
Summary of Contents for AC6801B
Page 1: ...Operating and Service Guide Keysight AC6800B Series Basic AC Sources...
Page 16: ...AC6802B 1 Getting Started 16 Keysight AC6800B Series Operating and Service Guide...
Page 17: ...AC6803B Keysight AC6800B Series Operating and Service Guide 17 1 Getting Started...
Page 18: ...AC6804B 1 Getting Started 18 Keysight AC6800B Series Operating and Service Guide...
Page 62: ......
Page 196: ...4 Calibration Verification and Service 196 Keysight AC6800B Series Operating and Service Guide...


