D*AP4 VAP
8
Getting Started – IP setup in general
The process of installing a
D*AP4 VAP
into an
IP network
is as follows:
1. Ask the system administrator for two unique IP addresses of the local area network,
for the netmask used and if a gateway address is necessary.
2. Assign the
D*AP4 VAP
an IP address
You have 2 choices to assign the
D*AP4 VAP
an
IP address
:
* From the serial console interface
* Via Web browser
3. Assign the
X*AP RM
1
remote panel a unique IP address configuration
4. Attach the
D*AP4
unit
to the
X*AP RM
1
remote panel
Important Note!
If you are not familiar with setting up devices for IP communication, we highly recommend
you consult your system service or IT department to assist you.
Getting Started – IP setup
–
via console interface
The tool to change the IP configuration of the
D*AP4 unit
can be reached via the console interface. You must
connect it with the PC via an
USB A to B
cable. This will install the driver for the built in
USB to serial
converter
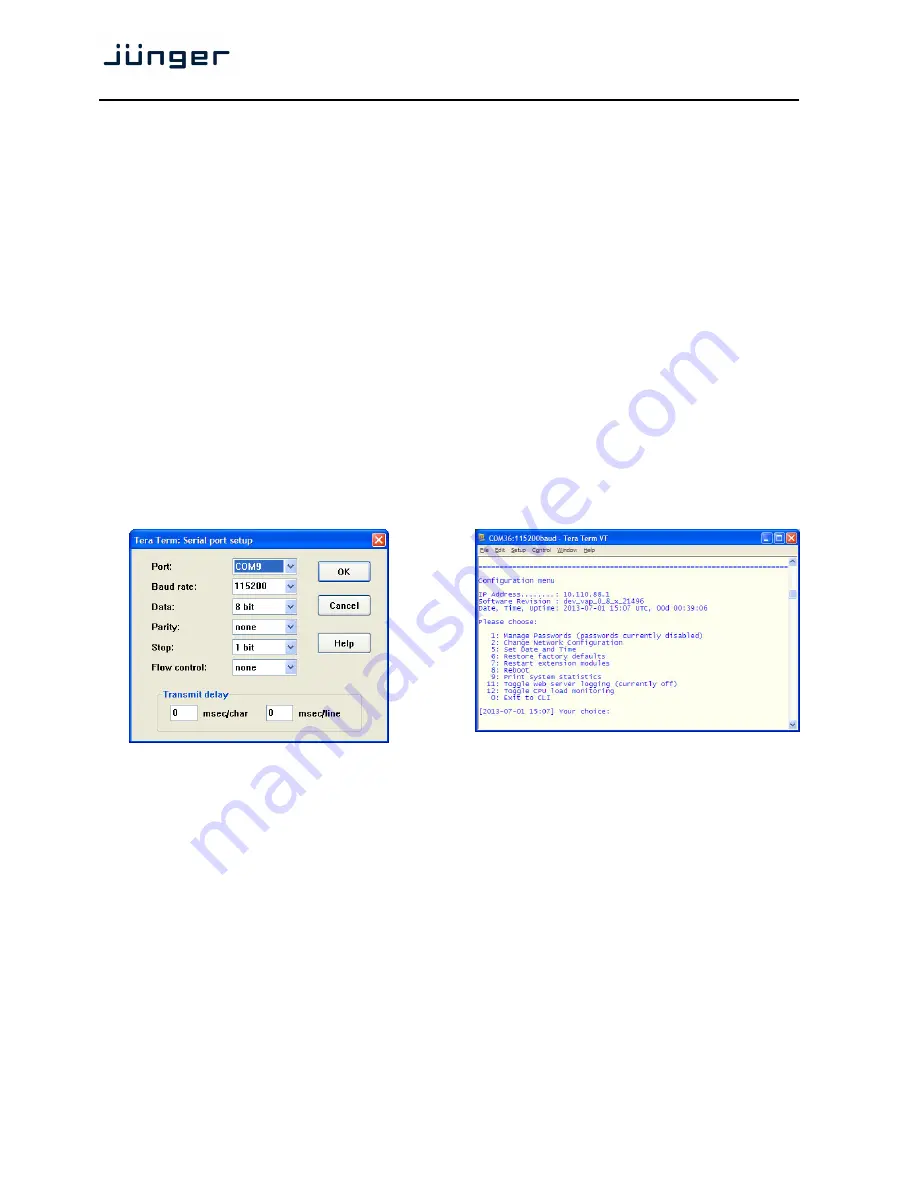
. Now you can open a terminal program. Here you must select the virtual COM port assigned by
the OS. The communication parameters are:
115200kBaud, 8, N, 1 no hand shake. Pressing
<ENTER>
will open the console menu:
Go for item
2:
"Your choice: 2"
<ENTER>
"Current network configuration
IP Address:
10.110.88.1
Netmask ...:
255.255.0.0
Gateway ...:
10.110.0.1
You must enter the IP address and the netmask. Here is an an example:
Enter new IP address, press ENTER to cancel: "192.168.176.78"
<Enter>
Enter new netmask, press ENTER to cancel: "255.255.255.0"
<Enter>


