EonStor CS Installation Guide
page 58 / 165
Installation Guide
1-8.1 How to replace Drives
Please contact your reseller when there is a hardware component that needs to be replaced.
You may need to identify the faulty hard drive via using drive tray LED or EonOne.
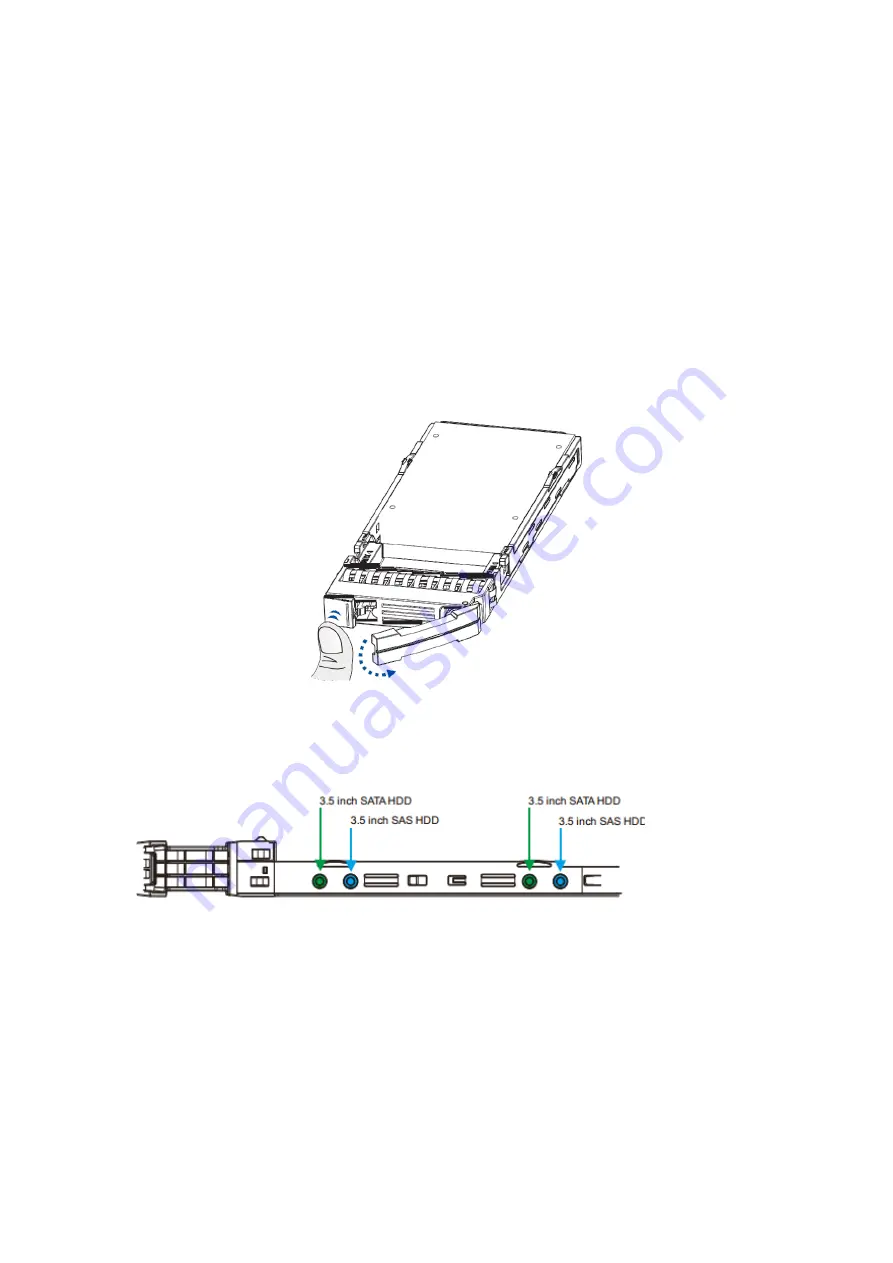
3.5” and 2.5” Drive Tray Model (2U12/2U24/3U16/4U24)
1. When the faulty hard drive is located, push the release button to eject the drive tray, wait for around 30
seconds for the drive to spin down and then pull out the tray using the spring handle.
2. Remove the retention screws from the drive tray to dislodge the hard drive.
3.5” SAS / NL-SAS / SATA drive
2
.5” SAS / NL-SAS / SATA drive
Type 1. Screws from the bottom side
Summary of Contents for EonStor GS 1000 Gen2
Page 19: ...EonStor CS Installation Guide page 19 165 Installation Guide Troubleshooting Flow Chart...
Page 33: ...EonStor CS Installation Guide page 33 165 Installation Guide...
Page 44: ...EonStor CS Installation Guide page 44 165 Installation Guide...
Page 52: ...EonStor CS Installation Guide page 52 165 Installation Guide...
Page 53: ...EonStor CS Installation Guide page 53 165 Installation Guide...
Page 63: ...EonStor CS Installation Guide page 63 165 Installation Guide...
Page 64: ...EonStor CS Installation Guide page 64 165 Installation Guide...
Page 75: ...EonStor CS Installation Guide page 75 165 Installation Guide...
Page 106: ...EonStor CS Installation Guide page 106 165 Installation Guide...
Page 118: ...EonStor CS Installation Guide page 118 165 Installation Guide...
Page 127: ...EonStor CS Installation Guide page 127 165 Installation Guide...
Page 137: ...EonStor CS Installation Guide page 137 165 Installation Guide...
Page 140: ...EonStor CS Installation Guide page 140 165 Installation Guide...
Page 156: ...EonStor CS Installation Guide page 156 165 Installation Guide...
Page 159: ...EonStor CS Installation Guide page 159 165 Installation Guide...


