Chapter 2. Using the System Unit
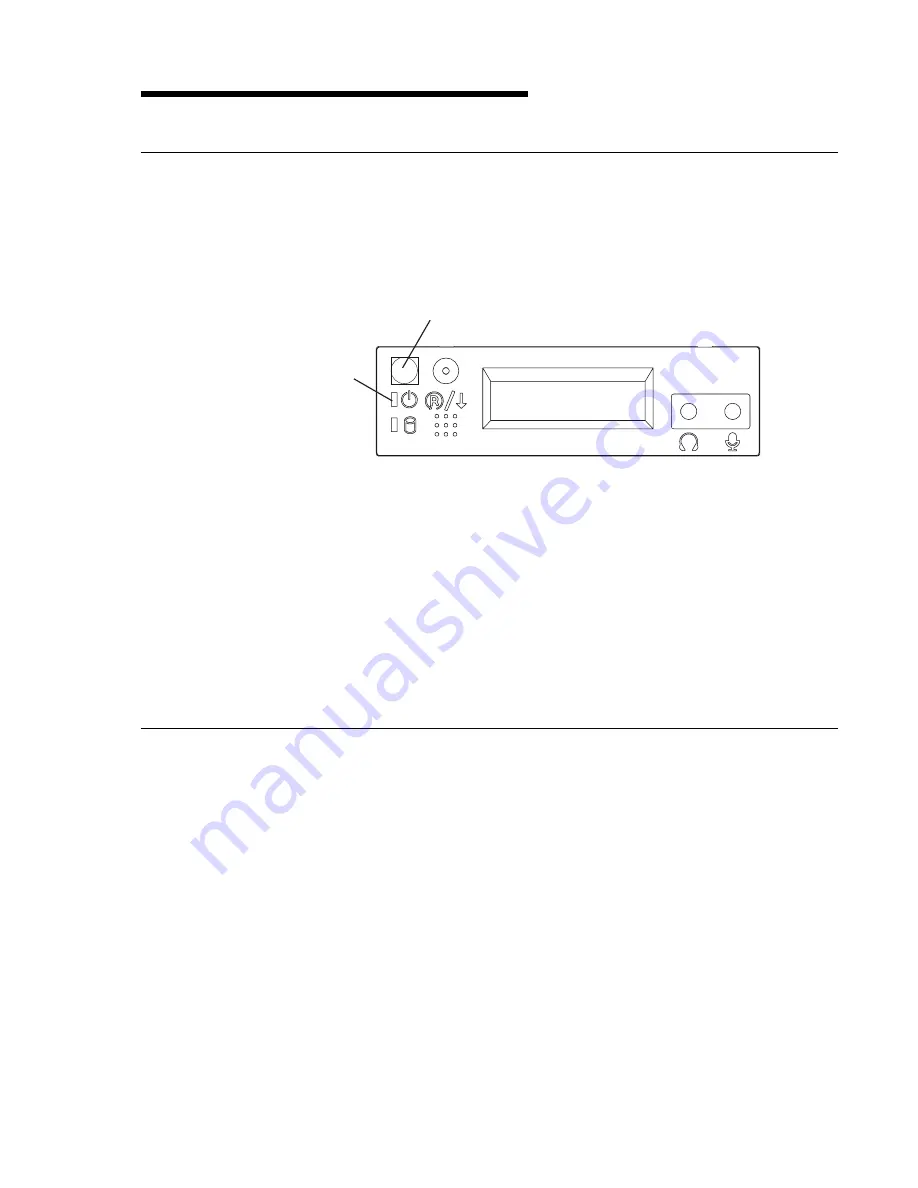
Starting the System Unit
1. Set the power switches of the attached devices to On.
Note: When the system is plugged in but not powered on, the Power On LED
flashes slowly.
2. Press the Power On switch.
Power On Switch
Power On LED
When you press the Power On switch, the Power On LED comes on and the
system starts a POST (power-on self test).
During POST, progress codes display in the operator panel display.
3. If the Power On light does not come on and there is no indication of power when
you press the Power On switch, ensure that the power cord, located at the back
of the system unit, is plugged into a grounded electrical outlet. If this does not
solve the problem, go to Chapter 8, “Hardware Problem Determination” on
page 8-1. If the LED is not flashing and
OK
is not displayed in the display, go to
the Chapter 5, “Using the Stand-alone and Online Diagnostics” on page 5-1.
Stopping the System Unit
Attention: When using the shutdown procedure for your system, follow the correct
shutdown procedure before you stop the system unit. Failure to do so may
result in the loss of data.
1. At a command line, enter
shutdown -F
to stop the operating system.
2. After you shut down the operating system, set the power switches of any
attached devices to Off.
3. The system unit is powered down by the shut down procedure.
4. If you will be servicing the system unit, unplug the system unit power cable from
the electrical outlet.
Chapter 2. Using the System Unit
2-1
Summary of Contents for xSeries 260
Page 1: ...IBM 7043 Model 260 User s Guide SA38 0553 00...
Page 4: ...iv User s Guide...
Page 8: ...viii User s Guide...
Page 12: ...xii User s Guide...
Page 16: ...xvi User s Guide...
Page 18: ...xviii User s Guide...
Page 20: ...xx User s Guide...
Page 29: ...Front View Operator Panel CD ROM Drive Diskette Drive Disk Drives Chapter 1 System Startup 1 9...
Page 32: ...1 12 User s Guide...
Page 74: ...2 42 User s Guide...
Page 119: ...b Slide the covers to the rear and remove Chapter 4 Installing Options 4 7...
Page 149: ...Chapter 4 Installing Options 4 37...
Page 150: ...4 38 User s Guide...
Page 206: ...6 40 User s Guide...
Page 226: ...8 16 User s Guide...
Page 236: ...B 6 User s Guide...
Page 292: ...expect 8 r or 7 r or 6 r or 4 r or 3 r delay 2 done C 56 User s Guide...
Page 300: ...3 Locate the battery on the system board Battery P N 15F8409 D 2 User s Guide...
Page 308: ...X 6 User s Guide...
Page 311: ......
Page 312: ...IBM Part Number 08L0637 Printed in U S A Ocober 1998 8L 637 SA38 553...


