54
Chapter 4
overwritten with ink from page 2, and page 2 is either blank or
does not exist. To correct it, separate the overwritten ink and
move it to page 2.
1. With the Current Notepad (or archive) page in full-page view,
select Edit --> Edit Original Page, and select OK to confirm.
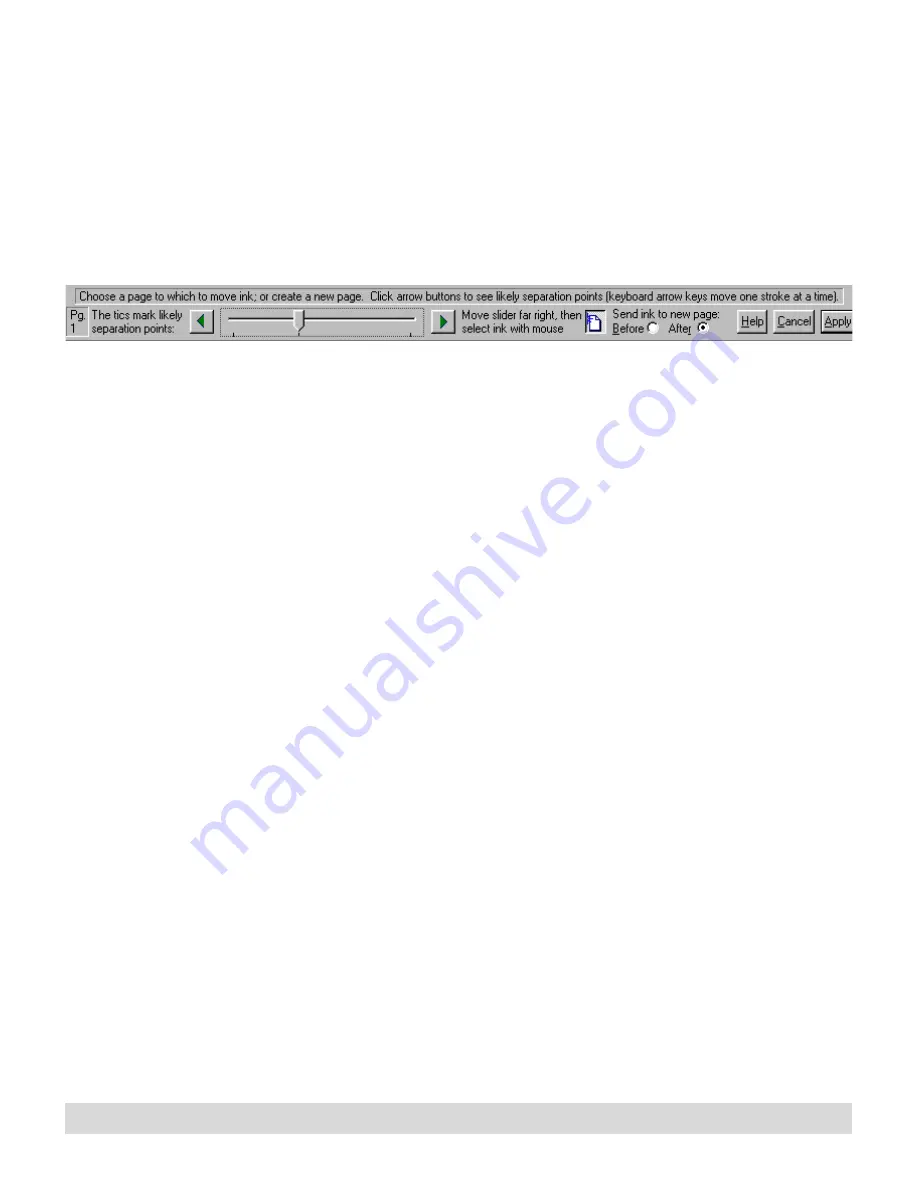
Then select Edit --> Fix Overwritten Ink, and the Fix
Overwriting window opens.
The window contains the following areas:
• Page—The current page number.
• Slider bar—Use the arrows and bar to adjust the separation.
• Destination page—In the text box, select a destination page
number. The separated ink (showing on the right side) will
be added on selected page number.
• Help—Open the help window with more information on
this topic.
• Cancel—Cancel the separation and close the window.
• Apply—Apply the separation and close the window.
2. In the text box, select the destination page for the overwritten
ink (most recent ink). When you do, the program estimates
the separation based on time stamps, leaving the older ink on
the left side, and the newer ink on the right side.
If the separation is correct, select Apply.
If it is NOT correct, click a page (to change focus) try one of the
following methods:
• For fine adjustments, use the keyboard right- and left-arrow
keys to move ink one ink stroke at a time. Pen strokes
appearing in magenta (red) on the screen indicate the next
strokes to be moved to the other page.
• Or click the tic marks on the slider bar, which represent
other likely separation points, or drag the slider to bar to
separate the pages.
Summary of Contents for TransNote
Page 1: ...Ink Manager Pro 1 0 and ThinkScribe Digital Notepad User s Guide ...
Page 6: ...iv Contents ...
Page 10: ...4 Welcome ...
Page 56: ...50 Chapter 3 ...
Page 80: ...74 Chapter 5 ...
Page 88: ...82 Chapter 6 ...
Page 98: ...92 Chapter 7 ...
Page 104: ...98 Chapter 8 ...
Page 134: ...128 Appendix A ...
Page 142: ...136 Glossary ...


