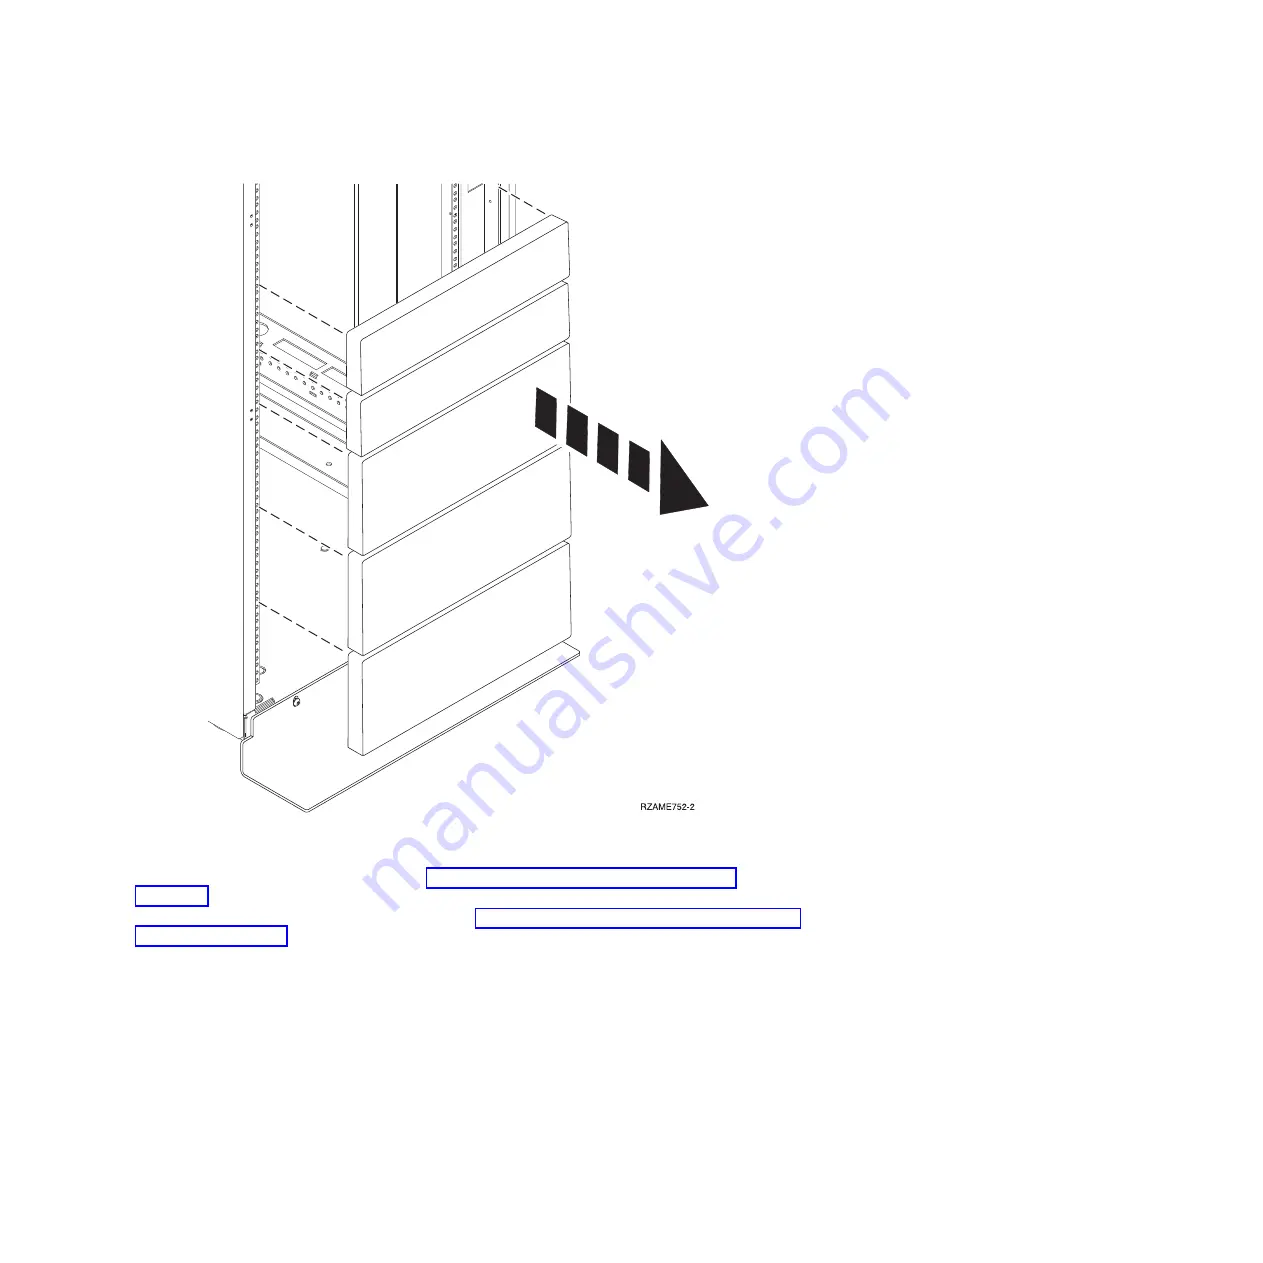
3.
If necessary, remove the front and back rack doors.
4.
Use one of these procedures to mark the location:
a.
If you have a rack-mounting template, see “Marking the location using a rack-mounting
template.”
b.
If you do not have a rack-mounting template, see “Marking the location without a rack-mounting
template” on page 52.
Marking the location using a rack-mounting template
You may want to mark the installation location by using a rack-mounting template. Follow this procedure
and use the rack-mounting template as a tool to perform this task.
1.
Using the rack-mounting template, determine where in the rack to place the unit. Install units in the
lower part of the rack first. Place larger and heavier units in the lower part of the rack.
50
Installing into a rack
Summary of Contents for 0551
Page 1: ...Power Systems Rack rack features and installing systems or expansion units into a rack ...
Page 2: ......
Page 3: ...Power Systems Rack rack features and installing systems or expansion units into a rack ...
Page 8: ...vi Installing into a rack ...
Page 12: ...2 Installing into a rack ...
Page 34: ...24 Installing into a rack ...
Page 118: ...108 Installing into a rack ...
Page 126: ...116 Installing into a rack ...
Page 130: ...120 Installing into a rack ...
Page 148: ...138 Installing into a rack ...
Page 164: ...154 Installing into a rack ...
Page 174: ...3 Close the front rack door 164 Installing into a rack ...
Page 181: ......
Page 182: ... Printed in USA ...


