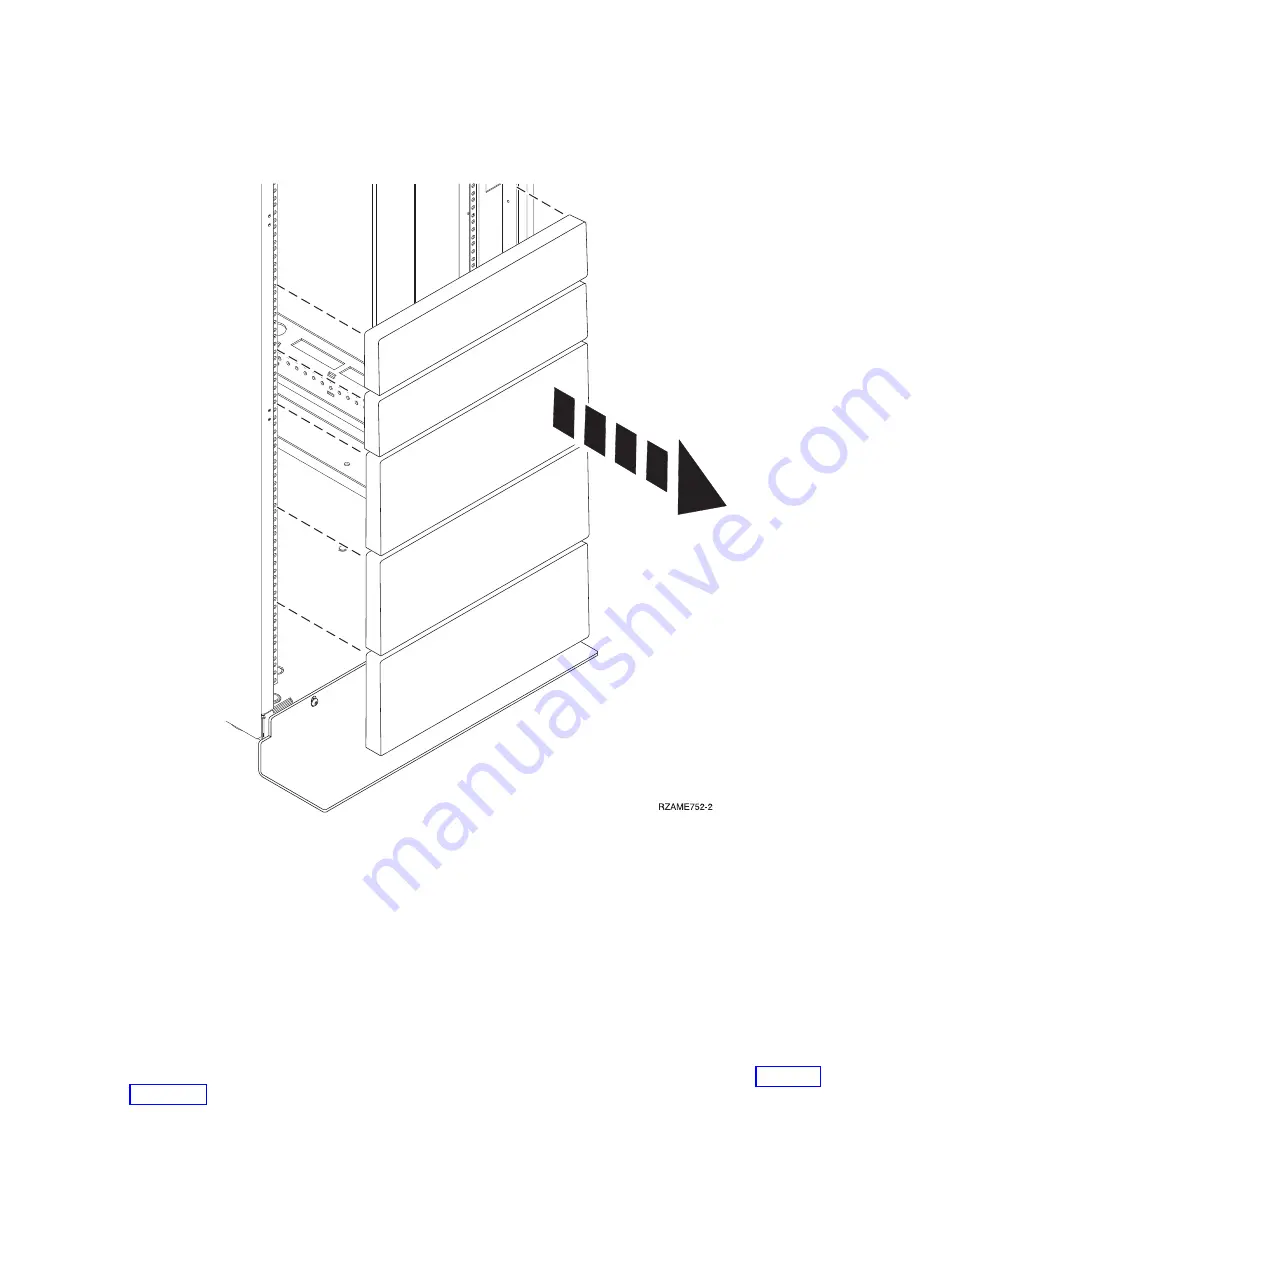
4.
If necessary, remove the front and back rack doors.
Marking the location
You might need to mark the installation location. Use this procedure to perform this task.
To mark the installation location and to install the nut clips into a rack without using the rack-mounting
template, complete the following steps:
1.
Determine where in the rack to place the system. Install units in the lower part of the rack first. Place
larger and heavier units in the lower part of the rack. Record the EIA location.
2.
Face the front of the rack and work from the right side. Place a self-adhesive dot at the middle hole of
the bottom EIA unit of the four EIA units that you are using for this system unit. See
(A)
in Figure 21
Note:
The self-adhesive dots are used to help you identify locations on the rack. If you do not have
the dots, use some other form of marking tool to help you identify hole locations (for example, tape
or a marker). You need to identify the marked hole from both the front and back of the rack.
Figure 34. Removing the filler panels
Chapter 3. Installing a system or expansion unit into a rack
41
Summary of Contents for 0551
Page 1: ...Power Systems Rack rack features and installing systems or expansion units into a rack ...
Page 2: ......
Page 3: ...Power Systems Rack rack features and installing systems or expansion units into a rack ...
Page 8: ...vi Installing into a rack ...
Page 12: ...2 Installing into a rack ...
Page 34: ...24 Installing into a rack ...
Page 118: ...108 Installing into a rack ...
Page 126: ...116 Installing into a rack ...
Page 130: ...120 Installing into a rack ...
Page 148: ...138 Installing into a rack ...
Page 164: ...154 Installing into a rack ...
Page 174: ...3 Close the front rack door 164 Installing into a rack ...
Page 181: ......
Page 182: ... Printed in USA ...


