4.
If necessary, remove the front and back rack doors.
5.
Use one of these procedures to mark the location:
a.
If you have a rack-mounting template, see “Marking location by using the rack-mounting
template.”
b.
If you do not have a rack-mounting template, see “Marking the location without a rack-mounting
template” on page 71.
Marking location by using the rack-mounting template
You may want to mark the installation location by using a rack-mounting template. To mark the location
using the rack-mounting template follow these steps.
1.
Using the rack-mounting template, determine where in the rack to place the unit. Install units in the
lower part of the rack first. Place larger and heavier units in the lower part of the rack.
Note:
The front of the rack-mounting template has printed illustrations designed to help you identify
the mounting holes to be used when you add units to the rack.
Do not
use the rack-mounting
template without completing these steps.
2.
Note the following when using the rack-mounting template:
v
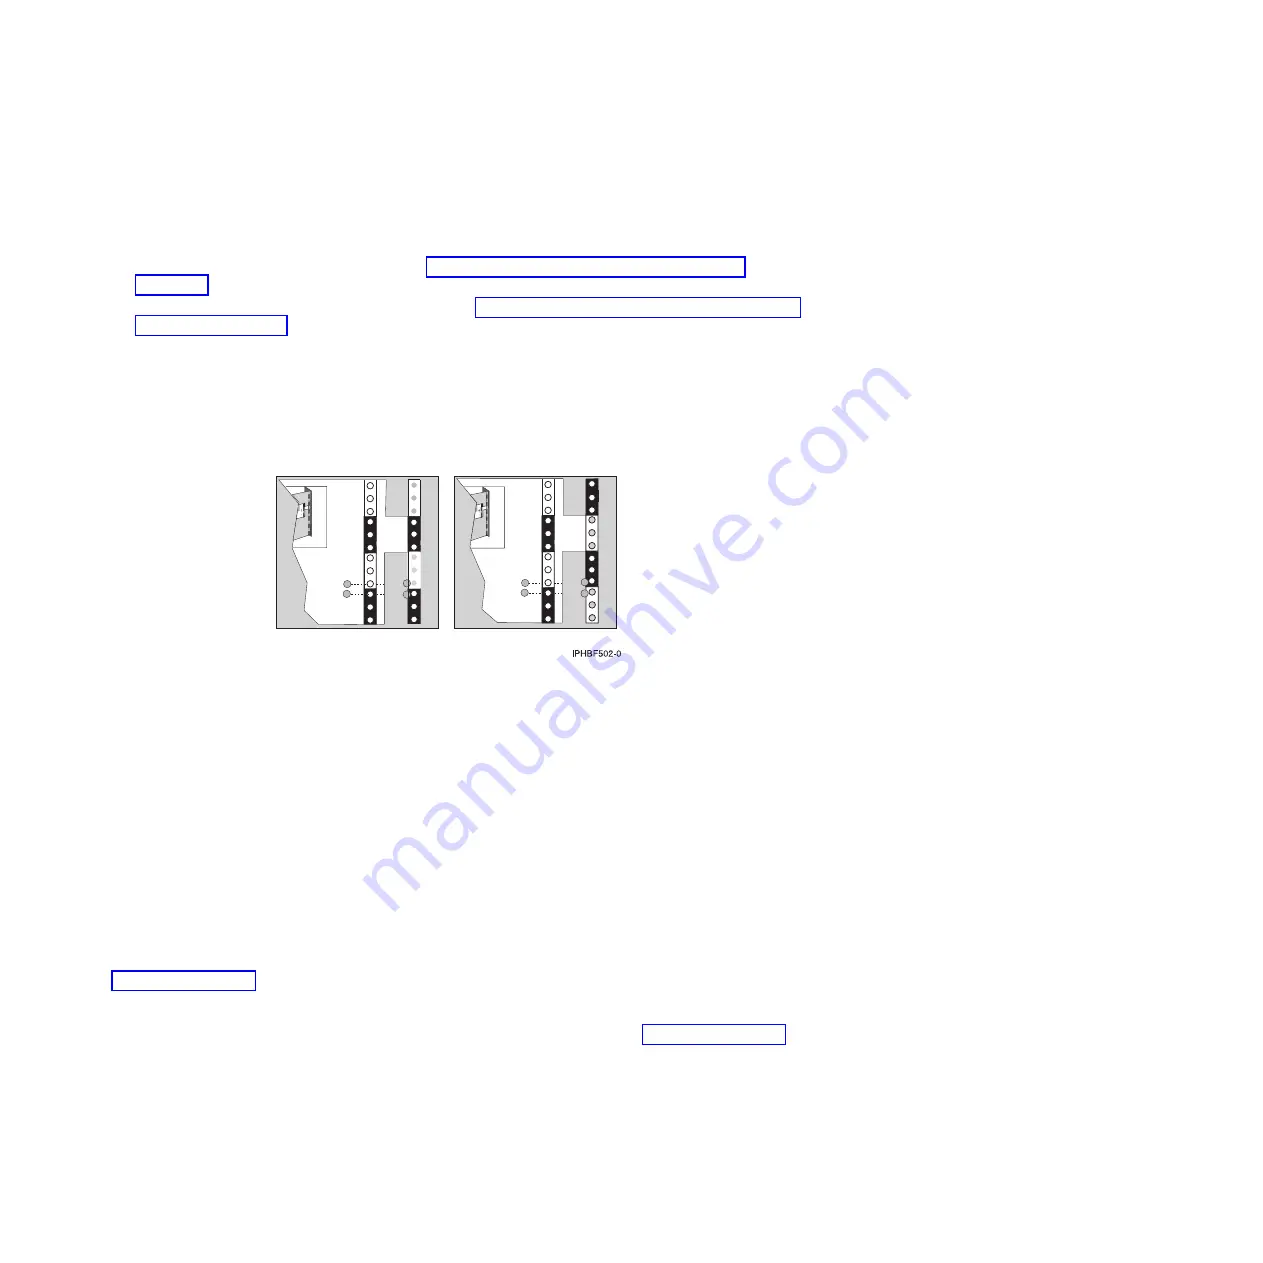
Each black or white unit on the template is equal to one Electronic Industries Alliance (EIA) unit.
v
An EIA unit is 1.75 in. (44.45 mm) in height.
v
The rack contains three mounting holes for each EIA unit of height.
v
The EIA units that are illustrated on the template must be aligned with the EIA units located on the
rack.
v
It is not necessary to align like-colored EIA units. For example, a black EIA unit on the
rack-mounting template can be aligned with a white EIA unit that are located on the rack.
v
The template is two-sided. When using the template, ensure that the appropriate side of the
template is facing out.
Figure 67 on page 71 shows one EIA unit and four EIA units. Depending on the rack manufacturer,
the EIA units might be separated either by color or by a line. Notice that the holes along the rail are
not evenly spaced. If your rack has no color or line separation between EIA units, assume that each
EIA unit begins where the hole spacing is closest together as shown by
(A)
Figure 65. Removing the filler panels
Figure 66. Rack-mounting template
70
Installing into a rack
Summary of Contents for 0551
Page 1: ...Power Systems Rack rack features and installing systems or expansion units into a rack ...
Page 2: ......
Page 3: ...Power Systems Rack rack features and installing systems or expansion units into a rack ...
Page 8: ...vi Installing into a rack ...
Page 12: ...2 Installing into a rack ...
Page 34: ...24 Installing into a rack ...
Page 118: ...108 Installing into a rack ...
Page 126: ...116 Installing into a rack ...
Page 130: ...120 Installing into a rack ...
Page 148: ...138 Installing into a rack ...
Page 164: ...154 Installing into a rack ...
Page 174: ...3 Close the front rack door 164 Installing into a rack ...
Page 181: ......
Page 182: ... Printed in USA ...


