10.
After all racks are bolted together, level the racks.
11.
Tighten all four screws.
12.
Snap on the trim pieces that go between the front and back racks.
13.
Snap on the trim piece that goes on top and between the racks.
14.
Install rack filler panels to cover the open areas at the front of the racks. All the gaps in the front of
the rack must also be sealed, including the gaps between equipment. This step ensures that proper
airflow within the rack is maintained.
15.
Connect the cables that go between the racks.
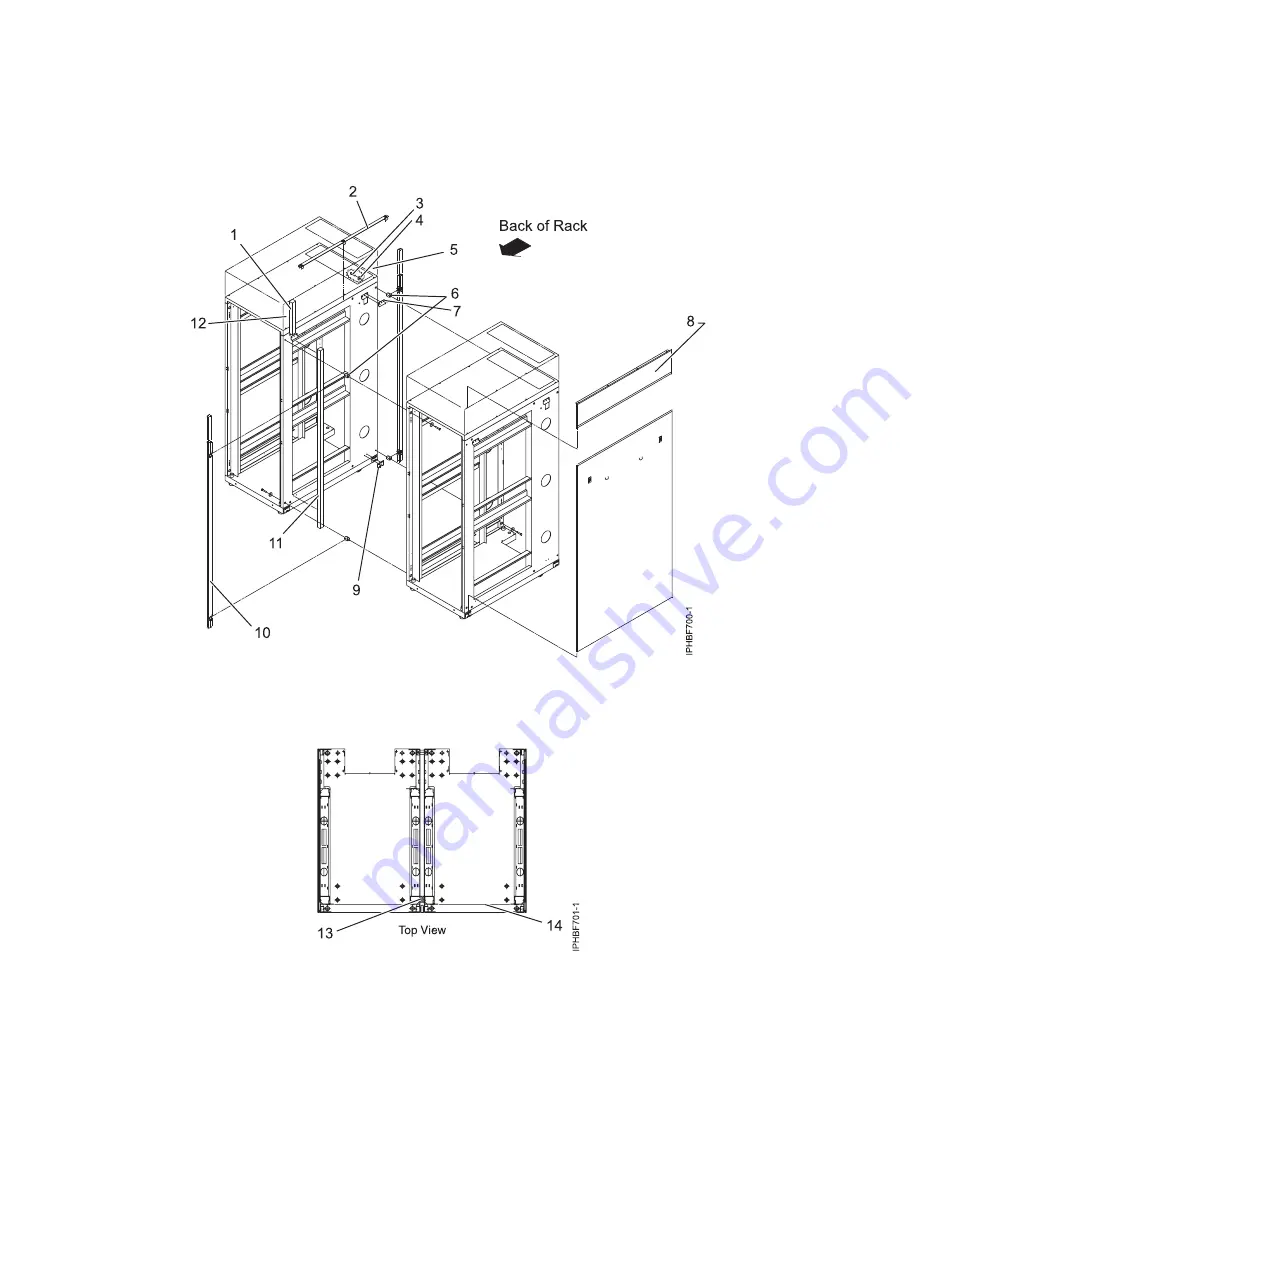
Figure 117. Removing the side panels, Z and J brackets, and installing standoffs and long foam to connect multiple
racks
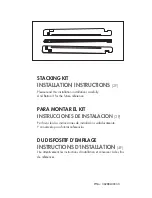
Figure 118. Location of foam strips (top view)
118
Installing into a rack
Summary of Contents for 0551
Page 1: ...Power Systems Rack rack features and installing systems or expansion units into a rack ...
Page 2: ......
Page 3: ...Power Systems Rack rack features and installing systems or expansion units into a rack ...
Page 8: ...vi Installing into a rack ...
Page 12: ...2 Installing into a rack ...
Page 34: ...24 Installing into a rack ...
Page 118: ...108 Installing into a rack ...
Page 126: ...116 Installing into a rack ...
Page 130: ...120 Installing into a rack ...
Page 148: ...138 Installing into a rack ...
Page 164: ...154 Installing into a rack ...
Page 174: ...3 Close the front rack door 164 Installing into a rack ...
Page 181: ......
Page 182: ... Printed in USA ...


