120
fi
g. 8.49
49
fi
g
fi
g
fi
g
fi
.
.
8.4
fi
g. 8.47
fi
g. 8.48
fi
g. 8.50
fi
g. 8.51
fi
g. 8
8 - A
ਢਢਤਲਲਮਨਤਲ
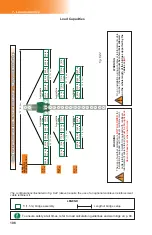
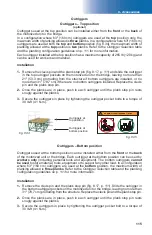
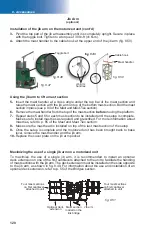
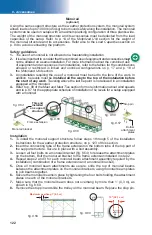
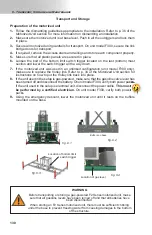
Maximizing the use of a single jib arm on a motorized unit
To maximize the use of a single jib arm, it is recommended to install an optional
deck extension on one of the fi rst cantilevers attached to the unit to facilitate the handling
of mast sections with the jib arm. The deck extension must be installed on the side opposite
to the jib arm, as shown in fi g. 8.49. For information about the use and installation of an
optional deck extension, refer to p. 55 of the
Bridges
section.
Optional deck
extension
Mast section
loaded on the
link bridge
Jib arm
Four mast sections
on fi rst cantilever
attached to unit
Four mast sections
on fi rst cantilever
attached to unit
Jib arm
handles
Mast handler
Cable hook
Toggle bolt
Jib Arm
(optional)
3-
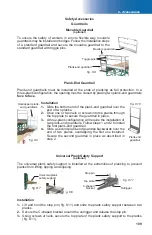
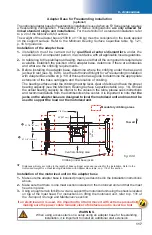
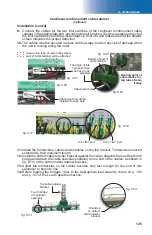
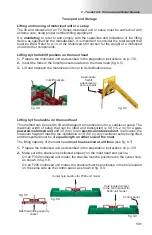
Pivot the top part of the jib arm assembly until it is completely upright. Secure in place
with the toggle bolt. Tighten to a torque of 30 lb-ft (41 N-m).
4-
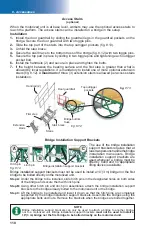
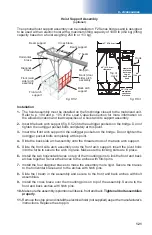
Attach the mast handler to the cable hook at the upper end of the jib arm (fi g. 8.50).
Using the jib arm to lift a mast section
Installation of the jib arm on the motorized unit (cont’d)
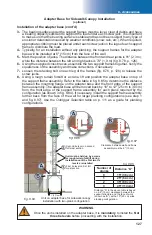
5-
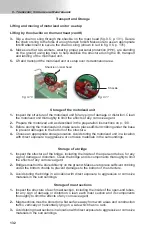
Insert the mast handler at a cross angle under the top bar of the mast section and
raise the mast section with the jib arm on top of the bottom mast section. Bolt the mast
section in place (see p. 84 of the
Mast and Mast Ties
section).
6-
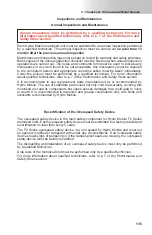
Remove the mast handler from the top of the mast section
before
moving the platform.
7-
Repeat steps 5 and 6 for each mast section to be installed until the setup is complete.
Make sure to install mast ties as required and prescribed. For more information about
mast ties, refer to p. 85 of the
Mast and Mast Ties
section.
8-
Make sure the mast head is installed on top of the last mast section of the setup.
9-
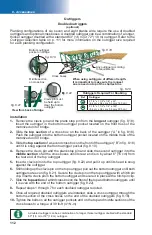
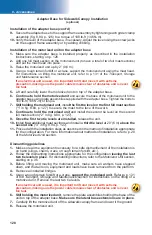
Once the setup is complete and the motorized unit has been brought back to base
level, remove the mast handler and the jib arm.
10-
Replace the cover plate on the jib arm pocket.

