


40X ZOOM IR PTZ DOME CAMERA USER GUIDE
63
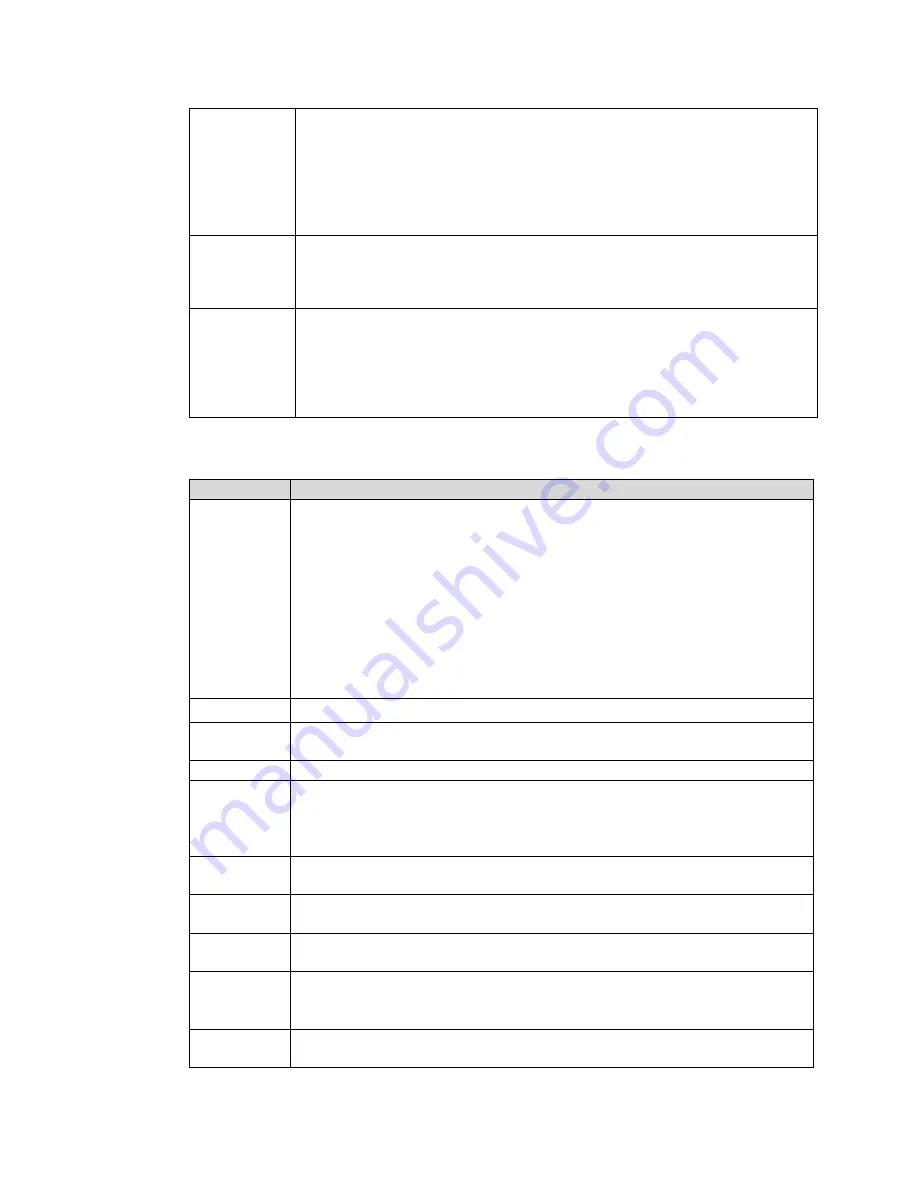
Min Size
maximum or minimum size.
Max Size: Set the maximum size of targets to be filtered. When the
target is larger than this size, the system will ignore it. The unit is pixel.
Min Size: Set the minimum size of targets to be filtered. When the
target is smaller than this size, the system will ignore it. The unit is
pixel.
Pixel
Counter
Help to accurately draw the target area.
Enter the length and width of the target area in
Pixel Counter
and click
Draw Target
to generate the target area in the monitoring screen. The unit
is pixel.
Lock/Unlock
Enter the rule configuration interface, and the locking function will be
automatically enabled, and the locking time is 180 s. During this period,
the device cannot track the target. Click
Unlock
to release the control.
The locking function only takes effect in the rule configuration interface.
After switching to the Live interface, the Device can track the target
normally.
3.
Configure parameters as needed.
Table 7 Tripwire Parameter
Parameter
Description
Period
Set the alarming period to enable alarm events in the period you set.
1.
Click
Setting
, and then the
Period
interface is displayed.
2.
Enter the time value or press and hold the left mouse button and
drag directly on the setting interface. There are six periods for
setting each day. Select the check box next to the period, and the
set period will be effective.
3.
Select the day of week (
Sunday
is selected by default; If
All
is
selected, the setting is applied to the whole week. You can also
select the check box next to the day to set it separately).
4.
After completing the setting, click
Save
to return to the rule
configuration interface.
Direction
Configure the tripwire direction. You can select
A->B
,
B->A
or
A<->B
.
Alarm Track
Select the check box, and there will be alarm tracking when a smart rule is
triggered.
Track Time
Set the alarm tracking time.
Record
Select the check box, and when an alarm is triggered, the system will start
recording automatically. Before using the function, you need to set the
recording period of the alarm in
Storage
Schedule
and select
Auto
for
Record Mode
in the
Record Control
interface.
Record
Delay
When the alarm is over, the recording will continue for an extended period
of time. The value range is 10–300 s.
Relay-out
Select the check box, and you can enable the alarm linkage output port,
and link corresponding relay-out devices when an alarm is triggered.
Alarm Delay
When the alarm is over, the alarm will continue for an extended period of
time. The value range is 10–300 s.
Send Email
Select the
Send Email
check box, and when an alarm is triggered, the
system sends an email to the specified mailbox. You can configure the
mailbox in
Setting
Network
SMTP (Email)
.
Snapshot
Select the check box, and the system will automatically take snapshots in
case of alarms. You need to set snapshot period in
Storage
Schedule
.