


Upon delivery the device is setup to use DHCP to find a free IP
address in the attached network.
Initially, a request for an IP address is sent from the device to the
DHCP server. Startup is blocked until the device gets an answer
from the DHCP server with a usable IP address.
1.
Connect the PC or tablet to the local network ( Fig. 21/A) or
to the device ( Fig. 21/B and C).
When connecting the device directly to the PC or
tablet using a PoE switch or injector, DHCP Soft-
ware (e.g. OpenDHCP) must be running on the
PC or tablet.
2.
Switch on the power supply for the device.
ð
The device will indicate the startup process with the LED.
LED red on starting up for approx. 25 sec, off for approx.
15 sec, LED green for approx. 3 sec and then off.
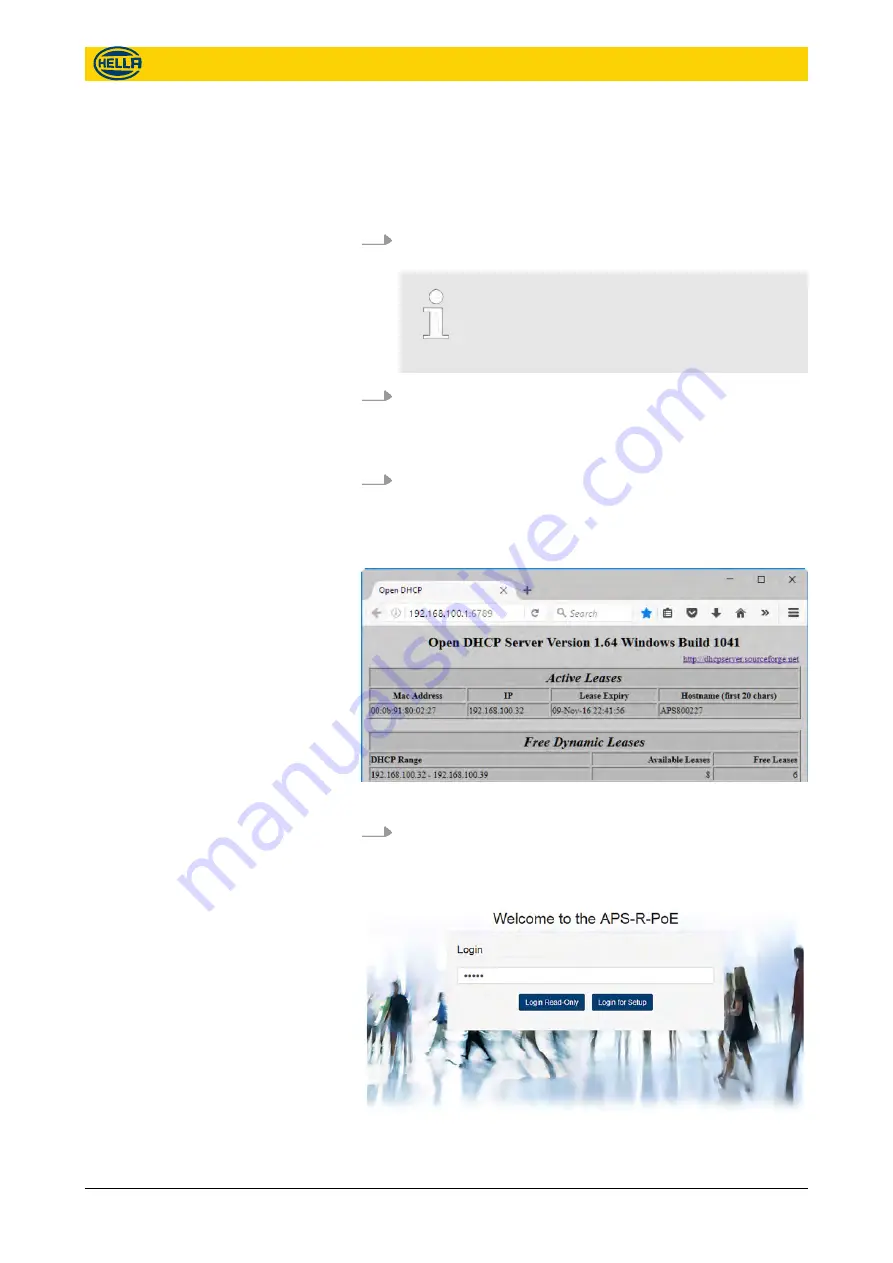
3.
Access your router or DHCP Software to find the IP address
used by the device. Search for the unique MAC address of
the device.
ð
The MAC address starts with 00:0b:91 for Hella Aglaia
devices.
Fig. 22: Fetching the used IP address (example)
4.
Start a web browser and enter the IP address
(e.g. 192.168.100.32).
ð
The welcome screen of the device appears.
Fig. 23: Welcome screen and login
Configuration
Preparation
28
09.06.2017
The reproduction, distribution and utilization of this document as well as the communication of its contents to others
without express authorization is prohibited. Offenders will be held liable for the payment of damages.
All rights reserved in the event of the grant of patent, utility model or design.
Summary of Contents for APS-R
Page 64: ......


