


Control
S. 34
Note
For the first login to your heatapp! system, your operating device (tablet or smartphone) must be connected to the same
network as your heatapp! system.
The heating systems are listed by name.
Directly under the name it is apparent whether the heating system is in the same network "local network" or the connection to
the heating system is made via the "Internet" and
heatapp! connect
.
1.
Tap the desired heating system.
2.
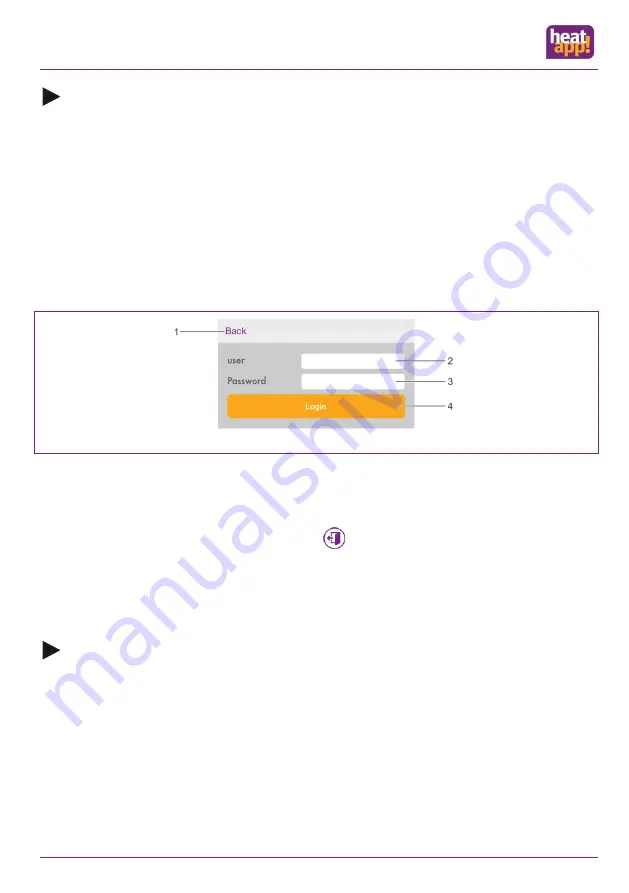
The pop-up window "
Login
" displays. Enter your user name (2) and password (3).
3.
Confirm the entry by tapping the "Login" button (4). Tap the "Back" button (1) to return to the start
menu without logging in.
4.
After successful login, the "
Homescreen
" displays.
Fig.: 15 Pop-up window „Login“
After the login, the app saves the current user and password. As long as the current user remains logged in, it is not necessary to
re-enter the user name and password.
You can log off from the corresponding system by tapping button
.
Login by direct entry of the IP address of the heatapp! base
In rare case it can occur that no heatapp! base has been found. In this case you can also login to the system by entering the IP
address of the heatapp! base (only in the local network).
Note
•
You can find the heatapp! base IP address in the setup wizard under the item "Network". To do so, the heatapp!
USB LAN adapter from the setup kit must connect to the heatapp! base (see section "Network", on page 66.
•
Alternatively you can determine the IP address from the web interface of your router.