13
Subject to change without notice
F a m i l i a r i z e y o u r s e l f w i t h y o u r n e w H M O
– If a channel is deactivated, pushing the respective channel
key will switch it on. If a channel was already activated
earlier, selecting another channel will change operation
to the channel whose key was pushed (its LED lights up). If
a channel is already selected, pushing its lighted key will
deactivate the channel and select the next channel according
to this sequence: CH1
>
CH2
>
CH3
>
CH4.
– The COARSE/FINE key is used to switch betwen coarse and
fine resolution of the
universal knob. If the key is light up
white, the FINE resolution is active.
The following describes some frequently used navigation ele
-
ments in the soft menus.
Fig. 2.9 shows, there are two basic soft menu parts for choosing.
To select from the three elements above you just need to press
the soft key beside and the element is active (shown as blue color).
A second kind of selecting is shown on the lower two menu entries.
Pressing the respective soft key toggles between the two choices,
again the active selection is marked blue.
The menus are used as shown in Fig. 2.10 if they concern func
-
tions which have either to be switched on or where values have
to set. The choice is between OFF and the value presented. The
round arrow in the right corner of the menu window points to
the universal knob which is to be used for selecting the value.
If there is a lower menu level, this will be indicated by a small
triangle in the right lower corner of the respective menu point.
If there are further pages on the same level, the lowest menu
point will be used for navigation. It shows the number of menu
pages on this level as well as the activated number of pages.
Pushing the respective soft menu key will advance by one page,
after the last page the first one will follow.
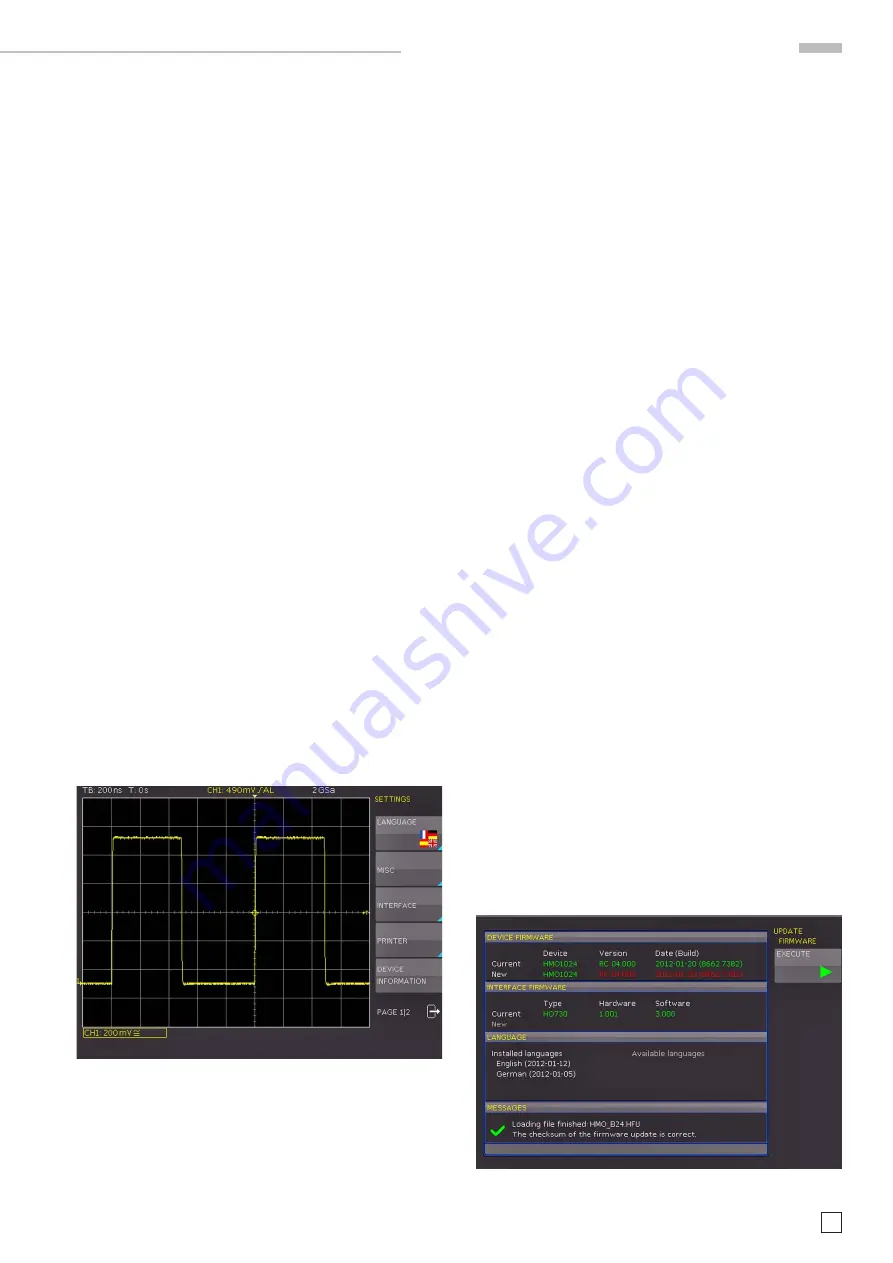
2.7 Basic settings and integrated help
Basic settings like language for user interface and
help, mis-
cellaneous settings and interface settings can be set using
the menu which opens after pressing the SETUP key in the
GENERAL area of the control panel.
Fig. 2.11: Menu for basic settings
On the first page you can set the user interface and
help
language by pressing the soft key LANGUAGE and select Ger
-
man or English.
The soft key beside MISC opens a menu with the following
selections:
–
MENU OFF
(choose manual or automatic with time limit of
4 s up to 30 s for closing soft menus)
–
TIME REFERENCE
(position for reference of the trigger time,
choose from –5/DIV up to +5/DIV, 0/DIV is in the middle of
the screen and set as standard)
–
DATE & TIME
(opens menu to set date and time)
–
SOUND
(opens menu to set any combination of beep for
control, error and/or trigger)
–
DEVICE NAME
(menu to set a name for the HMO, maxi-
mum of 19 characters are allowed, the name will appear in
Screenshot‘s)
–
LOGO IN SCREENSHOT
(here you can setup, whether a logo
will be inserted into the screenshot or not.)
The next menu entry INTERFACE lets you select the interface
you are using (USB and RS-232 are standard) and possible
settings for that interface.
The menu item PRINTER contains settings for POSTSCRIPT
printers. Pushing this softkey will open a submenu in which
you can select the paper format and the colour mode. If you
choose the top menu item PAPER FORMAT with the associated
soft menu key, a window will open which offers the selection
of A4, A5, B5, B6, and Executive letter and legal in portrait or
landscape. Use the universal knob to select the desired format
which will then be indicated on the soft menu key.
The next lower menu item COLOR MODE allows the selection of
the modes Greyscale, Color, and Inverted following the same pro-
cedure. The Greyscale mode converts a color display to a greyscale
display which can be printed on a Black-and-White Postscript
printer. The Color Mode will print the display in colour as it is shown
on the screen (black background). In the Inverted Mode the color
display will be printed in colour with a white background on a color
Postscript printer in order to save toner and ink.
If you are using inverted mode, you should set the
intensity
of the curves to about 70% in order to get a high contrast
print out.
The last menu DEVICE INFORMATION open a window with all
informations about hard- and softwarestatus of your HMO.
You should have these information on hand whenever you have
questions about your HMO.
Fig: 2.12: Updating menu and information window


