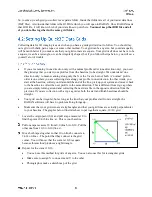
UtilityScan is meant for a quick examination of an area in order to locate utilities in soils under concrete
slabs or asphalt. UtilityScan can be used with the 270 MHz, 400 MHz, and 900 MHz antennas. Both the
400 MHz and the 270 MHz can be used with the survey cart. UtilityScan will allow you to create 2D
profiles so that you can mark the location of utilities on pavement prior to trenching or excavation.
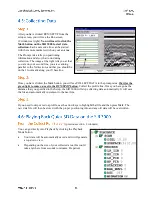
Upon clicking the UtilityScan button, you will be asked to click Right for English or Left for Metric units.
You will then see the data display screen and, if an antenna is connected, it will initialize and data will
start to scroll across.
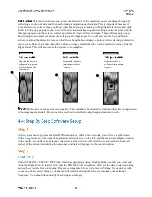
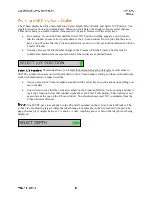
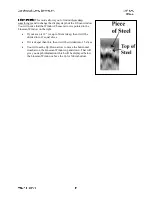
UtilityScan includes the backup cursor function. This allows you to back the antenna over the line you
just surveyed and get an on-screen cursor that will help you relate the location of targets in the data back
to the slab. The backup line in the data is the location of the midpoint of the antenna.
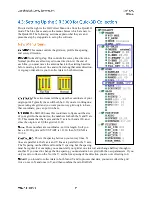
Choose your antenna by selecting the proper center frequency from the list under the Radar submenu.
Select DISTANCE based or TIME based data collection under MODE. Remember to check the survey
wheel calibration. Choose 512 (recommended) or 256 samples/scan under the SAMPLES submenu, and
then choose 16 (default) or 8 bit data collection under FORMAT.
Next select your maximum depth of penetration from the list of 5 presets (3, 5, 10, 15, 20 ft) (1, 3, 5, 7
meters). Select the appropriate soil type from the list of 4 presents (Soil Type 1-4). This will set your
dielectric and affect your maximum depth of penetration.
Then select your scans per unit from the list of presets. GSSI recommends a scan density of either 12 or
18 per foot, or 25 per meter.
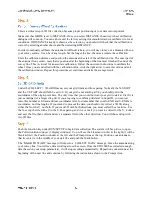
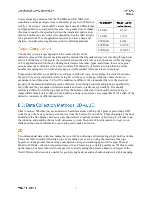
Type 1: Dielectric 4, dry sand or dry grade
Type 2: Dielectric 8, damp sand or grade, dry silt
Type 3: Dielectric 16, agricultural fields, sandy silt, wet sand
Type 4: Dielectric 32, wet conditions, clay
T_RATE: 100
RATE: 100
Gain: 3 point Auto
Filters (All)
Offset position
Surface position

