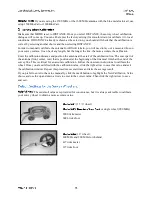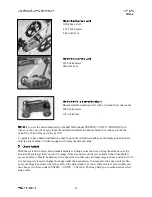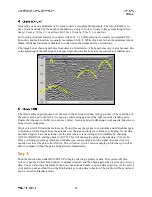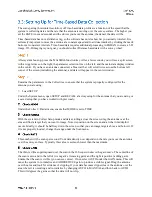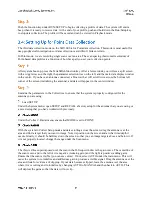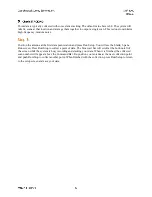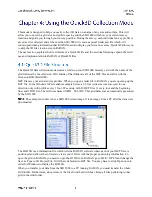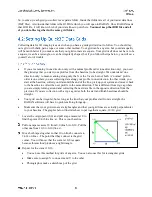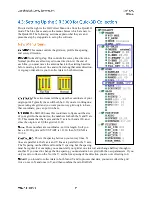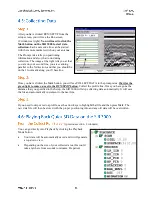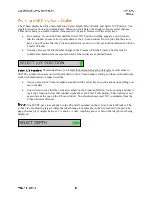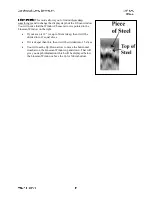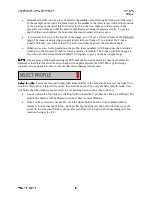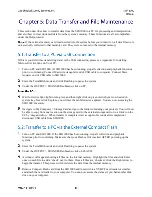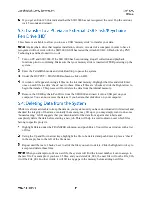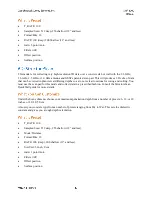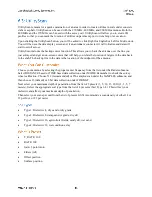
The C-Scan display has three main functions: Select Depth, Select Profile, and Select X/Y Position. You
toggle between each one by clicking Enter. When you click Enter, the window chooser arrow changes.
This arrow shows you which window (Linescan or C-Scan) to browse with the arrow keys.
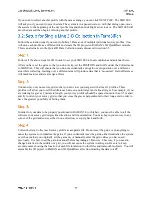
For example, if you click Enter until the Select X/Y Position wording appears, you will notice
that the window chooser arrow points down to the C-Scan window. Now if you click the arrow
keys, you will notice that the C-Scan crosshairs move and you will get location information in the
Locator Window.
You may also see the first number change in the Linescan Crosshair locator, but the locator
window information is more accurate. Each of the modes are explained below.
This mode allows you to find the horizontal location of targets or clear areas to
drill. The window chooser arrow will point down to the C-Scan window, telling you that you should only
work with this window to make decisions.
You can move the C-Scan crosshairs around with the arrow keys to get locations on anything you
see in the data.
You will also notice that the vertical crosshair on the Linescan Window is also moving and that it
is giving a location below that window (right above the Color Table button). That location is not
as accurate as the one on the C-Scan window. You should always read X/Y coordinates from the
C-Scan Locator Window.
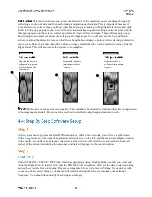
You MUST pay close attention to the Z0 and Z1 numbers on the C-Scan Locator Window. The
C-Scan is only showing targets within that depth range. For example, in the screenshot on the previous
page, that map is of targets between 3 ¼ and 4
5/16
only. Anything above or below that depth is not being
displayed.

