Audio Recording
ķ
34
The recorder as hifi tape recorder
❒
Preparation
Switch the hifi system on and select a sound source
(for example CD player, cassette recorder etc.).
Insert a cassette with sufficient playing time into
the recorder.
❒
Audio recording from the hifi system
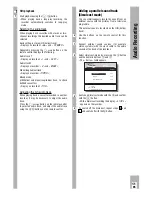
Select hifi programme position by pressing the
CD
/
Ü *
buttons repeatedly until »
H I
« appears
in the display on the recorder.
– The sound level is adjusted automatically.
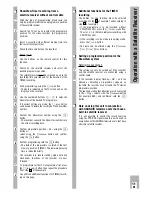
The sound can also be adjusted manually using the
buttons on the recorder. Press the
›
MAN
button
and adjust the sound using the
Ü *
buttons so
that the red mark (+1 dB) lights up during the
loudest passages.
Select long-play mode if desired using the
›
SP/LP
button on the remote control.
Begin audio recording using the
K
/
ø
button.
Terminate recording using the
H
/
ı
button.
3
2
Ǻ
Ǻ
1
2
1
Your recorder offers two different systems for
recording and playing back the sound:
– the hifi (helical) track,
for recording and playing back the finest quality
hifi sound for stereo and two-channel recordings.
– the mono (longitudinal) track,
for audio playback on standard VHS video
recorders and for dubbing.
❒
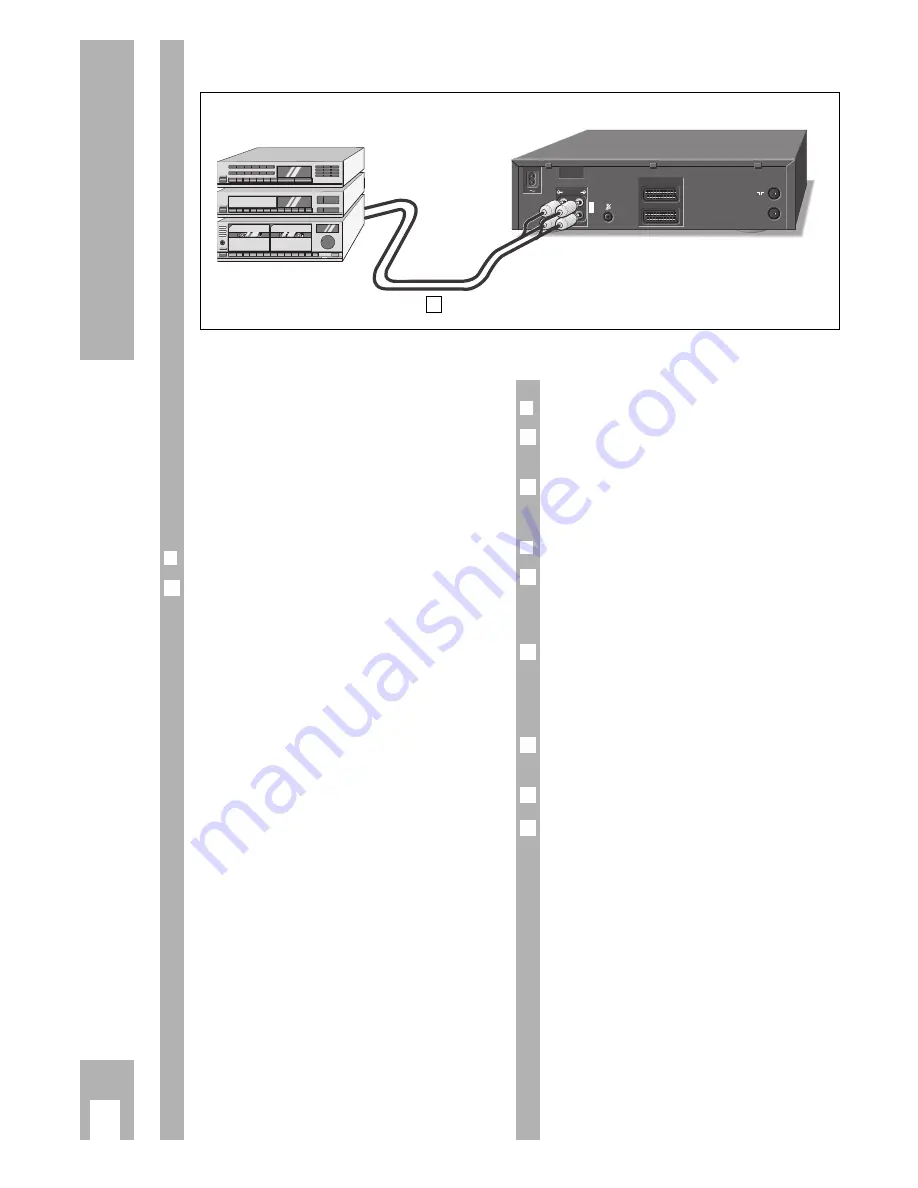
Connection
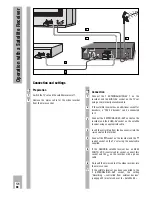
Connect the hifi system to the AUDIO sockets (at
the back of the unit) using a commercially available
phono cable.
Ň
LR = sound output, L = left channel,
R = right channel;
ň
LR = sound input, L = left channel,
R = right channel.
1
➡
ń
R
L
AUDIO
R
L
I
N
O
U
T
2 EXTERNAL / DEC. - AV 2
1 EXTERNAL / EURO - AV 1
1
Summary of Contents for GV 740 HiFi
Page 1: ...VIDEORECORDER GV 740 HiFi...


