The Cassette
ķ
16
❒
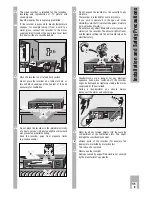
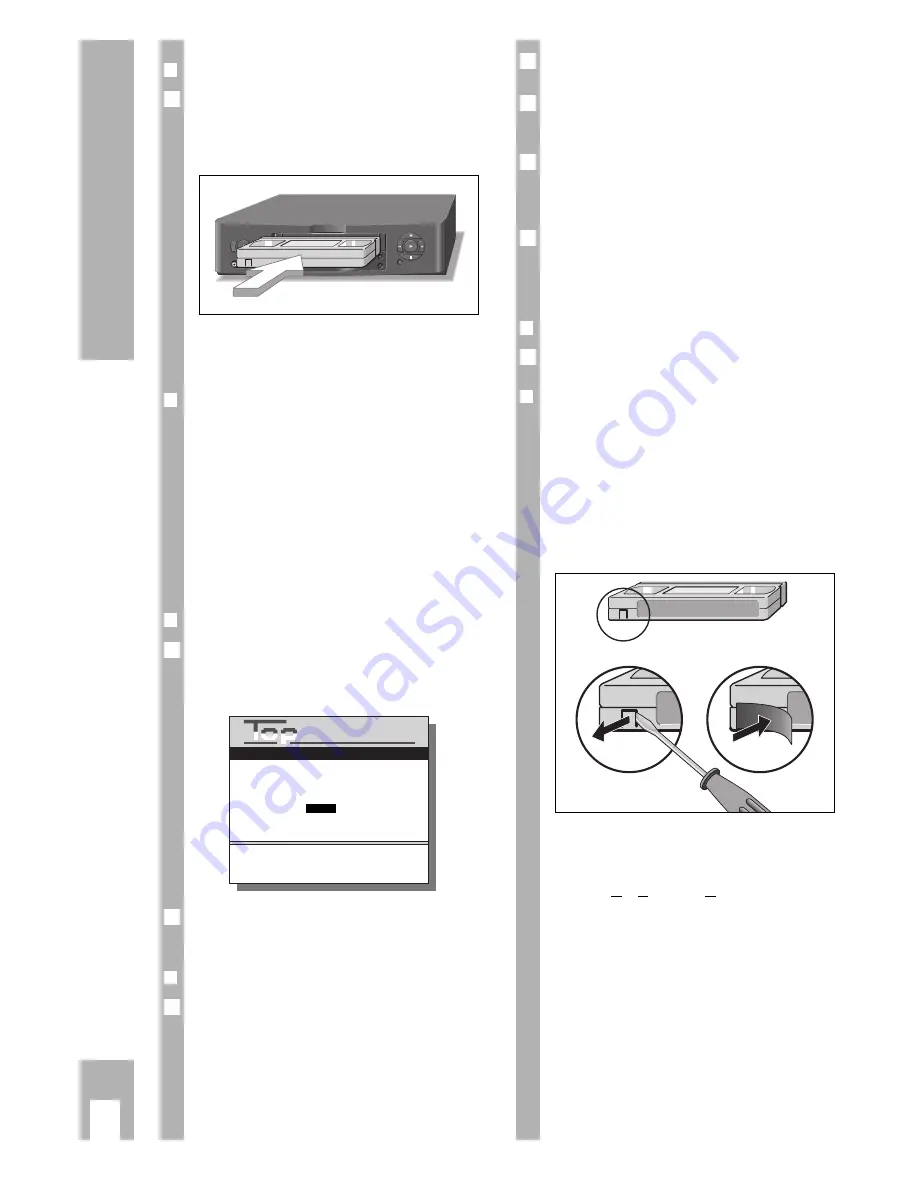
Inserting a cassette
Push the cassette with the window facing upwards
into the cassette compartment until it is auto-
matically pulled in.
– The Display »CASS. IN« on the recorder appears.
Ń
!
If the cassette is protected against re-recording, the
recorder switches automatically to playback.
❒
Cassette tape length/playing time
automatic recognition
After having inserted the cassette the recorder will
measure the playing time (display: »
ATTS
«)
indicates the total playing time in hours if a standard
hours cassette is used (E 60, E120, E180, E240) (e.g.
E 180) for a three-hour cassette and the elapsed
playing time in hours and minutes.
In the case of all other cassettes – including 5 hour
cassettes – the playing time must be entered
manually.
❒
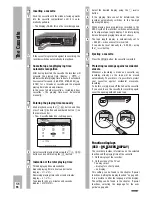
Entering the playing time manually
Start playback using the
T
/
Å
button and then
press Taste
h
button and numbered button
1
on
the remote control.
– The » Cassette Selection « table appears.
Select cassette playing time using the
DC F E
buttons and confirm using the
G
button.
❒
Indication of the total playing time
Three display options are available:
Elapsed playing time in hours and minutes,
display »
U I : 30
«;
Remaining playing time in hours and minutes,
display »
L I : 35
«;
Tape length in hours, minutes and seconds,
display »
0 ;00 ;00
«.
1
2
1
VIDEO IN
TIMER
CASS. IN
RECORD
L
R
AUDIO IN
Ǽ
MAN
Ļ
Ļ
1
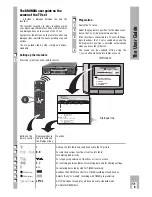
Select the desired display using the
›
COUNTER
button.
If the playing time cannot be determined, the
recorder automatically switches to the five-digit
tape length display.
When playing back programmes recorded in the
NTSC system, the recorder switches automatically
to five-figure tape length display. The total playing
time and elapsed playing time are not shown.
The tape length display is automatically set to
» 0.00.00 « when a cassette is inserted.
It can also be reset manually to » 0.00.00 « using
the
›
RESET
button.
❒
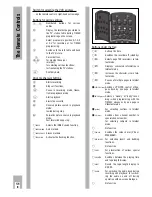
Ejecting a cassette
Press the
N
/
º
button; the cassette is ejected.
❒
Protecting recordings against accidental
erasure
Whenever a recording is made on a cassette, any
recording already on the tape will be erased
automatically. To avoid this, it is possible to protect
your cassettes against accidental erasure/re-
recording.
To do this, simply break off the tab on the cassette.
If you wish to use the cassette for recording again,
cover the opening with adhesive tape.
Function displays
(OSD – ON SCREEN DISPLAY)
The recorder provides information on the selected
function and the playing time of the cassette.
1. On the display of the recorder.
2. On the screen of the TV set.
You may select:
– display for a short period,
– no display.
This setting can be found in the chapter “Special
functions, Setting the display function ” on page 42.
It is possible to alter the language of the display.
The setting can be found in the chapter “Special
functions, selecting the language for the user
guide” on page 44.
1
Ǻ
Ǻ
Ǻ
2
GRUNDIG
TEXT-PROGRAMMING
EC30
E105
E210
EC45
E120
E225
EC60
E135
E240
E30
E150
E260
E45
E165
E280
E60
E180
E300
E75
E195
E90
E200
<
ɶ ʺ
> :
Select
OK : Confirm
i : Return to Play menu
Cassette selection
➡
Summary of Contents for GV 740 HiFi
Page 1: ...VIDEORECORDER GV 740 HiFi...


