56
Getting Started
Adding Output Devices
4
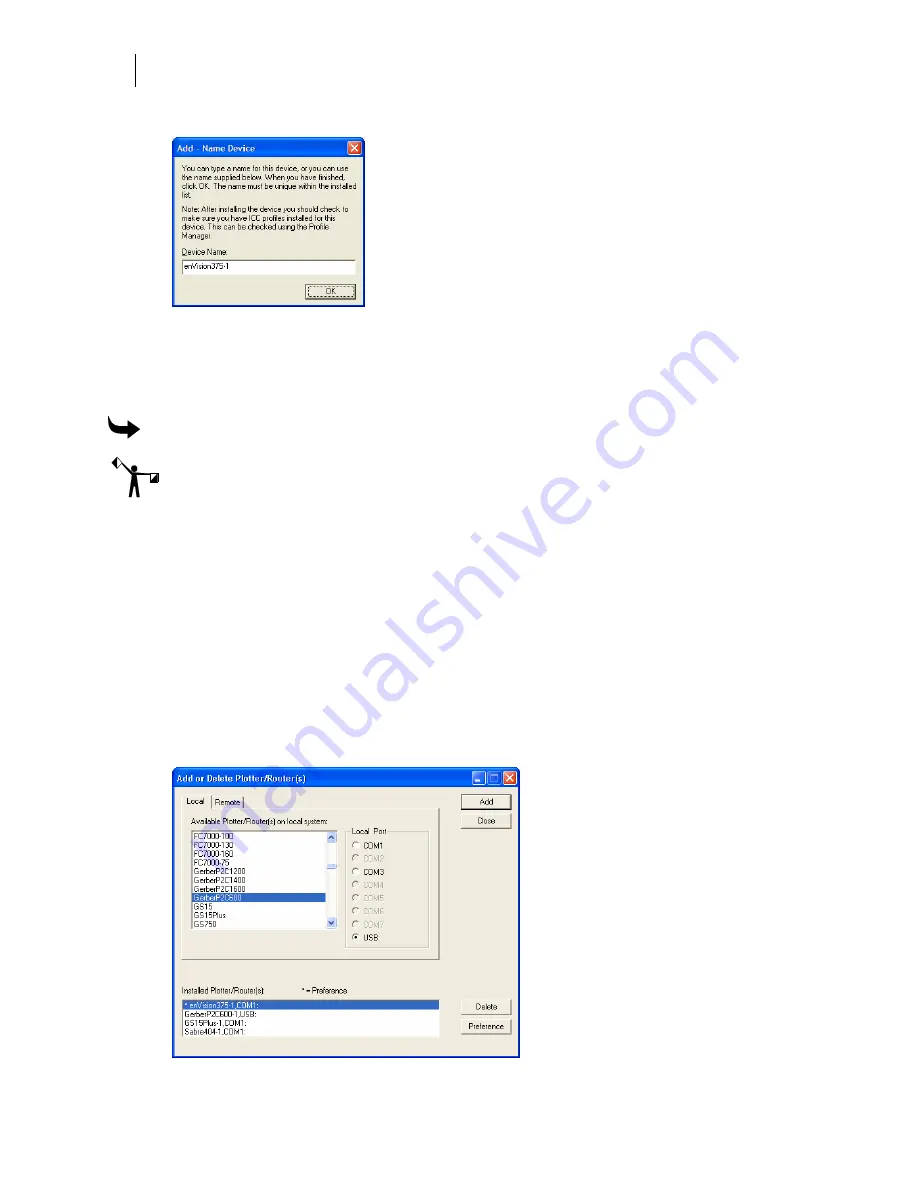
Click Add to open the Add - Name Device dialog box.
5
Accept the default name or enter your own description for the device. The description
appears in the output dialog boxes. Click OK. The name of the new plotter will appear
in the Installed Plotter(s) field of the Add or Delete Plotter(s) dialog box.
6
Close the Add or Delete Plotter(s) dialog box.
To install a plotter via a USB port
This procedure assumes you have a Gerber P2C plotter and a Gerber P2C driver disk. If you are
installing another USB plotter, see the documentation that came with the plotter for specific
instructions.
1
Plug in and turn on the Gerber P2C plotter (or other compatible USB plotter).
2
Plug the USB cable into the plotter and then into the USB port of your computer.
Windows should detect the new device and display the “New hardware found”
message.
3
When Windows displays the New Hardware Wizard, install the plotter driver using
the Gerber P2C driver disk that came with the equipment. If you need specific
instructions, see the PDF document located on the driver disk entitled “Installing the
Gerber P2C™ Plotter USB Driver.”
4
After installing the driver, right-click GSPTray and choose Install Plotter/Router to
open the open the Add or Delete Plotter/Router(s) dialog box. The Local tab displays.


