


37
2
Connect the USB end of the cable into the USB port of your computer. Windows
should detect the new device and display the "Found new hardware: USB Printing
Support" message on the Windows task bar.
3
Within several minutes the computer should automatically locate and install the driver
and then display the "Found new hardware: Your hardware is installed and ready to
use" message.
Installing the GERBER EDGE as a USB device
Installing the GERBER EDGE via USB is a multi-step process:
♦
Install the GERBER EDGE as a USB device.
♦
Assigning the Vendor and Product ID numbers to the USB-to-Parallel cable.
Note: This procedure assumes that you installed OMEGA 2.5.1 or higher. OMEGA 2.5
requires the USB-to-Parallel software update from the GSP website before installing the
GERBER EDGE as a USB device.
To install the GERBER EDGE as a USB printer
1
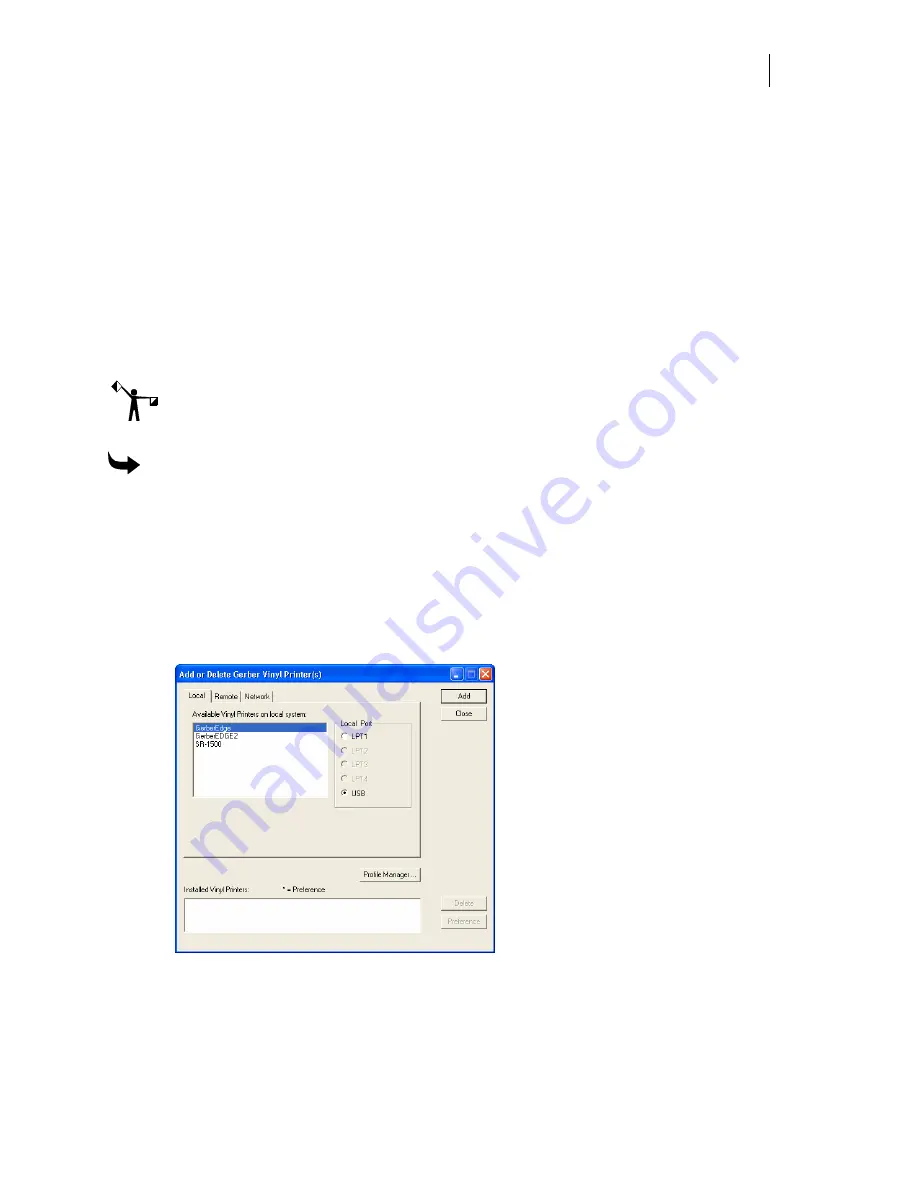
Open the Add or Delete Vinyl Printer(s) dialog box using one of the following
techniques:
Click Start > Programs > GSP OMEGA > GQ Mgr to open the GQ Manager dialog box.
Click Install and choose Vinyl Printer. The Local tab displays.
OR
Right-click the GSPTray icon that is found on the bottom right of your Windows task
bar and choose Install Vinyl Printer. The Local tab displays.
2
Choose a GERBER EDGE or GERBER EDGE 2 and click USB for the Local Port.
3
Click Add to open the Add - Name Device dialog box.


