GE M
EDICAL
S
YSTEMS
D
IRECTION
FK091075, R
EVISION
04
V
IVID
3N P
RO
/E
XPERT
S
ERVICE
M
ANUAL
3-62
Section 3-9 - Connectivity Setup
3-9-6
Connecting Directly to EchoPAC PC
NOTE:
The EchoPAC PC workstation will reject any images that have a future date. Ensure that the
clock on the Vivid 3N Pro/Expert ultrasound unit lags behind that of the EchoPAC PC system
by a minute or two.
1) Press
Config
on the alphanumeric keyboard. The
System Configuration
window is displayed.
2) Trackball to the
Connectivity
tab and press
Select
. The
Connectivity
tab is displayed, with the
Views
subsidiary tab selected by default, as shown in
Figure 3-36 "Connectivity Tab" on page 3-54
.
3) Trackball to the
Dataflow
button and press
Select
. The full list of data flows is displayed, as shown
in
Figure 3-42 "Views Tab" on page 3-58
.
4) Expand the
Remote Archive - Remote Storage
branch. A service called
Remote Servers
is
displayed.
5) Expand the
Remote Servers
branch. A service called
Remote Archive - Remote Storage
is
displayed.
6) Trackball to the
Services
tab and press
Select
. The
Services
tab is displayed, as shown in
Figure 3-39 "Services Tab" on page 3-56
.
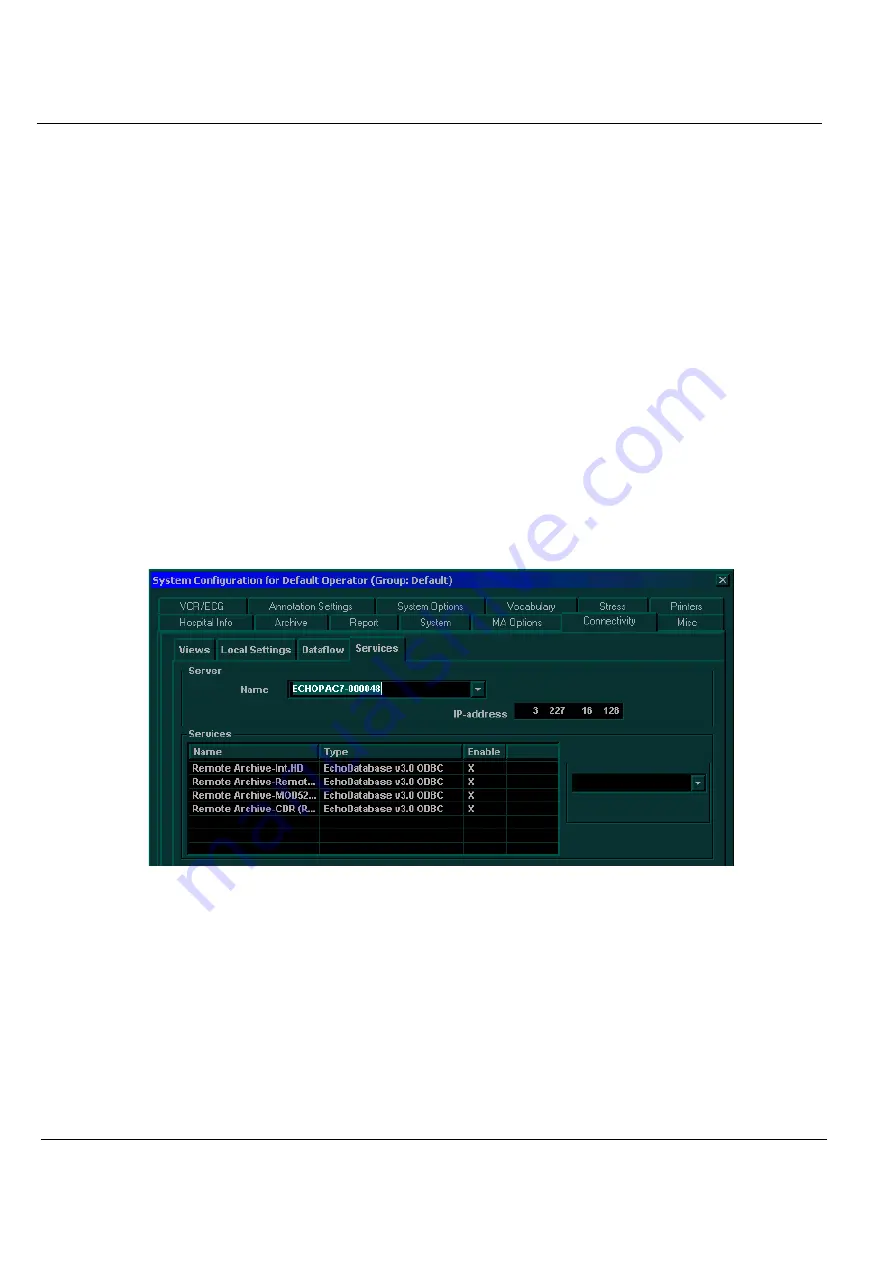
7) Select the EchoPAC server from the
Name
dropdown list. The
Services
tab is updated, as shown
below:
Figure 3-45 Services Tab - EchoPAC
8) Enter the IP address of the EchoPAC server in the
IP-address
field.


