89
232001240G(08)
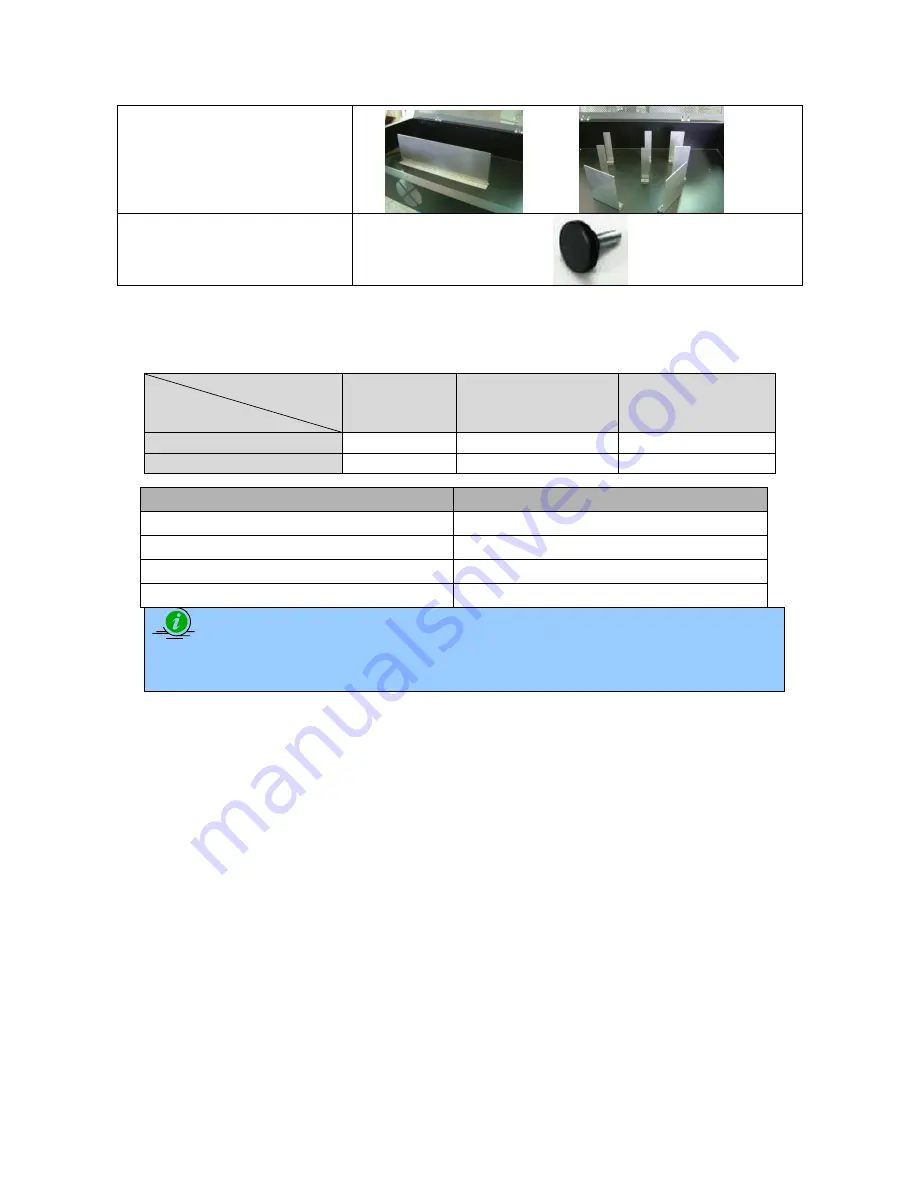
Material Support Stands
Thumb Screws
It is highly recommended that you use different setups of the SmartBOX depending on the physical properties of
the material you will be working with. Here is the recommended SmartBOX component setups based on your
working material.
Component
Application
Cutting Box
Honeycomb Table/
Aluminum Grid
Cutting Table
Material Support
Stands
Thin, Flexible Materials
Required
Required
Not Required
Thick, Firm Materials
Required
Not Required
Required
INSTALLATION / OPERATION (Cutting Box and Honeycomb Table):
1) Open the front pass-through door and lower the X252RX & X380RX’s worktable to the lowest possible
position through the X252RX & X380RX control panel.
2) Insert the cutting box and attached honeycomb table through the open front pass-through door onto the
worktable, with the Fume Extraction opening facing towards the back end of the X252RX & X380RX.
Ensure the rear and left side of the cutting box is aligned flush to the edges of the left and right rulers on
the worktable.
3) Open the honeycomb table to find the four screw holes at the bottom of the cutting box. With the
included thumbscrews, secure the cutting box to the work table and close the honeycomb table.
4)
[OPTIONAL] If you have an Fume Extraction system option installed, then you will need to attach the
Fume Extraction system’s pipe connector to the SmartBOX’s Fume Extraction opening from the X252RX
& X380RX’s rear side. (For detailed instructions to setup the Fume Extraction system, please see the
FUME EXTRACTION UNIT section in section 7.1).
Congratulations, you are now ready to position your thin, flexible materials on top of your honeycomb table /
cutting box and start working.
INSTALLATION / OPERATION (Cutting Box and Material Support Stands):
1) In order to use the cutting box along with the material support stands, you must first remove the
honeycomb table from the cutting box. Before you position the cutting box in the LaserPro X252RX &
X380RX, first unscrew the screws that attach the hinges of the honeycomb table to the cutting box.
2) Remove the honeycomb table. Please keep in mind the honeycomb table surface is fragile; therefore, it
is suggested to keep it in a safe place.
Action
Suggestion setups
Engraving
NO SmartBOX
Light cutting
Honeycomb table/ Aluminum Grid Cutting Table
Thick cutting
Cutting box + Support
Thin textile/fabric module
SmartBOX
NOTE
Advanced users may choose to try other component setups to suit their particular engraving /
cutting techniques or working material. Feel free to explore different ways to setup the various
SmartBOX components to adapt to the results you wish to achieve.
Summary of Contents for LaserPro X252RX
Page 1: ......
Page 7: ...6 232001240G 08 CDRH Label This label indicates the class level of CDRH...
Page 12: ...11 232001240G 08 1 7 EC Declaration of conformity...
Page 26: ...25 232001240G 08 4 Enter your Mac OS X User Name and Password then press OK 5 Press Active...
Page 27: ...26 232001240G 08 6 Press OK when activation is complete...
Page 87: ...76 232001240G 08...
Page 89: ...78 232001240G 08...
Page 94: ...83 232001240G 08 8 Now you are ready to output the modified image by clicking File Print...


