66
232001240G(08)
This setting allows you to improve the cutting quality at the expense of speed. Your engraving
speed will be dropped by 50%, to maximize the cutting power. We recommend that you enable
this function when cutting thicker materials.
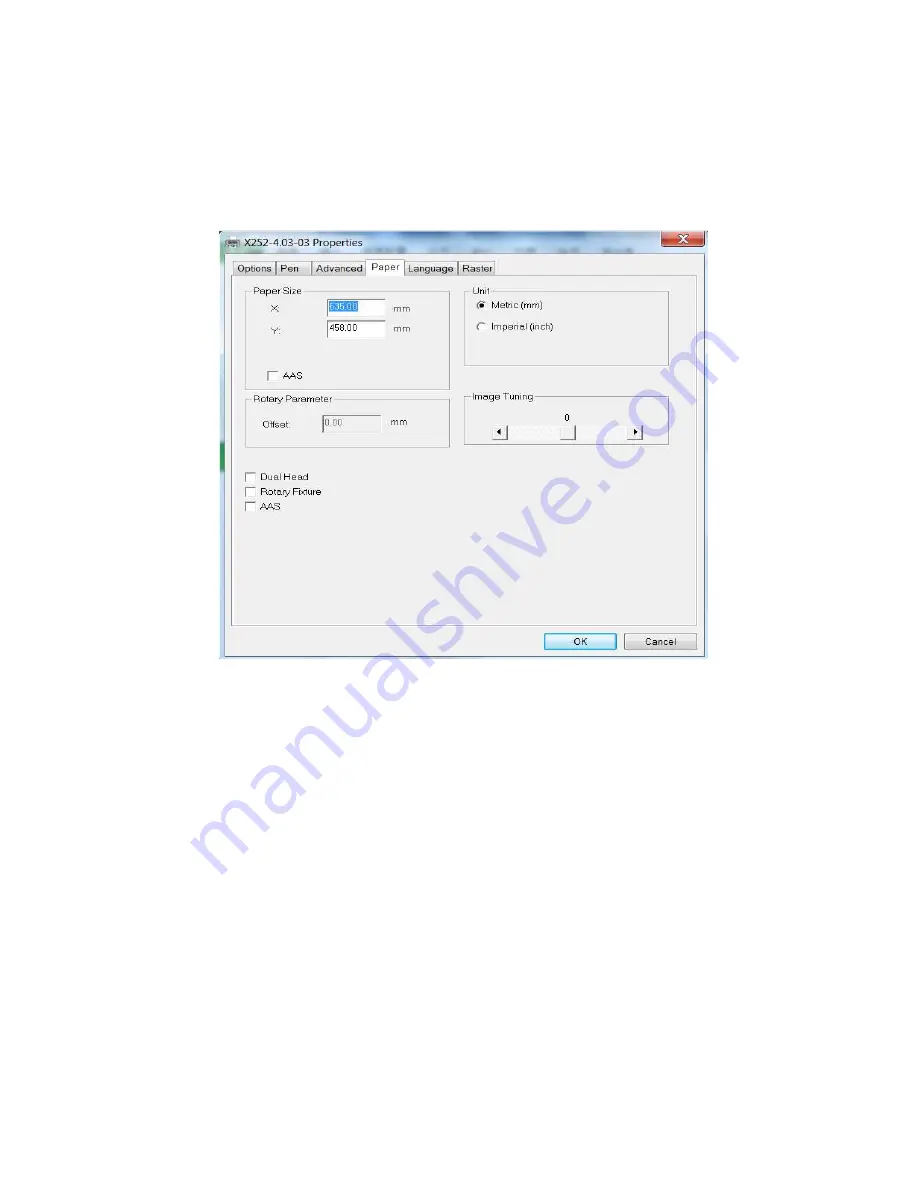
5.2.3.4 X252RX & X380RX Print Driver >> Paper Page
Paper Size (Paper Page)
The paper size represents your total work area. Ensure that the paper size is never set greater than
the X252RX and X380RX’s worktable area of 25” x 18” (635mm x 458mm) and 38”x24” (966x610mm)
respectively. The X value represents the length and the Y value represents the width.
Unit (Paper Page)
[DEFAULT SETTING: Metric (mm)]
Here you can set your preferred measurement standard in which you would like use with the X252RX
& X380RX print driver. You can choose between metric or imperial standards.
Image Tuning (Paper Page) [DEFAULT SETTING: 0]
In the event that you are processing extremely fine and detailed designs requiring near-
microscopic edge-to-edge precision, you will need to adjust the image tuning setting. To adjust
this setting, we recommend that you engrave a small black square design as a sample and use a
magnifying glass to view the engraved results.
When you look at your engraved test square under a magnifying glass, you may notice the edges
of your square may be slightly offset, with every consecutive engraved even or odd line
protruding past the square’s ideal edge. This occurrence may occur on the left or right side of the
square and can be compensated for by the image tuning setting. In the diagram below, the
arrows refer to the direction the laser head is moving to generate that engraved line. If the first
and every other line protrude to the left of the square’s ideal edge, you will want to set the image
tuning to a negative value. If the first and every other consecutive line protrude to the right of the
square’s ideal edge, you will want to set the image tuning to a positive value. The further the
Summary of Contents for LaserPro X252RX
Page 1: ......
Page 7: ...6 232001240G 08 CDRH Label This label indicates the class level of CDRH...
Page 12: ...11 232001240G 08 1 7 EC Declaration of conformity...
Page 26: ...25 232001240G 08 4 Enter your Mac OS X User Name and Password then press OK 5 Press Active...
Page 27: ...26 232001240G 08 6 Press OK when activation is complete...
Page 87: ...76 232001240G 08...
Page 89: ...78 232001240G 08...
Page 94: ...83 232001240G 08 8 Now you are ready to output the modified image by clicking File Print...


