22
|
User Guide | Heart and Lung Sounds |
Heart and Lung
Sounds
Overview
The Heart and Lung Sounds teaching system is
a tool used for auscultation training. The system
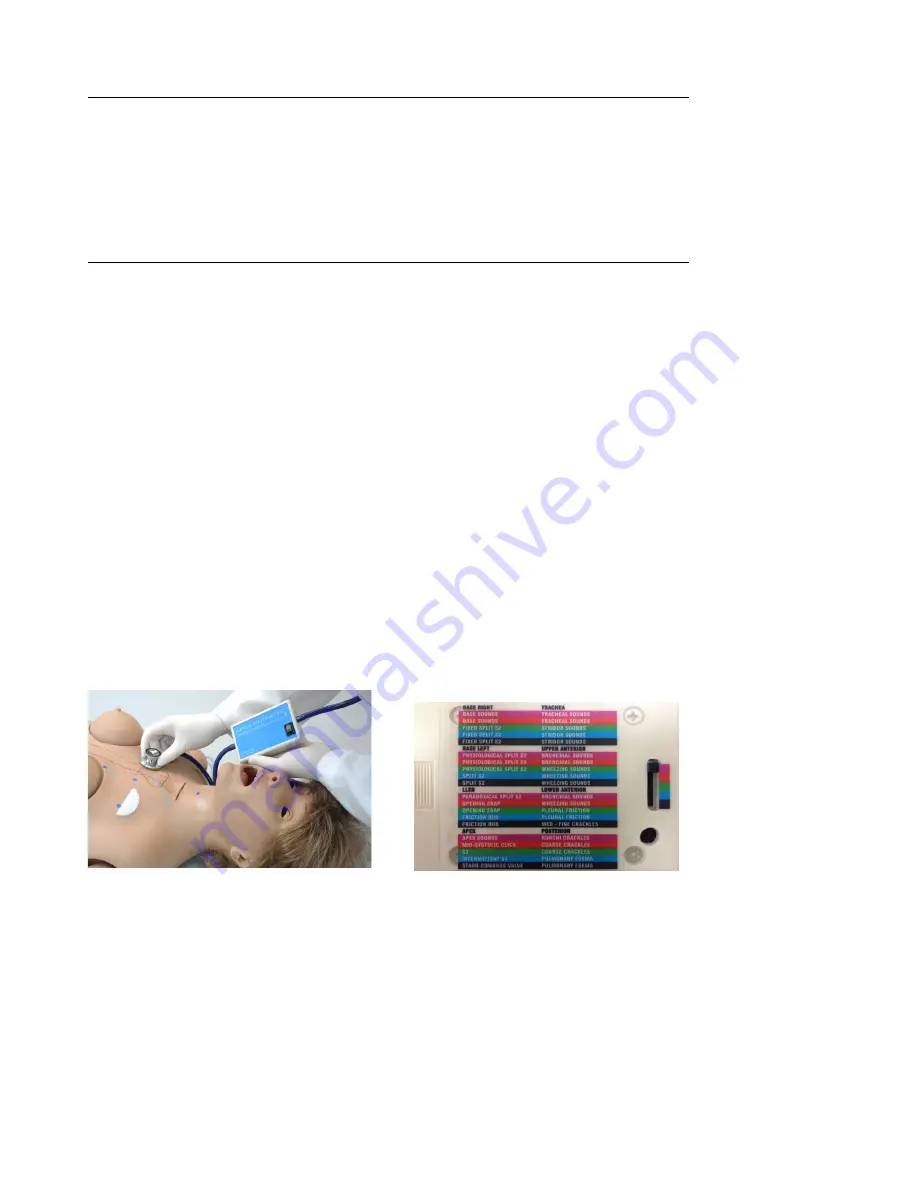
is composed of a Virtual Stethoscope™ and
RFID sensors located beneath the skin of the
simulator.
Incorporated in the Virtual Stethoscope is a
control box with:
• Power switch
• Battery life status
• Sounds menu
The torso of the simulator has numerous
removable identiication dots located where each
of the heart and lung sounds are normally heard.
These colored dots can be removed at any time
to palpate and ind the auscultation sites on the
front and the back of the simulator. The torso
of the simulator also features ribs and lungs,
useful for palpating each site. Each auscultation
location relates to the physiology of the torso.
Setup
1. The Virtual Stethoscope is powered by a
conventional 9V battery. Open the battery
cover on the back of the control box and
install the battery. Close the cover.
2. Locate the small stereo jack on the control
box and attach the speakers provided. Plug
the speakers into a conventional 120V/60 Hz
wall outlet and turn the speakers on.
The speakers provide external feedback of
the auscultation sounds. If the speakers are
disconnected, only the student will hear the heart
and lung sounds through the ear pieces on the
virtual stethoscope.
Instructions for Use
1. Locate the ON/OFF switch on the front of the
control box and turn it on.
2. Palpate the simulator and place the bell of
the virtual stethoscope at the 5th Intercostal
Space on the left side of the simulator along
the midclavicular line. This is the APEX point
where sounds from the mitral valve and the
left side of the heart are best heard. By placing
the “bell” over the ID disk embedded within
the ifth intercostal space you will hear one of
the ive possible sounds APEX heart sounds.
The back of the control box contains a label
and a ive position slide switch. Each of the ive
positions is color coded: red, orange, green, blue
and black.
3. Place the switch in the red position and hear
the sounds highlighted in red at the nine
locations on the front and the four locations on
the back of the simulator. Change the switch
to the green position and hear a different
sound menu at the locations on the front and
back of the simulator. Alternatively, you may
want to choose one position and move the
slide switch through each of the ive sounds
available.
Summary of Contents for Super Chloe S222.100
Page 2: ...2 User Guide Super Chloe...


