46
Section 3
Using the Calendar
Phone Operation
6. Move to the units fi eld and press
ENTER
to display the options list.
Highlight the desired option and press
ENTER
.
7. When completed, press the
ENTER
key and then move down to
highlight
the
‘
Save
’ key and then press
ENTER
to save the appoint-
ment to the Appointments List Page.
8. Press the
MENU
key to view or use the Appointment Page options.
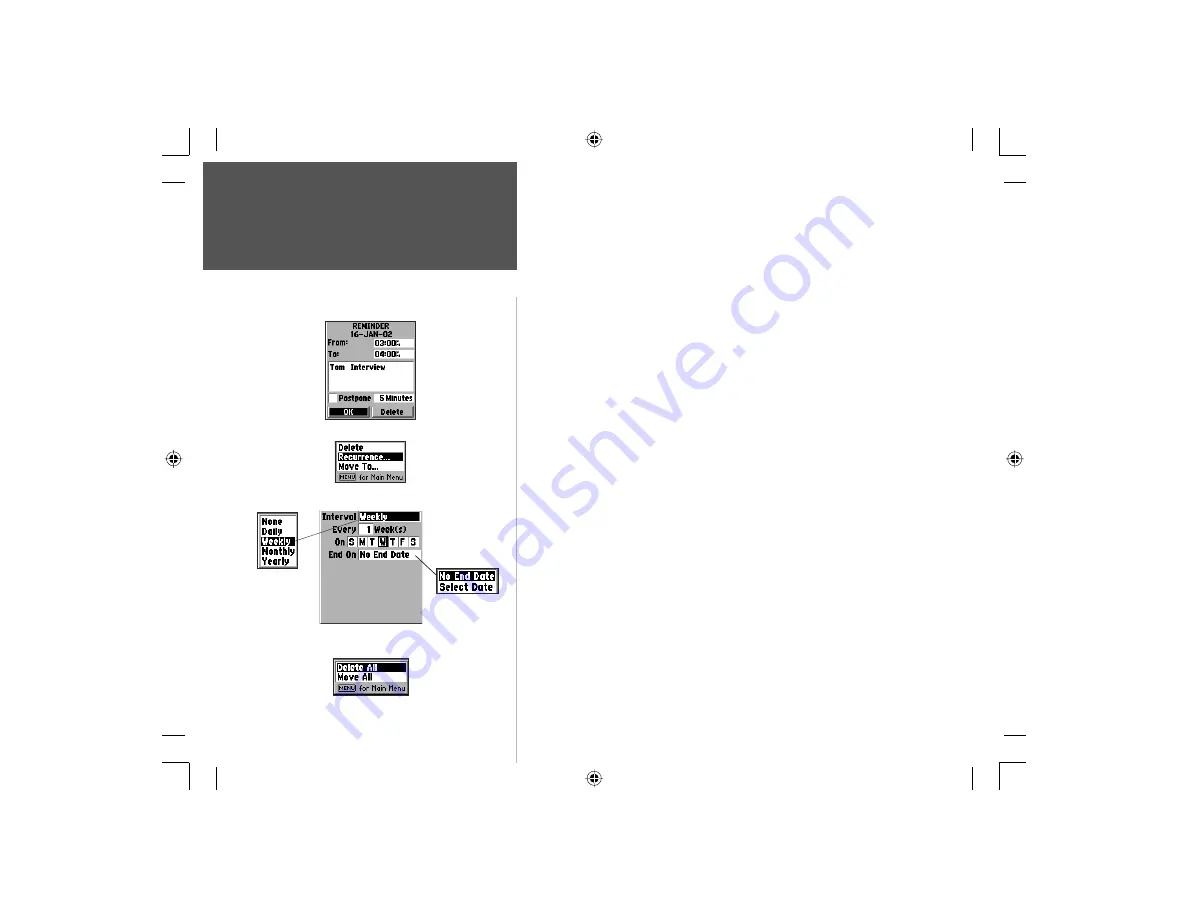
Using the Appointment Page Options
When setting up an appointment page you can choose from three
options: Delete, Recurrences, and Move To.
To cancel an appointment:
1. Select the appointment from the list page and press
ENTER
to display
the
page.
2. Press the
MENU
key to display the options menu. Select ‘Delete’ and
press
ENTER
to delete the page, or... use the page ‘Delete’ button..
To setup recurrences:
(usually done for a new appointment)
1. With the New Appointments Page displayed, press the
MENU
key to
display the options menu.
2. Select ‘Recurrences’ and press
ENTER
to display the Recurrences setup
page. On this page you will observe and ‘Interval’ fi eld with a default
entry of “None”. Press
ENTER
to display the list of interval options.
When you highlight any other option than “None” and then press
ENTER
, to display the ‘Frequency’, ‘Day of the Week’, and ‘End On’ fi elds.
3. Highlight each fi eld as required and enter the desired data. Press the
CLEAR
key to close.
To move an appointment to a new date:
1. Select the ‘Move To’ option and press
ENTER
to display the Calendar
Page. Use the
ARROW
keys to move to the new date and press
ENTER
.
A Reminder will
turn the unit On
, if necessary in
order to signal the
reminder note.
New Appointment Options Menu
Interval Settings Page for Appointment Reminders
Appointments List Options Menu
End-On Options
Appointment Reminder Page
You must clear a
Reminder before
the next reminder
will signal.
NvTlkGSMManual copy.indd 46
12/2/2002, 8:42:33 AM


