Periodic Routine Maintenance
Installing the New Print Unit
Notice:
To avoid exposing the photoconductor drum to light or
contamination, follow these guidelines:
l
Do not remove the print unit from its envelope until you are ready
to install it.
l
Complete the procedure as quickly as possible to avoid exposing
the drum to light for more than three minutes.
To avoid damaging the drum:
l
Be
sure to remove the plastic sheets after installing the print unit.
Operating the printer without removing the sheets will make the
print unit unusable.
l
Never touch or scratch the green drum surface.
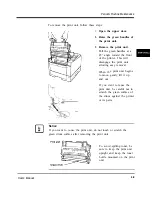
Print unit
Green d
l
Be
careful not to allow dust or foreign matters into the toner
hopper.
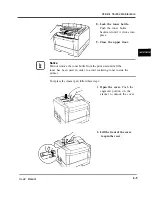
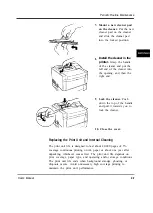
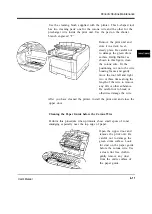
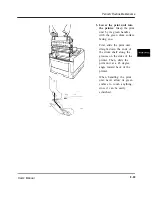
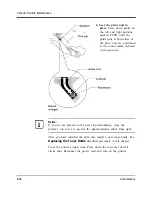
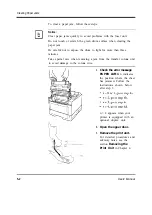
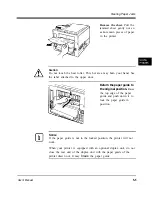
To install the new print unit, follow these steps:
1.
2.
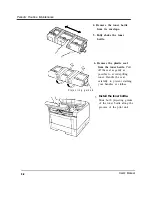
Remove the print unit
from its envelope.
Place the
unit on a level, steady place.
Remove the protective
materials from the print
unit. Remove
protective
sheet 1 Pull narrow clear
tape 2 until its blue end is
visible and remove it.
4-12
User’s Manual
Summary of Contents for PrintPartner 16V
Page 5: ... This page is intentionally blanked FM 4 User s Manual ...
Page 47: ...1 32 User s Manual ...
Page 56: ...ControlPanelFunctions Figure 3 3 Font report first page PCL emulation User s Manual 2 9 ...
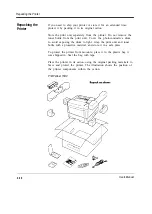
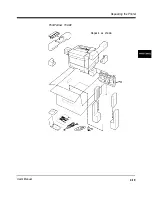
Page 114: ...Repacking the Printer PrintPartner 16ADV Repack as shown User s Manual 4 19 ...
Page 115: ...4 20 User s Manual ...
Page 135: ...PC1 Mode A 2 User s Manual ...
Page 136: ...FPS Mode FPS Mode User s Manual A 3 ...
Page 137: ...A 4 User s Manual ...

