Printer Connection and Software Installation
113
Reconfiguring the Wireless Settings
To change the wireless setting through the wireless connection from your computer, perform the following.
NOTE:
•
Ensure that the wireless connection setting is completed in
"Configuring the Optional Wireless Printer Adapter" on page 104
•
The following settings are available when the network mode is set to infrastructure in
"Configuring the Optional Wireless
1
Check the IP address of the printer.
a
On the operator panel, press the
(
Menu
) button.
b
Select
Report / List
, and then press the
button.
c
Select
Printer Settings
, and then press the
button.
The Printer Settings page is printed.
d
Confirm the IP address next to
IP Address
under
Network (Wireless)
on the Printer Settings page.
2
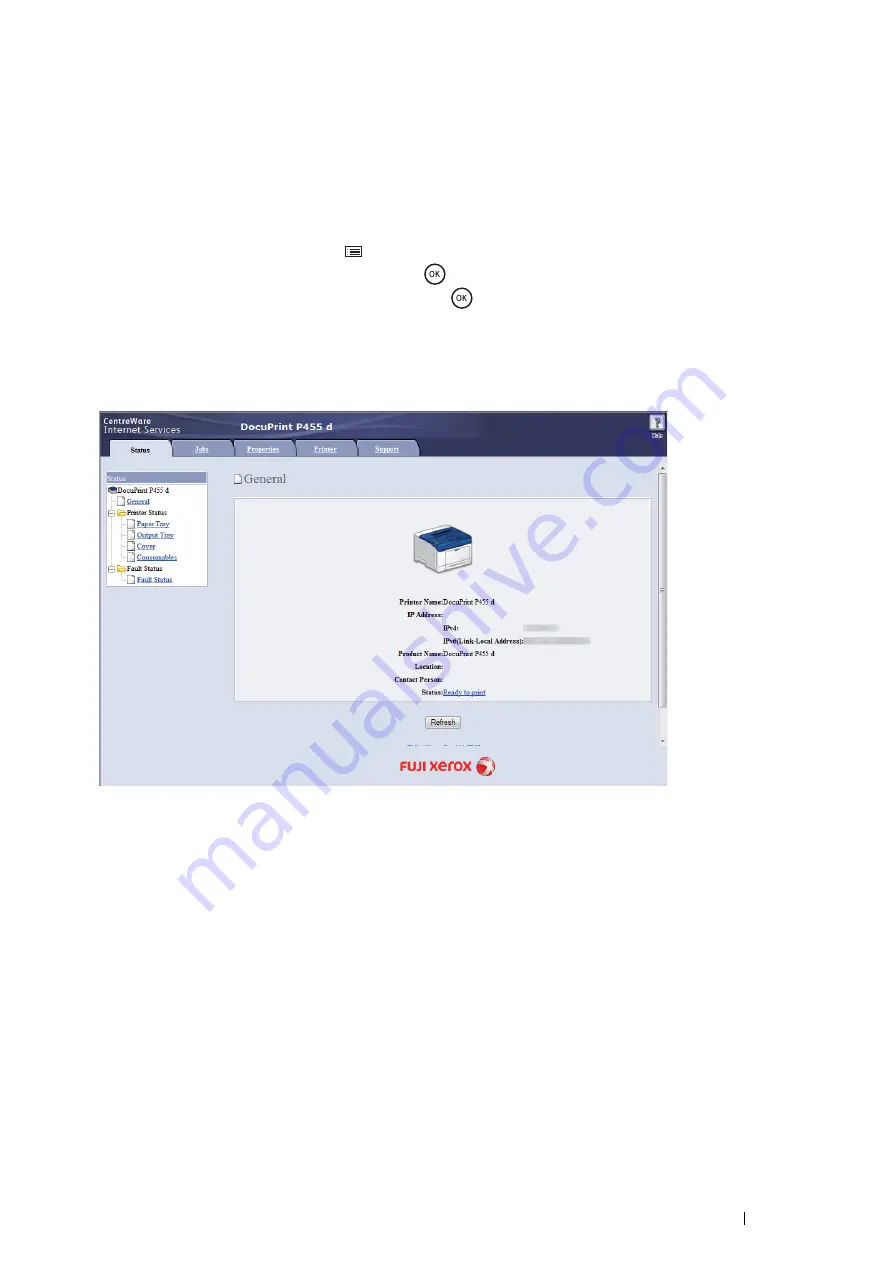
Launch the CentreWare Internet Services by entering the IP address of the printer in your web browser.
3
Click the
Properties
tab.
4
Click
Wireless
.
5
Change the wireless settings of the printer.
6
Click
Apply
to apply the settings.
7
Reboot the printer.
8
Change the wireless settings on your computer or access point accordingly.
NOTE:
•
To change the wireless settings on your computer, refer to the manuals provided with the wireless LAN access point or if your
computer provides a wireless adapter tool, change the wireless settings using that tool.
Summary of Contents for DocuPrint P455 D
Page 1: ...DocuPrint P455 d User Guide ...
Page 4: ...4 Preface ...
Page 10: ...10 Contents ...
Page 68: ...68 Printer Management Software ...
Page 114: ...114 Printer Connection and Software Installation ...
Page 160: ...160 Printing Basics ...
Page 200: ...200 Using the Operator Panel Menus ...
Page 294: ...294 Contacting Fuji Xerox ...
Page 301: ......


