Version 2.6:190307-Eng
19
9.
WORK SCHEDULES
You can create work schedules and assign them to a user or a department. The software will
then compare the actual attendance data with the user’s specified schedule.
The software can also be used without a schedule, if only the user’s attended time is of
interest.
Usage of work schedules gives the following functions:
•
If a user doesn’t check in a scheduled day, the software marks their abscense.
•
If a user’s attendance is longer then scheduled, a positive time balance is recorded in the
reports.
•
If a user’s attendance is less than scheduled, a negative time balance is recorded in the
reports.
•
If a user check’s in a scheduled day but forgets to check out when their work shift end,
the report automatically ends the day with the shift’s end in the work schedule.
•
Marking absence during sick leave is possible.
Work schedules are suitable for users with fixed workdays and times. It’s possible to have
different times for different weekdays, but with reoccurrence of the same schedule each
week. If users have different schedules each week, it’s more suitable to use planned
workschedules.
Creating a work schedule
Work schedules can be based on a shift start and a shift end. It can also be based on a goal
of hours per day, week or month. The example below shows a schedule based on shift start
and shift end with an automatically subtracted lunch break.
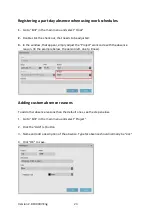
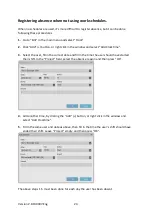
1.
Go to the “Edit” menu in the software and select “Work schedule”.
2.
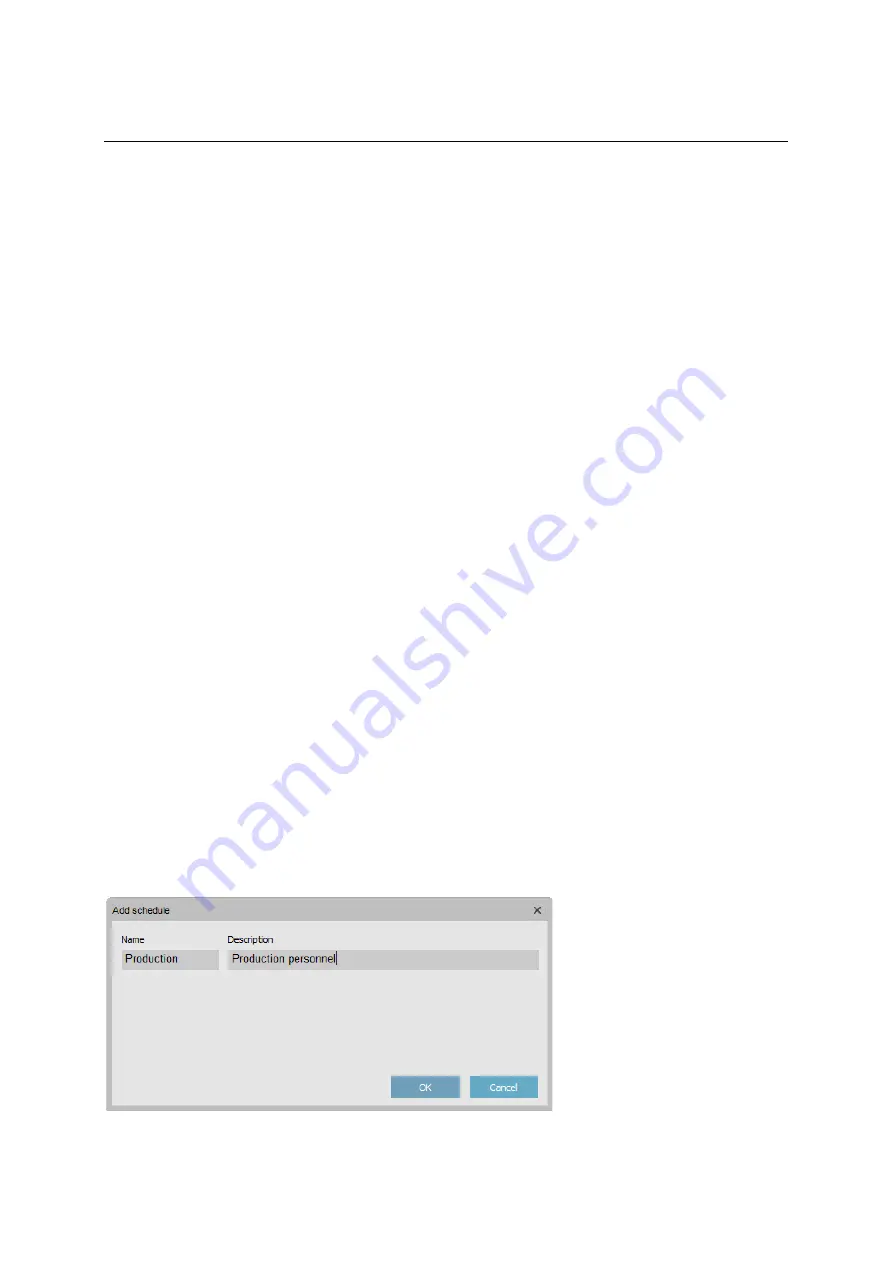
Click “Add” (+) in the top right corner and assign a name and add a description of the
schedule. Press “OK”.


