background image

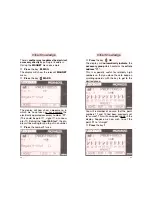
cut off,

the speed of the loco shown in the

display will go to v=0. 
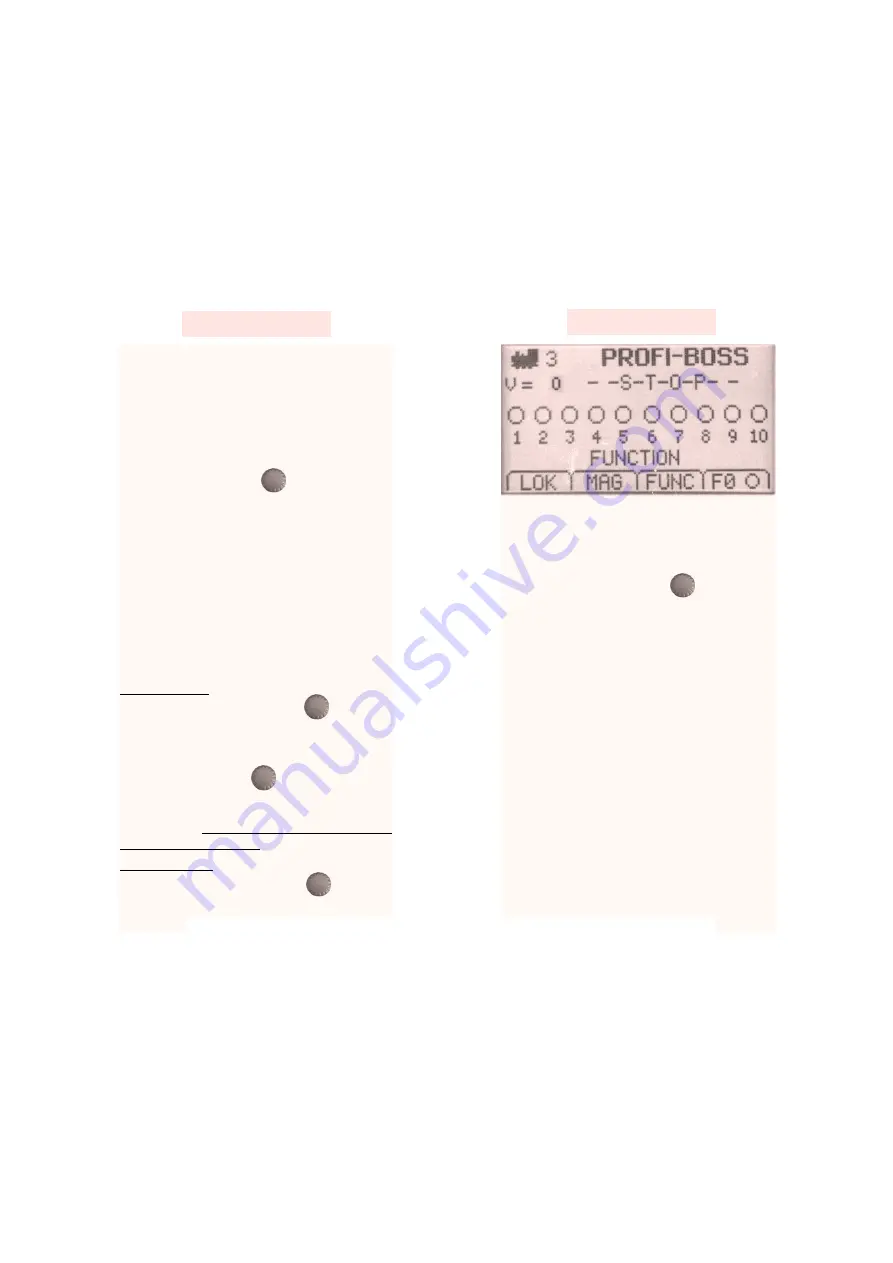
In the display ”

--S-T-O-P--

“ will appear.

This is known as a 

”complete emergency

stop“

.

By 

pressing

the red knob         

twice

, 2 x ,

the power to the layout will be turned on
again. Turn the knob and the loco last shown
will start to run again. 

How to run several locos at once can be
found in the later chapter marked 

”Expert

Knowledge“.

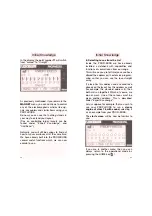
After learning about the running, we will turn
our attention to switching operations, in the
menu marked 

MAGNET

, (for electrically

operated accessories). Now you will find out
how to 

change the points and signals.

4. 

Switching electrically operated accessories

First, we should give you a little more relevant
information:
The digital control commands sends several
types of commands through the track at the
same time, but directs them to the specific,
individual address of the decoder of the article.

15

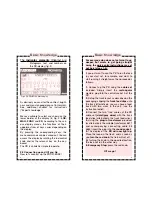
The loco will continue to run at the speed
selected until you increase the speed by turning
the knob further round, or go slower if you turn
the knob in the opposite direction. Once you
have come to a halt, (v = 0) then there must be
a pause of at least 0.5 of a second when you
wish to change direction ( the engine driver will
need to turn his head around too).
If you turn the red knob          now in the oppo-
site direction, the loco will run backwards. In the
display, the speed block will now be shown to
the left of the arrow symbol, which will now
itself be pointing downwards.
Information about the number of speed steps
can be found in the chapter 

”Expert Knowledge“

.

3.4 EMERGENCY STOP

You have now mastered the art of 

running

the loco. If however, the situation occurs
when you need to stop 

immediately

, then

you have two possibilities:

1st Possibility

press the red knob once 

1 x

The 

loco with its address shown in the dis-

play

(3) will stop immediately (v=0). This is

known as an 

”individual loco emergency stop“

.

By 

turning

the knob       , the loco will start

up again.
The whole layout and all other locos will
retain power. Only the loco shown in the dis-
pay will come to a halt.

2nd Possibility

press the red knob twice 

2 x

The 

power to the whole layout will now be

14

Initial Knowledge

Initial Knowledge

Summary of Contents for PROFI-BOSS 686601

Page 1: ......

Page 2: ......

Page 3: ...G Operating Instructions The model railway for experts PROFI BOSS 686601 DCC Digital Controller Locos Points LocoNet...

Page 4: ...mitgelieferten Steckernetzteil oder dem FLEISCHMANN DIGITAL CONTROL Trafo 6811 Anschluss an Ausgang SEC I schwarze und gelbe Klemme betrieben werden Schlie en Sie auf keinen Fall die Gleise direkt an...

Page 5: ...in Spielzeug und dienen nur zur Stromver sorgung Ihrer Modellbahn Bitte pr fen Sie diese Ger te regelm ig auf m gliche Sch den an Geh use Steckern oder Kabeln und ziehen Sie diese bei Besch digungen a...

Page 6: ...cess the display menu usage as shown by display indicator Numerical keys 0 9 to input num bers or letters carry out commands C key to cancel erroneous input commands alt key switching between menu lev...

Page 7: ...e plug into the round socket 5 The display of the PB will now light up Place the loco on the track and as soon as you turn the red knob the train will set off By turning the knob in the oposite direct...

Page 8: ...by step how to use all the other functions of the PB you are holding in your hand you will learn how to switch points and other electrical accessories you will learn how alter the settings of your loc...

Page 9: ...rically V 8 corresponds to speed step 8 which when running at 28 speed steps setting is a medium speed 13 Generally speaking you will find that the functions of the PROFI BOSS can be carried out paral...

Page 10: ...further round or go slower if you turn the knob in the opposite direction Once you have come to a halt v 0 then there must be a pause of at least 0 5 of a second when you wish to change direction the...

Page 11: ...g on the electro magnetic motor Point motors and uncoupler motors do not have their own decoder and must be connected into an electrical accessory receiver module article no 6852 Alternative connectio...

Page 12: ...11 and 15 need to be set to curved 19 With the key downwards you can go back down each batch of ten to the pre vious point batch here numbers 1 10 Using the MADR you will access the magnetically opera...

Page 13: ...ction command Up to 2000 electrical accessory modules can be connec ted into the system In the display though only 5 points will be displayed for number greater than 101 Further information can be fou...

Page 14: ...ay Suppose we now wish to set the point 11 to straight Press the key 1 23 There is another way to address the electrical accessory directly by putting in its address Call up the MAGNET menu once more...

Page 15: ...76 with sound selecting it as an example from your PROFI BOSS The start screen will by now be familiar to you If you are in another menu then you can always return to the operational mode by pressing...

Page 16: ...rm you of the current setting of any of them 27 Press the key LOK for about 1 second The library of loco addresses databank together with the class designation will appear We are looking for the class...

Page 17: ...e control knob and in the display 29 If your loco has more than10 functions avail able then by using the alt key the extra functions F11 F20 will be displayed Using the alt key again will return to th...

Page 18: ...sts CV direct input CV number X Acceleration inertia CV value X Breaking inertia function Minimum speed CV value X Medium speed Maximum speed Trim forwards Trim backwards Magnet Magnetic article Favou...

Page 19: ...ck If several locos are already on the track then take all the others which you do not wish to change off of the track If this is not possible then simply select the menu program on main and follow th...

Page 20: ...ow put in the address 55 by typing in the number 55 behind the value 35 Tip If you wish to change a loco address and don t already know its current address then it is also possible to use the PROFI BO...

Page 21: ...th all its charac teristics and functions will now be displayed Press the C alt Now you have reached the menu settings 37 In order to ensure that this address has been transmitted to the loco then you...

Page 22: ...can switch between name and address using the alt key Just as you do when using your mobile phone you can type in the names by pressing the keys marked with two strips This location can be moved by a...

Page 23: ...main In the 1st level you will find the main menu Program on Main in short POM Menu CV direct input Here you can set the CV value value area 0 255 for every CV number area from 1 1024 Input via the k...

Page 24: ...ed will be displayed The sub menus for Magnetic articles are Using the menu Program on Main the basic difference to the main menu locomo tive is that you are now able to reprogram individual locos of...

Page 25: ...u magnet article press the alt key and the menu favourites will appear Menu CV direct input Here you can set the CV value value area 0 255 for every CV number area from 1 1024 Input via the keyboard o...

Page 26: ...you set which loco address will be first shown in the running menu when starting off Works setting is 3 Using the SEL select the desired favourite entry which you wish to have By turning the or by usi...

Page 27: ...ion If you don t want this to happen then using the following trick you can keep them all at a standstill 49 If you press SEL the PB will display your loco databank From this list you can select your...

Page 28: ...as normal as point addresses They will not be displayed as point symbols but will appear as routes R1 to R48 Set the point routes as you have already learnt via the keyboard of the PB until you are re...

Page 29: ...PROFI BOSS A maximum of 16 locos on the layout can be controlled by commands If a 17th loco is Running two or more PROFI BOSSES Naturally you can link up daisy chain se veral PBs together using the L...

Page 30: ...ming and read out parts in clear text vehicles and magnetic articles PC connection via Interface from Uhlenbrock Connection of Booster 6807 using Booster cable 38686601 Connection to TWIN CENTER via L...

Page 31: ...ostfach 910148 D 90259 N rnberg Telefon 09 11 3370 0 Telefax 0911 3370 2 99 E Mail info fleischmann de Internet http www fleischmann de Internet http www profi boss de Made in Germany Fabriqu en Allem...

Reviews: