


The fitting of the windscreen on the bodyshell must take place with no possibility of delay within 5
minutes from the application of the adhesive tape.
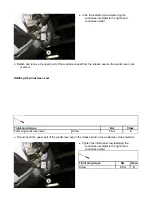
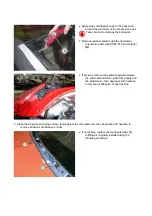
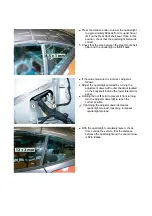
Hold the windscreen parallel to the mating surface and fit onto the bodyshell.
Press around the entire perimeter of the windscreen.
Apply a few strips of adhesive fabric tape
SYROM 90
, starting from the windscreen and fixing to the pillar
and roof.
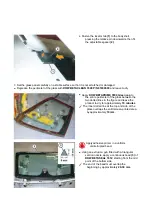
Wait at least
3 hours
, remove the adhesive tape and remove any sealant residue from the perimeter of the
windscreen with heptane.
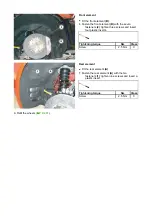
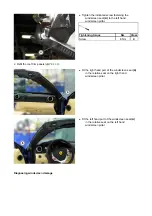
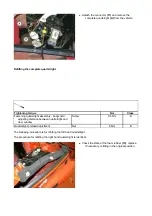
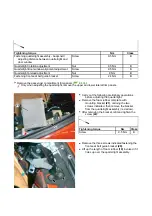
Refit the rain/twilight sensor (
F2.12
).
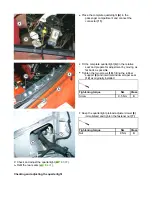
Refit the interior rear view mirror (
E5.11
).
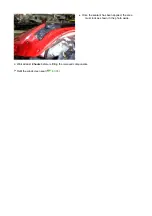
Apply sealant on windscreen pillars (
E3.06
).
Refit the windscreen seal (
E3.06
).
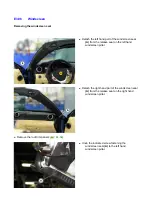
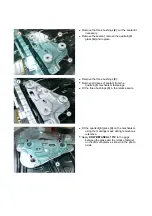
Refit the roof trim panels (
E4.04
).
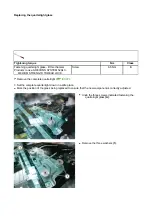
Refit the engine compartment cosmetic shields (
E3.13
).
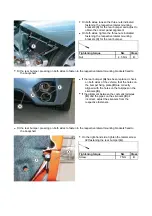
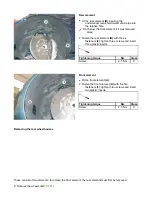
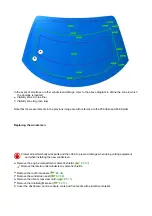
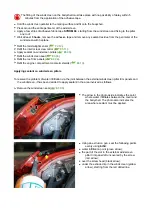
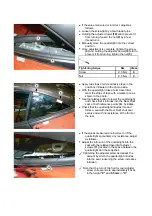
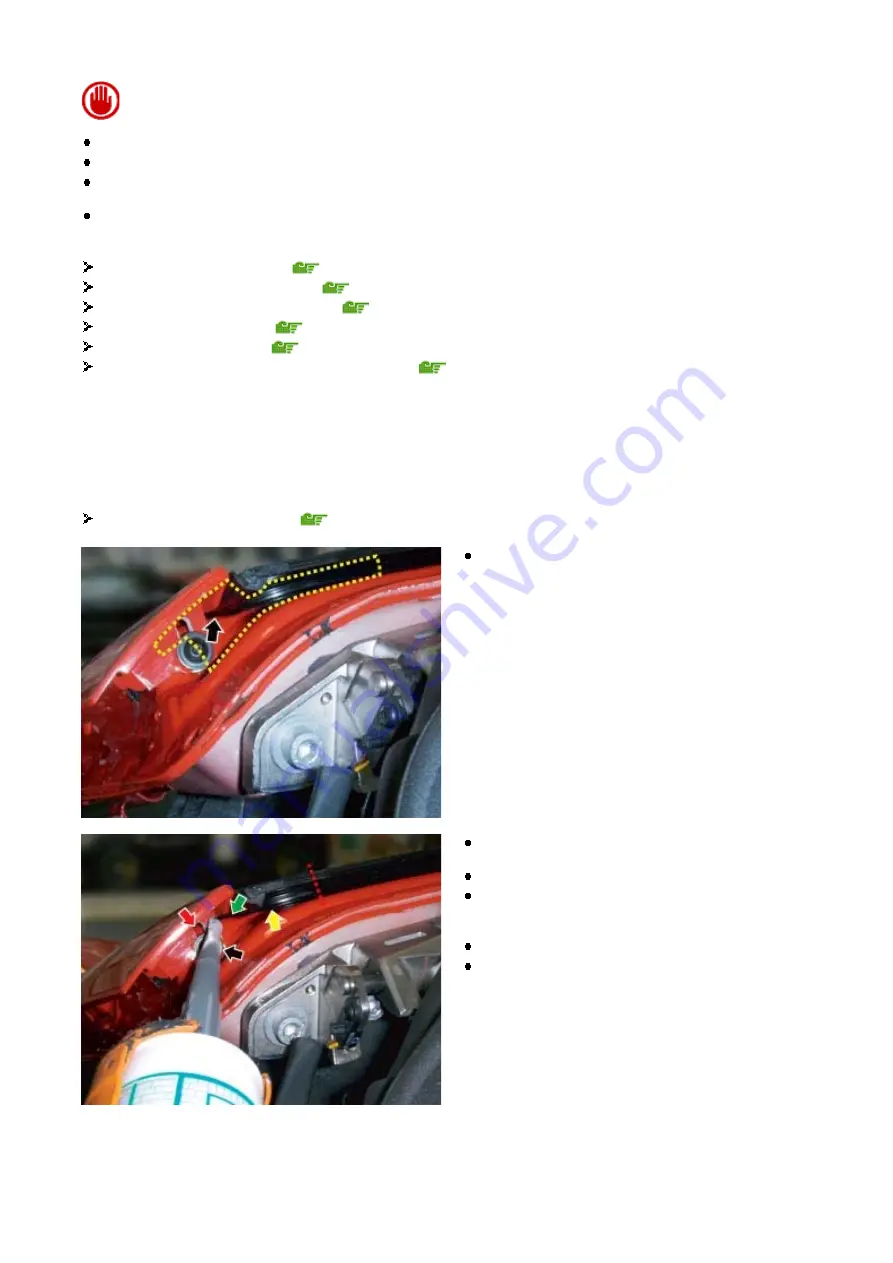
Applying sealant on windscreen pillars
To resolve the problem of water infiltration via the joint between the external windscreen pillar trim panels and
the windscreen, it has been decided to apply sealant in the area involved as follows.
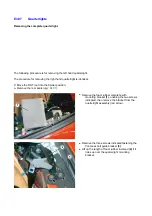
Remove the windscreen seal (
E3.06
).
The arrow in the photo aside indicates the point
where water infiltrates between the cover and
the bodyshell. The photo also indicates the
area where sealant must be applied.
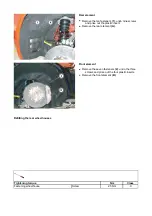
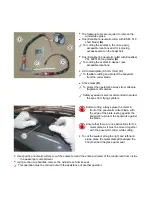
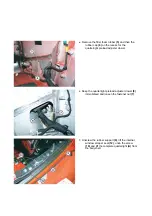
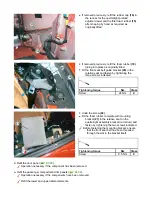
Using an extrusion gun, seal the following points
evenly using
biSil
:
water infiltration point (green arrow);
the part of the slot in the external windscreen
pillar trim panel left uncovered by the screw
(red arrow);
over the screw head (black arrow);
under the extruded lip in the windscreen (yellow
arrow), starting from the red dotted line.
Summary of Contents for California
Page 19: ...Z Tyre type and pressure label ...
Page 20: ...04 02 Assembly number Assembly number A Assembly number label ...
Page 21: ...04 03 Chassis number Chassis number B Punched chassis number ...
Page 22: ...04 04 Engine type and number Engine type and number C Punched engine type and number ...
Page 23: ...04 05 Chassis number Chassis number D Chassis number ...
Page 24: ...04 06 Gearbox type and number Gearbox type and number E Gearbox type and number plate ...
Page 25: ...04 07 Vehicle identification Vehicle identification K VIN label Vehicle Identification Number ...
Page 28: ...04 10 Fuel Fuel I Fuel label ...
Page 29: ...04 11 Paintwork Paintwork L Paintwork label ...
Page 30: ...04 12 Emissions control Emissions control M Emissions control data label ...
Page 31: ...04 13 Airbag Airbag N Do not install child seat on passenger seat label ...
Page 32: ...04 14 Airbag Airbag O Airbag maintenance label ...
Page 33: ...04 15 Airbag Airbag P Airbag warning label ...
Page 43: ...Fluids and lubricants table Model Fluids and lubricants table Download ...
Page 71: ...Screw the cap A back on tightly ...
Page 104: ...Connect the battery F2 01 ...
Page 118: ...Vehicle Setup Parameter Check Form Model Vehicle Setup Parameter Check Form Download ...
Page 520: ...A DCT gearbox clutch oil tank and clutch oil pump B Clutch oil pipes C Clutch oil radiator ...
Page 623: ...CCM Brake Disc Wear Form Model All Models CCM Brake Disc Wear Form Download ...
Page 1070: ...A Horn button B Engine start button C Manettino ...
Page 1102: ...Perform the respective cycle with the DEIS diagnostic tester ...
Page 1144: ...Connect the battery F2 01 ...
Page 1220: ...Precautions and guidelines for using the RHT retractable hard top ...
Page 1334: ...Undo the indicated fasteners Retrieve the indicated shims Release the clip 1 ...
Page 1335: ...Remove the indicated clip Undo the indicated screw Undo the screws indicated ...
Page 1452: ...Refit the rear wheelhouses E3 05 Connect the battery F2 01 ...
Page 1453: ...F2 07 Lights Diagnosing condensation in headlamps ...
Page 1561: ...Ss Sensor signal λ Lambda ratio excess g Rich mixture M Lean mixture ...
Page 1570: ...Refit the DCT gearbox C2 03 Connect the battery F2 01 ...
Page 1656: ...G Heater evaporator H Pollen filter I Air vents M Expansion valve ...
Page 1677: ...Refit the front wheelhouses E3 05 ...
Page 1686: ...Refit the caps 1 Refit the engine compartment cosmetic shields E3 13 ...


