7
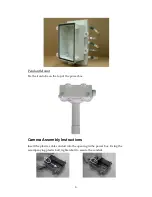
Affix the power box to the wall or mounting.
To prevent water getting into the camera housing, apply the thread seal tape to
the threading on the top of the outer housing.
NOTE: Please follow the sequence of steps as outlined below. To avoid pulling
cables loose during installation, do not connect cables to the camera board until
the bracket arm and housing have been joined together.
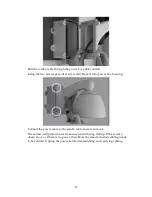
Run the combo cable through the bracket arm as seen below.
Summary of Contents for EV6250A Series
Page 1: ...EV6250A Series Speed Dome IP Camera Assembly Guide Version 6 3...
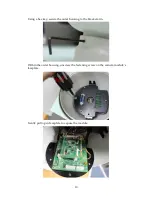
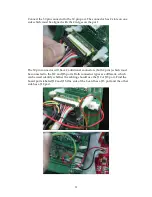
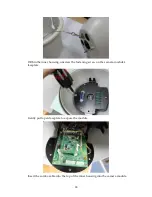
Page 8: ...8 Insert the combo cable connectors into the top of the outer housing into the camera module...
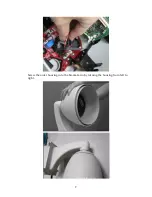
Page 9: ...9 Screw the outer housing into the bracket arm by turning the housing from left to right...
Page 13: ...13 The housing s camera saddle points are highlighted below...
Page 30: ...30...

