290
Print settings
Available options
Description
B&W
—
Prints a color photo in black and white.
Auto
—
Automatically detects whether the photo is in color or black
and white.
Advanced
settings
Print settings
Available options
Description
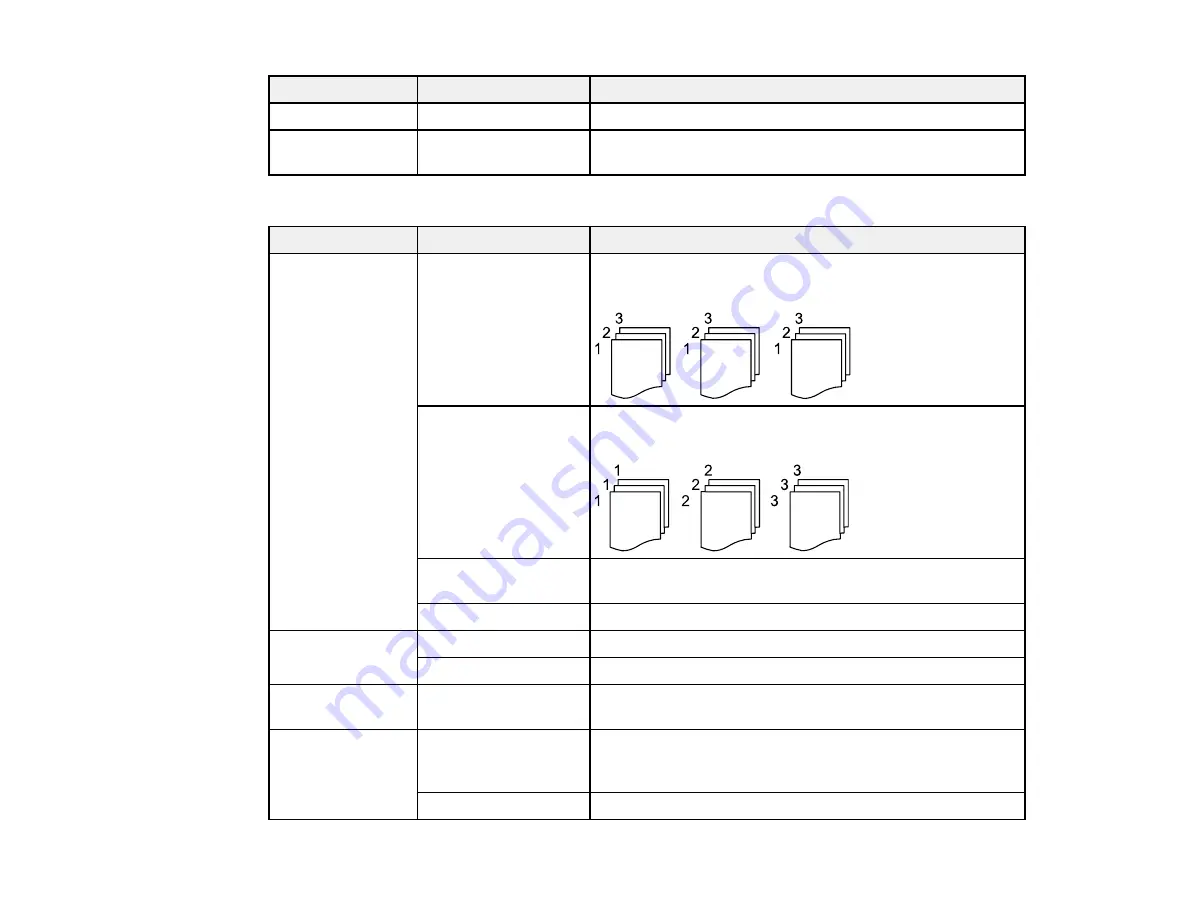
Finishing
Collate (Page Order)
Select to print multiple copies of a multi-page document in
ordered sets.
Group (Same Pages)
Select to print multiple copies of a multi-page document in
unordered groups.
Eject Paper
Choose if you want printouts ejected offset for each set of
copies.
Staple*
Select the staple location.
Quality
Standard
Provides good quality for most prints.
Best
Provides the highest quality for special prints.
Date
Various date formats
Prints the date the photo was taken on the photo in the
format you select.
Fix Photo
Various settings
Automatically adjusts the brightness, contrast, and
saturation of the photo based on the setting that is
selected.
Enhance Off
Turns off automatic adjustments.
Summary of Contents for WF-C20590 Series
Page 1: ...WF C20590 User s Guide ...
Page 2: ......
Page 14: ......
Page 28: ...28 You see the Basic Settings screen 4 Select Date Time Settings ...
Page 80: ...80 You see a screen like this 5 Select PDL Print Configuration ...
Page 89: ...89 You see this screen 2 Select Load Paper under the How To options ...
Page 90: ...90 You see this screen 3 Select one of the options ...
Page 91: ...91 You see this screen 4 Select How To ...
Page 99: ...99 You see a screen like this 2 Select the paper source you want to select settings for ...
Page 110: ...110 Parent topic Placing Originals on the Product Related topics Copying Scanning Faxing ...
Page 191: ...191 You see a screen like this 4 Select Email ...
Page 200: ...200 You see an Epson Scan 2 window like this ...
Page 202: ...202 You see an Epson Scan 2 window like this ...
Page 207: ...207 You see this window ...
Page 223: ...223 DSL connection 1 Telephone wall jack 2 DSL filter 3 DSL modem ...
Page 224: ...224 ISDN connection 1 ISDN wall jack 2 Terminal adapter or ISDN router ...
Page 246: ...246 You see a screen like this 3 Select the Recipient tab ...
Page 251: ...251 You see a screen like this 3 Select the Recipient tab 4 Select Add New 5 Select Add Group ...
Page 311: ...311 You see a screen like this 6 Select Print Head Nozzle Check ...
Page 318: ...318 5 Open the interior of the document cover ...


