6.
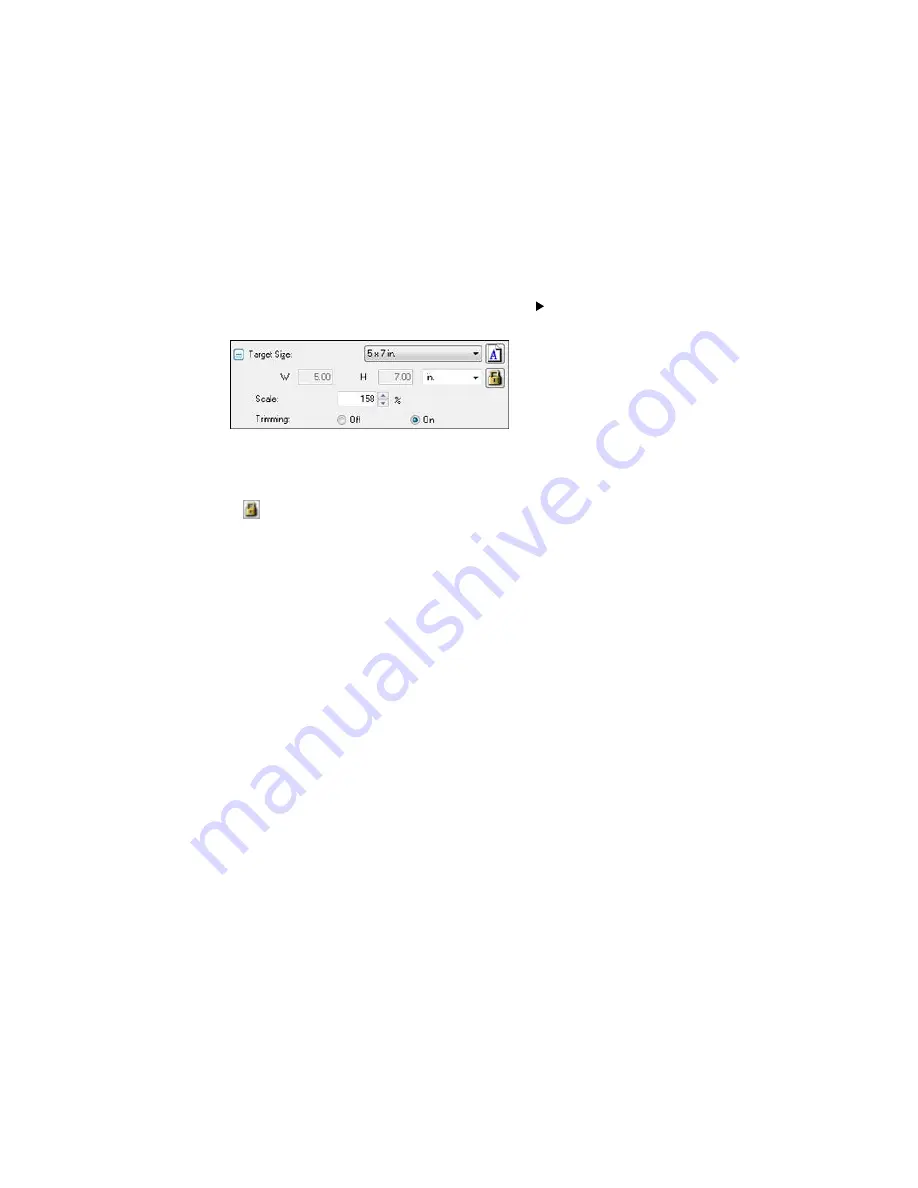
To use additional sizing tools, click the
+
(Windows) or
(OS X) icon next to the Target Size setting
and select options as desired.
•
Scale
: Reduces or enlarges your image by the percentage you enter.
•
Trimming
: Turns automatic image cropping on or off.
•
Unlock icon: Unlocks the width/height proportions of the scanned image size so you can adjust
it without constraint.
Parent topic:
Scanning in Professional Mode
Image Preview Guidelines
You can preview your scanned image so you can adjust the scan settings using the preview as a guide.
There are two types of preview available, depending on the scan mode and selected settings:
Thumbnail preview
A thumbnail preview displays your previewed images as thumbnails with the scanned image area and
exposure automatically selected.
Normal preview
A normal preview displays your previewed images in their entirety so you can select the scanned
image area and other settings manually.
Parent topic:
Selecting Epson Scan Settings
Scan Resolution Guidelines
If you plan to enlarge a scanned image so you can print it at a larger size, you may need to increase the
resolution from the default resolution set by Epson Scan. Follow these guidelines to determine the
resolution setting you need:
• You will enlarge the image as you scan it.
If you will enlarge the image using Epson Scan's Target Size setting, you do not need to increase the
Resolution setting.
Summary of Contents for WF-6530
Page 1: ...WF 6530 User s Guide ...
Page 47: ...6 Select Yes to disable Wi Fi Parent topic Changing or Updating Network Connections ...
Page 71: ......
Page 165: ...You see this window ...
Page 191: ...DSL connection 1 Telephone wall jack 2 DSL filter 3 DSL modem ...
Page 192: ...ISDN connection 1 ISDN wall jack 2 Terminal adapter or ISDN router ...
Page 225: ...You see this window 4 Select Speed Dial Group Dial List ...
Page 289: ...6 Raise the lever and open the ADF cover F ...
Page 312: ...3 Remove the output tray and pull out the paper cassette 4 Pull the lever to lower the cover ...
Page 314: ...2 Pull out the paper cassette 3 Carefully remove any paper jammed inside the product ...
Page 318: ...3 Raise the lever and open the ADF cover ...
Page 319: ...4 Carefully remove any jammed pages ...
Page 320: ...5 Close the ADF cover then raise the document cover ...


