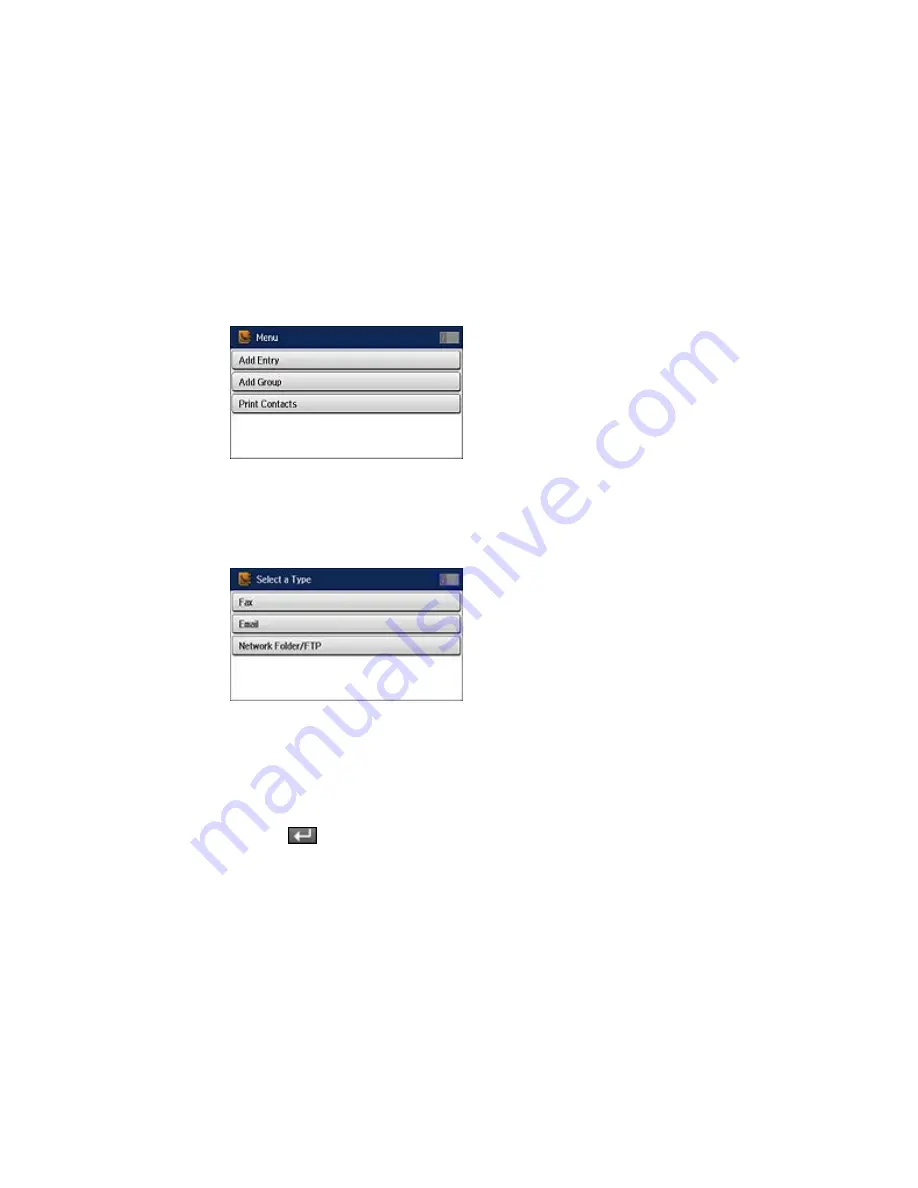
You see a screen like this:
Note:
You can print your list of contacts and groups if necessary.
4.
Select
Add Entry
.
You see a screen like this:
5.
Do one of the following:
• To create a contact for scanning to email, select
.
• To create a location for scanning to a network folder or FTP site, select
Network Folder/FTP
.
6.
Select the number you want to use for the contact you are adding.
7.
Select the
Name
field, use the displayed keyboard to enter the contact name (up to 30 characters),
and press
.
Summary of Contents for WF-6530
Page 1: ...WF 6530 User s Guide ...
Page 47: ...6 Select Yes to disable Wi Fi Parent topic Changing or Updating Network Connections ...
Page 71: ......
Page 165: ...You see this window ...
Page 191: ...DSL connection 1 Telephone wall jack 2 DSL filter 3 DSL modem ...
Page 192: ...ISDN connection 1 ISDN wall jack 2 Terminal adapter or ISDN router ...
Page 225: ...You see this window 4 Select Speed Dial Group Dial List ...
Page 289: ...6 Raise the lever and open the ADF cover F ...
Page 312: ...3 Remove the output tray and pull out the paper cassette 4 Pull the lever to lower the cover ...
Page 314: ...2 Pull out the paper cassette 3 Carefully remove any paper jammed inside the product ...
Page 318: ...3 Raise the lever and open the ADF cover ...
Page 319: ...4 Carefully remove any jammed pages ...
Page 320: ...5 Close the ADF cover then raise the document cover ...


