197
Sizing Printed Images - Mac
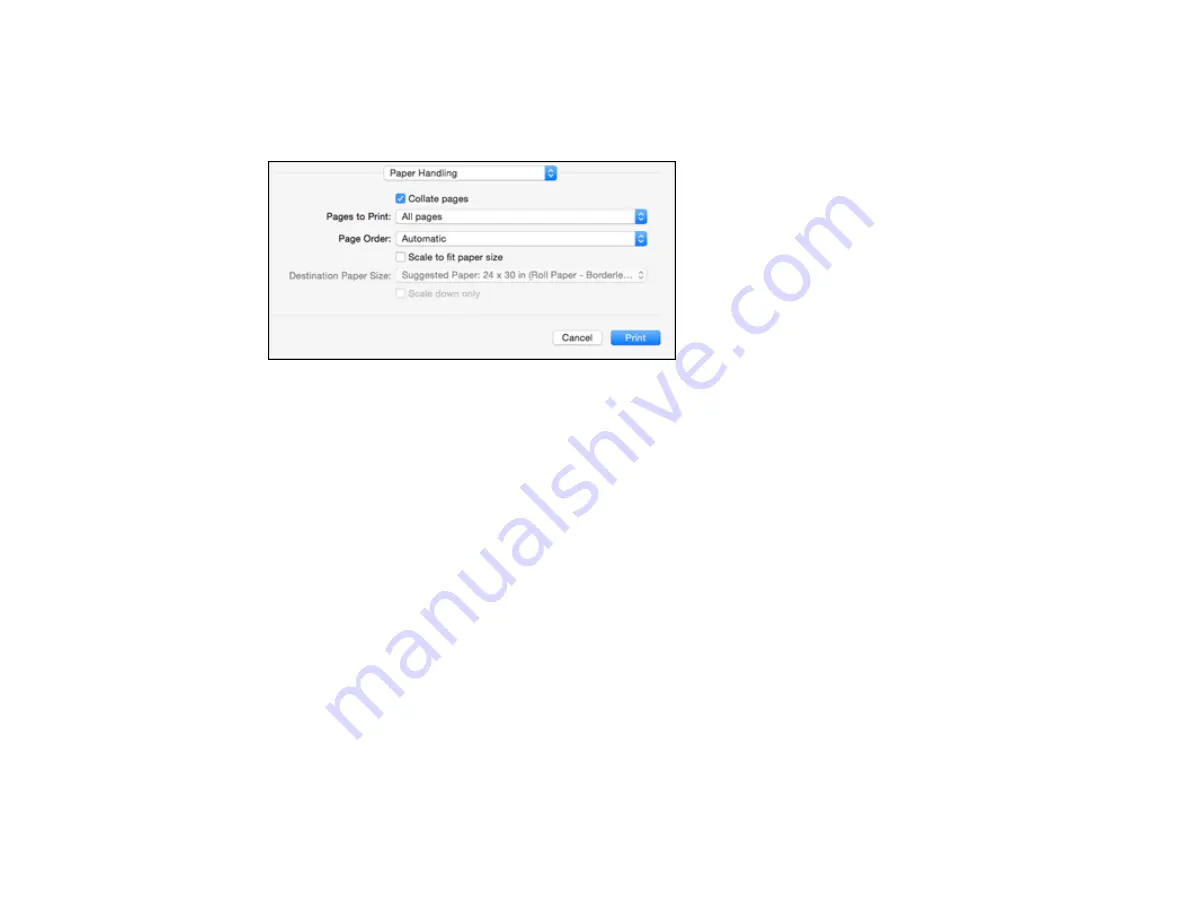
You can adjust the size of the image as you print it by selecting
Paper Handling
from the pop-up menu
on the Print window.
• To collate multiple copies into sets of documents, select the
Collate pages
checkbox.
• To print only selected pages in a multi-page document, select an option from the
Pages to Print
pop-
up menu.
• To adjust the order in which pages are printed, select an option from the
Page Order
pop-up menu.
• To scale the image to fit on a specific paper size, select the
Scale to fit paper size
checkbox and
select a paper size from the
Destination Paper Size
pop-up menu.
• To restrict scaling of the image to reduced sizing, select the
Scale down only
checkbox. (Deselect
this checkbox when enlarging the image.)
Parent topic:
Selecting Printing Preferences - Mac
You can select printing preferences that apply to all the print jobs you send to your product.
1.
In the Apple menu or the Dock, select
System Preferences
.
2.
Select
Print & Fax
,
Print & Scan
, or
Printers & Scanners
, select your product, and select
Options
& Supplies
.
3.
Select
Options
.
Summary of Contents for SureColor P8570D Series
Page 1: ...Epson SureColor P8570D T7770D Series User s Guide ...
Page 2: ......
Page 10: ...10 Default Delay Times for Power Management for Epson Products 380 Copyright Attribution 381 ...
Page 59: ...59 6 Remove the spindle 7 Remove the transparent paper stop from the spindle ...
Page 92: ...92 Note Close the paper output flap if it is open ...
Page 95: ...95 ...
Page 102: ...102 Note Close the paper output flap if it is open ...
Page 105: ...105 ...
Page 120: ...120 6 Open the paper output flap ...
Page 121: ...121 7 Move the paper output tray into position B the middle position as shown ...
Page 123: ...123 10 Remove the transparent paper stop from the spindle ...
Page 124: ...124 11 Remove the rim of the paper stop from the end of the spindle ...
Page 129: ...129 21 Cut the leading edge of the paper as shown ...
Page 155: ...155 SureColor P8570D ...
Page 164: ...164 You can also place the same print data multiple times as shown here ...
Page 281: ...281 You see a window like this 5 Click Print The nozzle pattern prints ...
Page 294: ...294 4 Open the cutter cover ...
Page 304: ...304 4 Close the maintenance cover 5 Open the port cover at the back of the printer ...
Page 306: ...306 8 Close the rear maintenance cover ...
Page 313: ...313 8 Hold the cleaning stick in a vertical position and wipe the guides as shown ...
Page 315: ...315 10 Use a new cleaning stick to wipe any dirt off of the wiper ...
Page 319: ...319 17 Hold the cleaning stick in a vertical position and wipe the guides shown here ...
Page 344: ...344 5 Close the printer covers ...
Page 358: ...358 Parent topic Solving Problems ...


