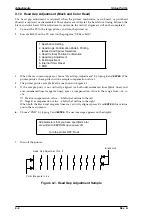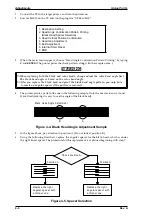
11. After replacing the angular spacer, reassemble the ink cartridge holder and reinstall the ink
cartridges. Use the BASIC program to verify the angle of the black head. Confirm the angle by
performing the steps 1 to 6 again, and if the angle is wrong, perform the adjustment again
until the head angle is correct.
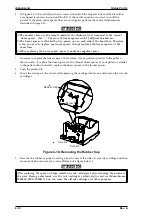
WARNING
❏
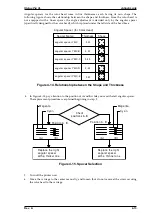
The angular spacer comes in five thicknesses. Continue performing this adjustment, by
changing the black head angle is correct.
❏
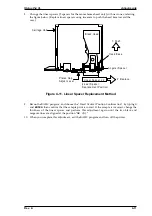
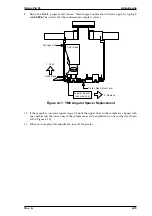
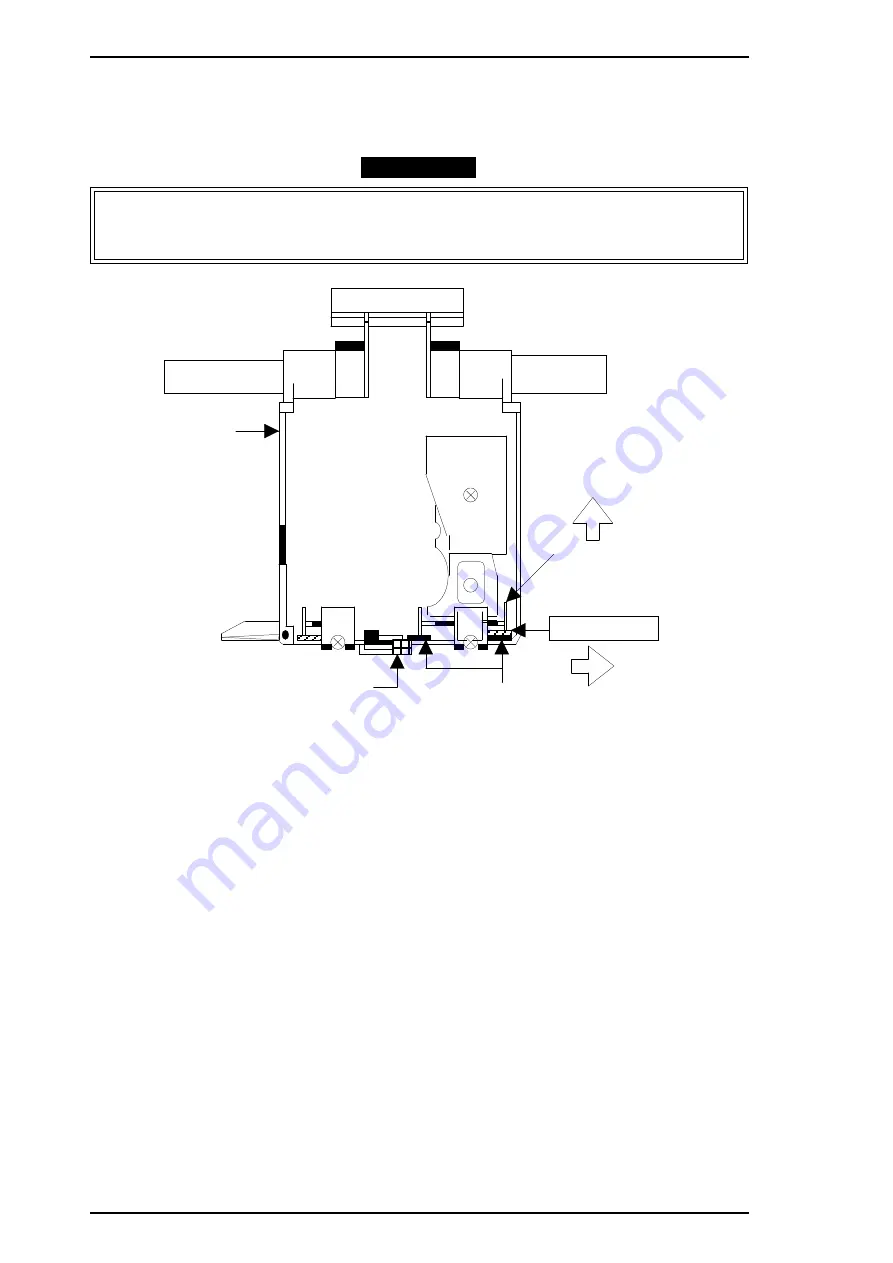
When inserting an angular spacer, always place the angular spacer on the linear spacer.
1: Push
Carriage Unit
Pla ten Gap
Adjust Lever
Linear Spacer
Black Head
He ad Ba se
Angular Spacer
2: Replace
(Angular Spacer
Replacement Position)
Figure 4-7. Angular Spacer Replacement Method
Adjustments
Stylus Pro XL
4-8
Rev. A
Summary of Contents for Stylus Pro XL
Page 1: ...EPSON COLOR INKJET PRINTER Stylus Pro XL SERVICE MANUAL EPSON 4004677 ...
Page 93: ...Rev A 5 i ...
Page 127: ...EPSON ...

