6.
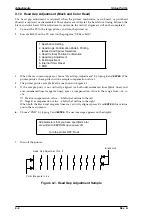
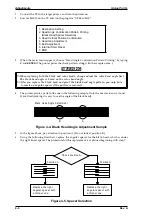
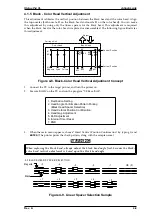
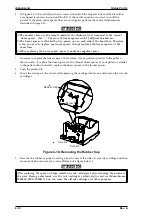
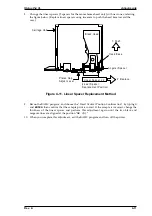
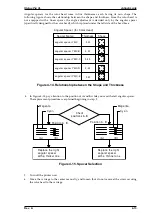
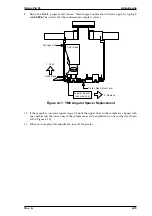
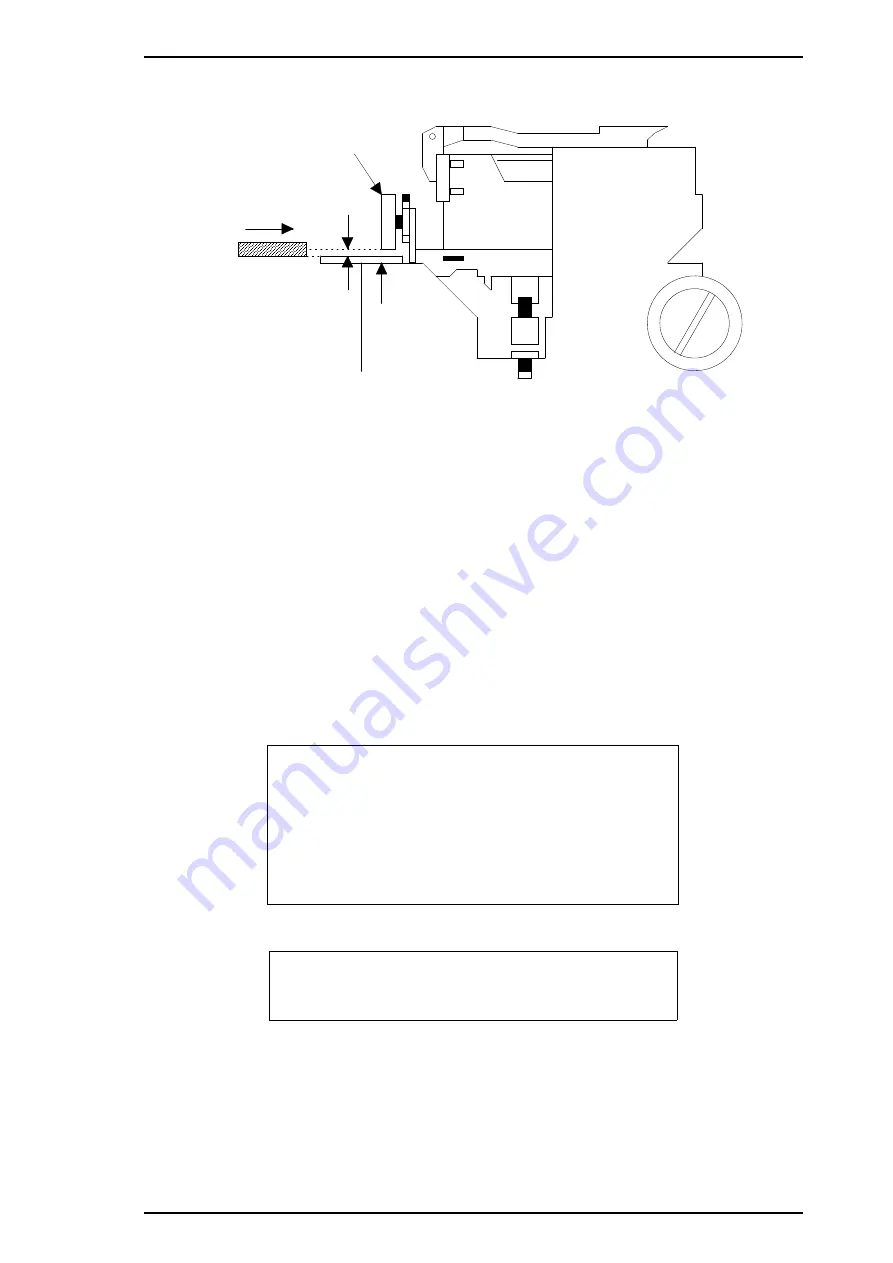
Move the carriage manually to the right adjustment position and repeat steps 3 and 4,
referring to Figures 4-18 and 4-19.
4.1.8 Internal Timer Reset Operation
This operation is required when the M-4A60 printer mechanism is replaced. There are 6 timers in
this printer:
1.
Refresh timer
2.
Timer (monochrome and CMY)
3.
Flushing level decision timer
4.
False absorbing timer
5.
Total print timer
6.
PAUSE timer
When the printer mechanism is replaced, reset the timers as described here:
1.
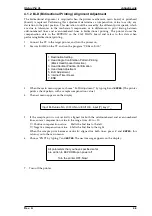
Connect the PC to the target printer, and turn on the printer.
2.
Execute BASIC on the PC and run the VERxxx.BAS program.
1. Destination Setting
2. Head Angle Confirmation Pattern Printing
(Black Head Spacer Selection)
3. Head Vertical Position Confirmation
4. Head Gap Adjustment
5. Bi-D Adjustment
6. Internal Timer Reset
7. END
3.
When the main menu appears, choose “Internal timer reset” by typing
6
and
ENTER
. This
resets the internal timer. The following message then appears.
All parameters of the internal timer
are now reset. Press Y and ENTER
to return to the main menu.
4.
Press
Y
and
ENTER
.
5.
Press
7
and
ENTER
.
6.
Turn off the printer.
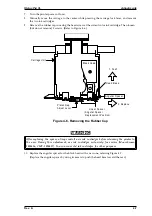
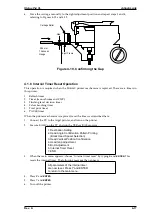
0.04 mm
Carriage Roller
Thickness
Gauge
Gap
Eject Frame
Figure 4-19. Confirming the Gap
Stylus Pro XL
Adjustments
Rev. A
4-17
Summary of Contents for Stylus Pro XL
Page 1: ...EPSON COLOR INKJET PRINTER Stylus Pro XL SERVICE MANUAL EPSON 4004677 ...
Page 93: ...Rev A 5 i ...
Page 127: ...EPSON ...

