9-2
Using Your Camera for Presentations
Uploading Existing Images From Your
Windows PC
Before you start, make sure the camera is connected to your
computer, and both the computer and the camera are turned
on. Then follow these steps:
1
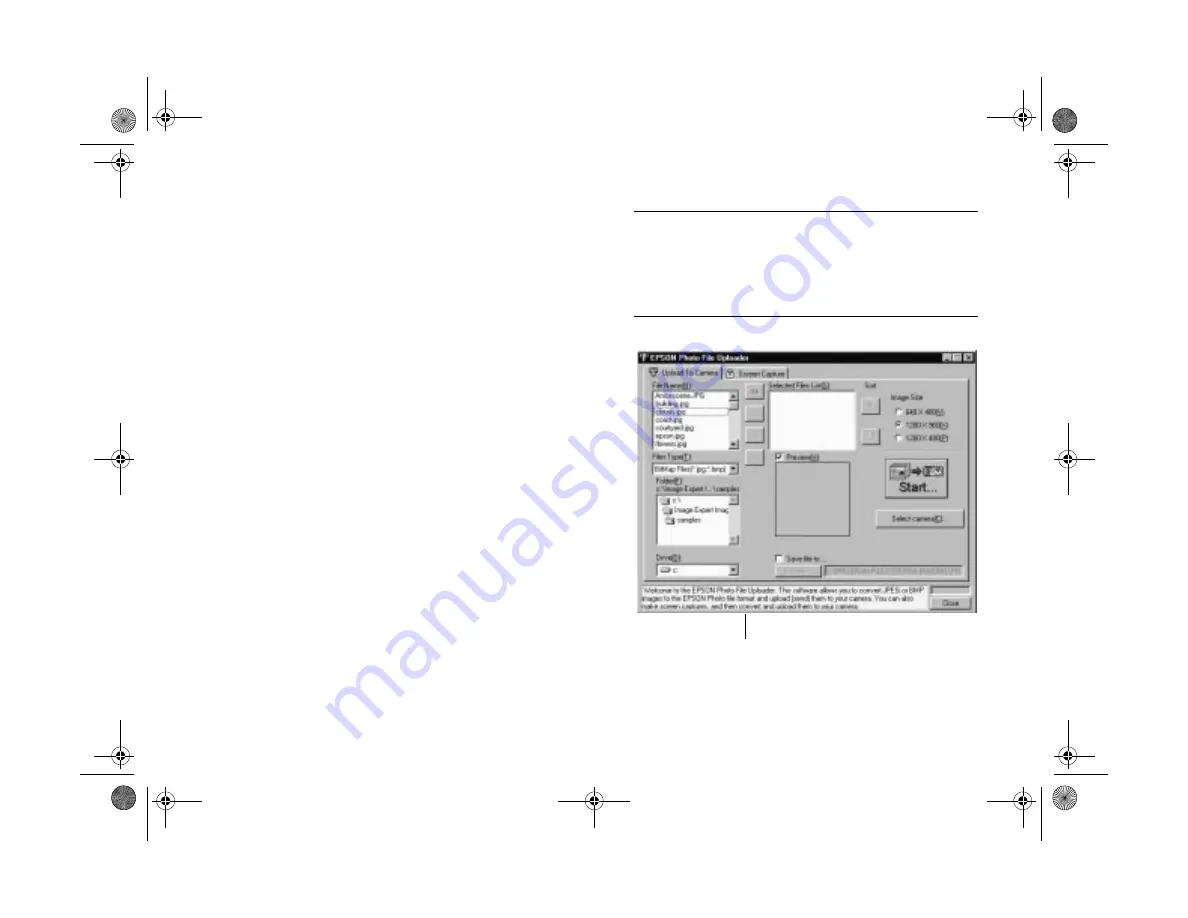
Start the EPSON Photo File Uploader program. In
Windows 95, click
Start
, and then point to
Programs
,
PhotoPC 700
,
EPSON Photo File Uploader
. You
see a screen like the one on the right.
2
Use the
Drive
and
Folder
lists to locate the folder
containing the images you want to upload. Double-click
the folder to select it.
The images in the folder are listed in the
File Name
box.
NOTE
If you want to upload images from a network drive, you may
need to map the drive before opening the EPSON Photo File
Uploader software. See your Windows Help utility or
documentation for more information.
Check this box for helpful information.
Popch9.fm5 Page 2 Friday, May 15, 1998 3:15 PM
Summary of Contents for PhotoPC 700
Page 1: ......
Page 2: ...A B Popfm fm5 Page i Friday May 15 1998 2 28 PM ...
Page 66: ...3 14 Playing Back Photos Popch3 fm5 Page 14 Friday May 15 1998 2 48 PM ...
Page 104: ...6 16 Working With Photos and Albums Popch6 fm5 Page 16 Friday May 15 1998 3 02 PM ...
Page 136: ...9 12 Using Your Camera for Presentations Popch9 fm5 Page 12 Friday May 15 1998 3 15 PM ...
Page 164: ...11 20 Printing Directly From the Camera DirectPt fm Page 20 Friday May 15 1998 3 23 PM ...
Page 176: ...12 12 Maintenance and Troubleshooting trouble fm Page 12 Friday May 15 1998 3 28 PM ...
Page 184: ...A 8 Optional Accessories Popapa fm5 Page 8 Friday May 15 1998 3 31 PM ...


