8-6
Using Custom and Advanced Features
3
Start Image Expert an described in Chapter 4 and click
View Pictures in the Camera
.
4
Click the
Camera Setup
button
to display the
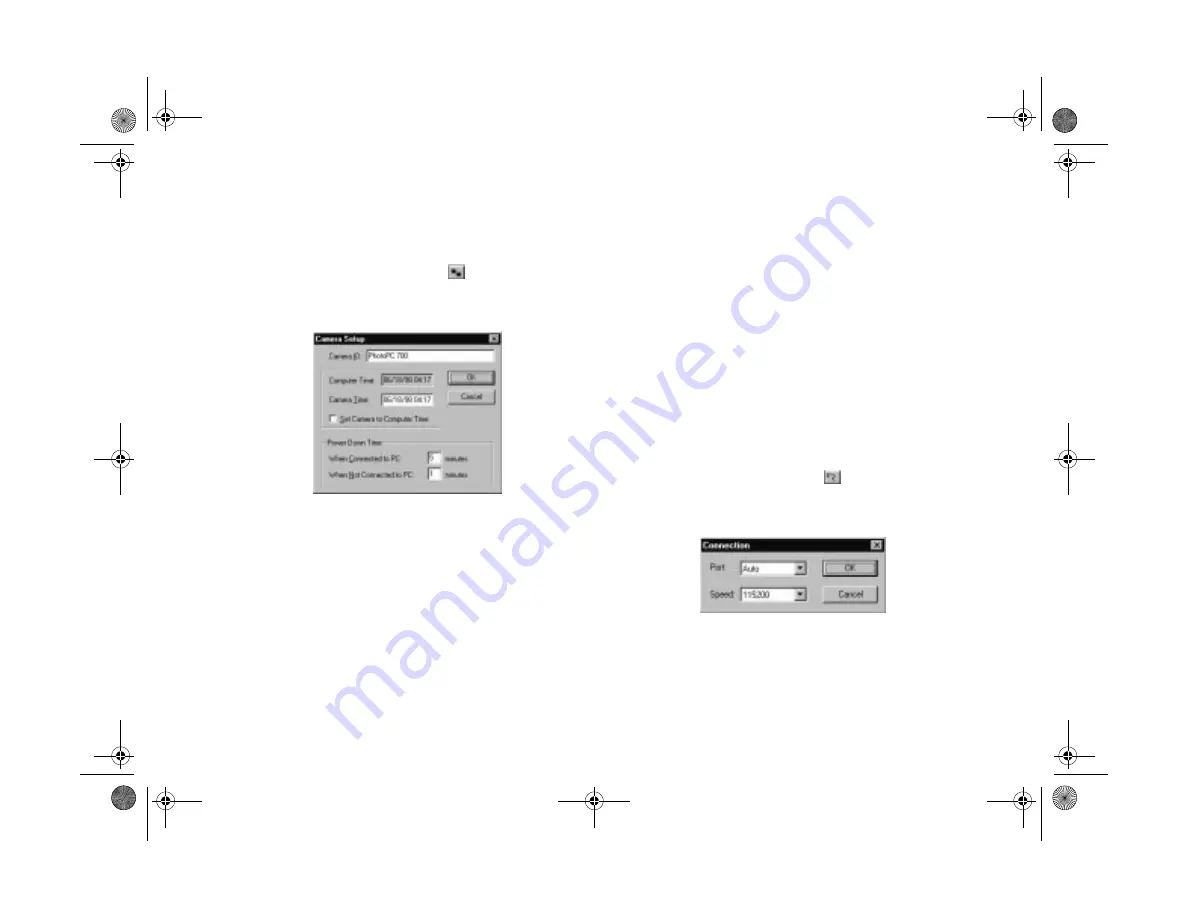
Camera Setup dialog box, as shown below:
◗
Enter a new Camera ID if you want to change the
default. This might be useful if you have more than
one camera and you want to be able to have its ID
recorded in your picture data.
◗
Type in the
Computer Time
and
Camera Time
boxes to change the time and date of either one. Or,
click
Set Camera to Computer Time
to have
your camera automatically synchronized to your
computer.
◗
Enter new values in either of the
Power Down
Time
boxes if you want to change the camera’s
automatic shut-off period.
5
Click
OK
to return to the View Pictures window.
6
If you want to adjust your port settings, click the
Camera Connection
button
. You see the
Connection dialog box:
Popch8.fm5 Page 6 Friday, May 15, 1998 3:13 PM
Summary of Contents for PhotoPC 700
Page 1: ......
Page 2: ...A B Popfm fm5 Page i Friday May 15 1998 2 28 PM ...
Page 66: ...3 14 Playing Back Photos Popch3 fm5 Page 14 Friday May 15 1998 2 48 PM ...
Page 104: ...6 16 Working With Photos and Albums Popch6 fm5 Page 16 Friday May 15 1998 3 02 PM ...
Page 136: ...9 12 Using Your Camera for Presentations Popch9 fm5 Page 12 Friday May 15 1998 3 15 PM ...
Page 164: ...11 20 Printing Directly From the Camera DirectPt fm Page 20 Friday May 15 1998 3 23 PM ...
Page 176: ...12 12 Maintenance and Troubleshooting trouble fm Page 12 Friday May 15 1998 3 28 PM ...
Page 184: ...A 8 Optional Accessories Popapa fm5 Page 8 Friday May 15 1998 3 31 PM ...


