Using Custom and Advanced Features
8-11
A
B
8
Setting the LCD Brightness
To adjust the brightness of the screen, follow these steps:
1
With the Settings menu selected, press the
SELECT
button. Icons for each setting appear on the screen, as
shown on page 8-9.
2
Press the
button until the brightness icon
is
highlighted in orange.
3
Press the
SELECT
button again.
4
Press the
or
buttons to adjust the screen
brightness.
5
When you’re finished adjusting the screen brightness,
press the
SELECT
or
BACK
button to save your setting
and return to the Settings menu.
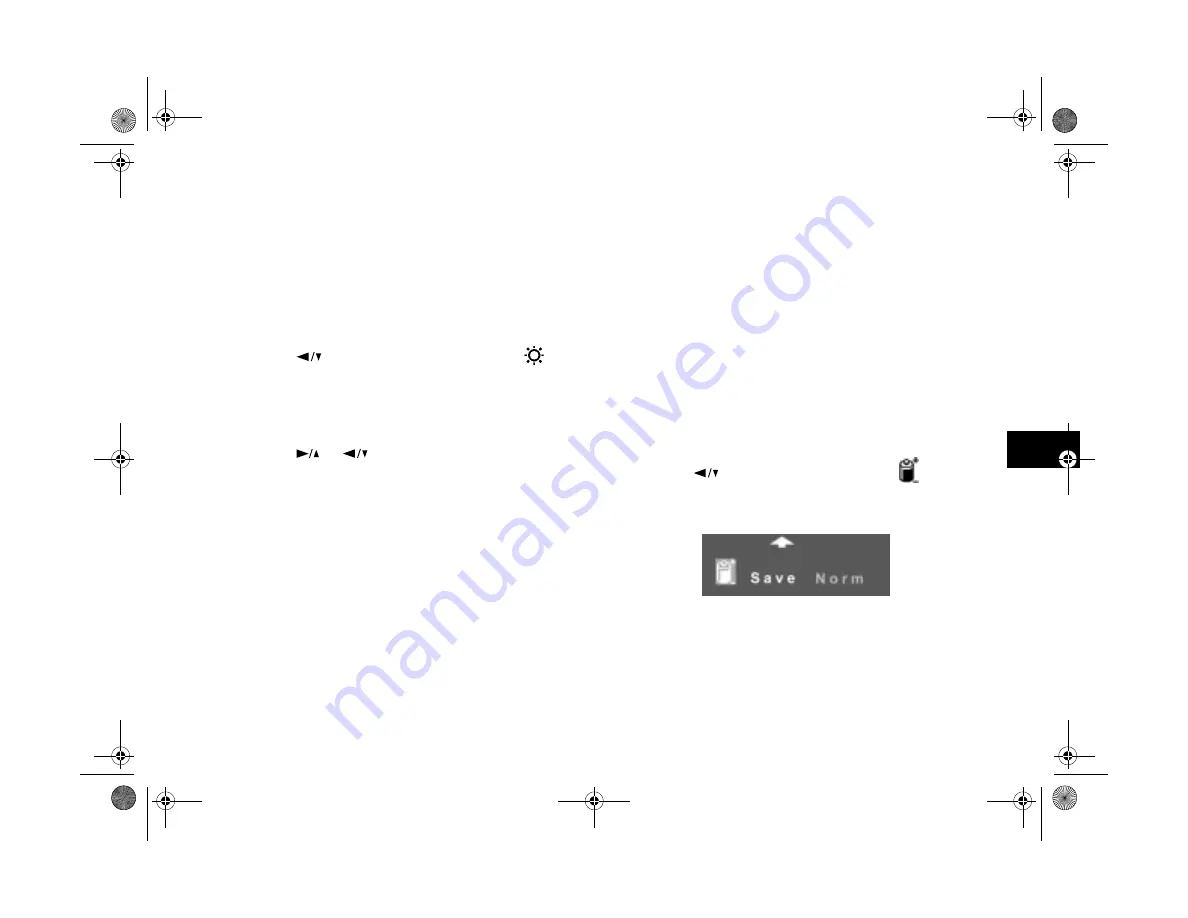
Setting the Power Mode
Your camera is set at the factory to the “Save” power mode.
This means that the camera shuts off automatically after you
take a picture with the LCD screen. You can change the
power setting to “Normal” if you want the camera to remain
on after you take a picture with the screen. Follow these
steps:
1
With the Settings menu selected, press the
SELECT
button. Icons for each setting appear on the screen, as
shown on page 8-9.
Press the
button until the power icon
is
highlighted and the following options appear:
2
Press the
SELECT
button to choose
Save
or
Norm
.
3
Press the
BACK
button to save your setting and return
to the Settings menu.
Popch8.fm5 Page 11 Friday, May 15, 1998 3:13 PM
Summary of Contents for PhotoPC 700
Page 1: ......
Page 2: ...A B Popfm fm5 Page i Friday May 15 1998 2 28 PM ...
Page 66: ...3 14 Playing Back Photos Popch3 fm5 Page 14 Friday May 15 1998 2 48 PM ...
Page 104: ...6 16 Working With Photos and Albums Popch6 fm5 Page 16 Friday May 15 1998 3 02 PM ...
Page 136: ...9 12 Using Your Camera for Presentations Popch9 fm5 Page 12 Friday May 15 1998 3 15 PM ...
Page 164: ...11 20 Printing Directly From the Camera DirectPt fm Page 20 Friday May 15 1998 3 23 PM ...
Page 176: ...12 12 Maintenance and Troubleshooting trouble fm Page 12 Friday May 15 1998 3 28 PM ...
Page 184: ...A 8 Optional Accessories Popapa fm5 Page 8 Friday May 15 1998 3 31 PM ...


