


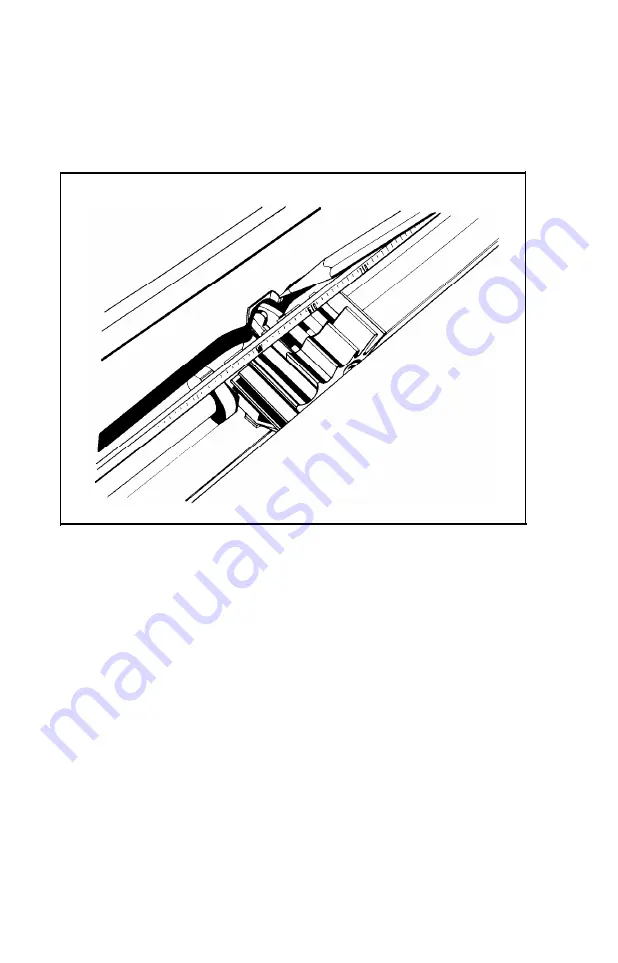
4. The ribbon should slide between the silver ribbon guide and the
print head. If it doesn’t, you can guide the ribbon into place using
the point of a pencil, as shown in Figure
1-7.
(You can also refer to
the diagram on the top of the ribbon cartridge.)
Figure 1-7. Positioning the ribbon
5. With the cartridge in place, again turn the ribbon knob in the direc-
tion of the arrow to tighten the ribbon.
And that’s it-the ribbon is now installed.
Replacing the ribbon...
The FX-286 uses a continuous-loop, inked fabric ribbon. When
printing becomes too light, you'll need to replace the ribbon with a
fresh cartridge. To replace the ribbon, just pull up on the two plastic
tabs on top of the cartridge and lift the cartridge out of the printer. To
install a new ribbon, follow the preceding steps.
4
Loading Continuous-feed Paper
If you plan to use the installed tractor feed unit and continu-
ous-feed paper, set up your FX-286 where the paper can flow freely in
and out of the printer.
1-7
Summary of Contents for FX-286 - Impact Printer
Page 1: ......
Page 2: ......
Page 35: ......
Page 40: ...2 4 ...
Page 48: ...3 8 ...
Page 56: ...4 8 ...
Page 91: ...6 16 ...
Page 118: ...C 10 ...
Page 133: ...Epson Mode Commands G 5 ...
Page 134: ...G 6 ...
Page 166: ...H 4 ...
Page 173: ...International Character Width Table Roman characters Italic characters I 7 ...
Page 174: ...I 8 ...
Page 180: ...J 6 ...
Page 181: ...IBM Proprinter Mode Commands J 7 ...
Page 182: ...J 8 ...
Page 202: ...J 28 ...
Page 208: ...K 6 ...
Page 216: ......
Page 220: ...IBM Mode See Appendix J for detailed explanations of codes Character Width Pitch ...
Page 221: ...Notes ...
Page 223: ......