Epson DFX 9000
Revision B
Troubleshooting
Troubleshooting
106
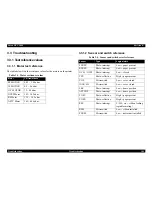
3.3.2 Troubleshooting based on error codes
This section describes troubleshooting based on the error codes that are
displayed when a fatal error occurs.
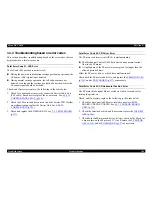
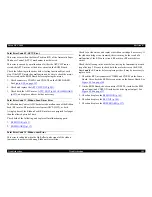
Fatal Error Code 01: LES Error
The left end (LE) position is not detected.
During the power on initialization carriage positioning operation, the
LE Sensor (LES) signal is not detected.
During normal carriage operation, the left end position is not
detected even though the carriage has reached a position where the
LE sensor signal should be detected.
Check, and if necessary replace, the following in the order below.
1. Check for a damaged or incorrectly-connected Carrier Cable Unit
(FFC cable). Reconnect or replace the as necessary. See
4.2.4.16
CARRIER CABLE UNIT (p.189)
.
2. Check the LE sensor and its connector, and the Carrier PCB. If either
are malfunctioning, replace the Carrier Unit. See
4.2.4.17
CARRIER UNIT (p.191)
.
3. Check and replace the ROM BOARD. See
4.2.3.2 ROM BOARD
(p.137)
.
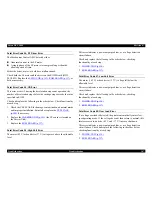
Fatal Error Code 02: CR Driver Error
The SP motor or driver circuit (IC18) is malfunctioning.
The Mechanism Control ASIC has detected an abnormal current
flow to the SP motor.
A single phase of the SP motor was energized for longer than the
allowed period of time.
Either the SP motor, driver, or both have malfunctioned.
Check both the SP motor and driver, and replace the
SP MOTOR ASY
(p.156)
, and/or
ROM BOARD (p.137)
as necessary.
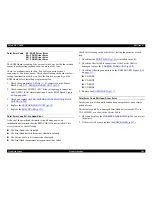
Fatal Error Code 03: CR Horizontal Position Error
The SP motor brake signal did not switch on within 3 seconds after
turning the printer on.
Check, and if necessary replace, the following in the order below.
1. Check for disconnected SP motor-related connectors (ROM
BOARD: CNSPHS, CNSPM), See
4.2.3.3 SENSOR BOARD
UNIT (p.139)
.
2. Check the Interlock switch, and if necessary replace the
INLK SW
ASY (p.146)
.
3. Check both the SP motor and driver. (Always check both.) Check for
a broken fuse on the SP motor 42 V line. Replace the
SP MOTOR
ASY (p.156)
, and/or
ROM BOARD (p.137)
as necessary.
Summary of Contents for DFX-9000
Page 1: ...EPSONDFX 9000 Serial Impact Dot Matrix Printer SEDM04003 SERVICE MANUAL ...
Page 8: ...C H A P T E R 1 PRODUCT DESCRIPTION ...
Page 61: ...Epson DFX 9000 Revision B Product Description Dimensions and weight 54 ...
Page 62: ...C H A P T E R 2 OPERATING PRINCIPLES ...
Page 99: ...Epson DFX 9000 Revision B Operating Principles Circuit operation 92 ...
Page 100: ...C H A P T E R 3 TROUBLESHOOTING ...
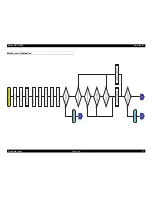
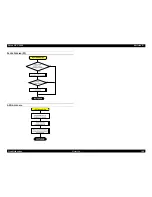
Page 104: ...Epson DFX 9000 Revision B Troubleshooting Overview 97 Mechanism initialization e e e e e ...
Page 107: ...Epson DFX 9000 Revision B Troubleshooting Overview 100 PAPER FEEDING FF APG APPROACH ...
Page 130: ...C H A P T E R 4 DISASSEMBLY AND ASSEMBLY ...
Page 218: ...C H A P T E R 5 ADJUSTMENT ...
Page 263: ...Epson DFX 9000 Revision B Adjustment Additional functions 256 ...
Page 264: ...C H A P T E R 6 MAINTENANCE ...
Page 286: ...C H A P T E R 7 APPENDIX ...
Page 297: ......
Page 298: ......
Page 299: ......
Page 300: ......
Page 301: ......
Page 302: ......
Page 303: ......
Page 304: ......
Page 305: ......
Page 306: ......
Page 307: ......
Page 308: ......
Page 309: ......
Page 310: ......
Page 311: ......
Page 312: ......
Page 313: ......
Page 314: ......
Page 315: ......
Page 316: ......
Page 317: ......
Page 318: ......
Page 319: ......
Page 320: ......
Page 321: ......
Page 322: ......
Page 323: ......
Page 324: ...EPSON DFX 9000 Revision B Appendix Component Layout 317 7 4 Component Layout ...
Page 333: ...EPSON DFX 9000 Revision B Appendix Parts list 326 ...

