Epson Artisan 700/Epson Stylus Photo PX700W/TX700W
Revision C
DISASSEMBLY/ASSEMBLY
Disassembly Procedures
105
Confidential
4.2.2.3 Hinge
Parts/Components need to be removed in advance:
ADF Unit Scanner Unit
Removal procedure
1.
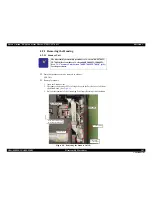
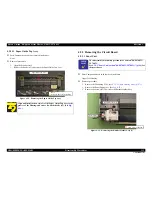
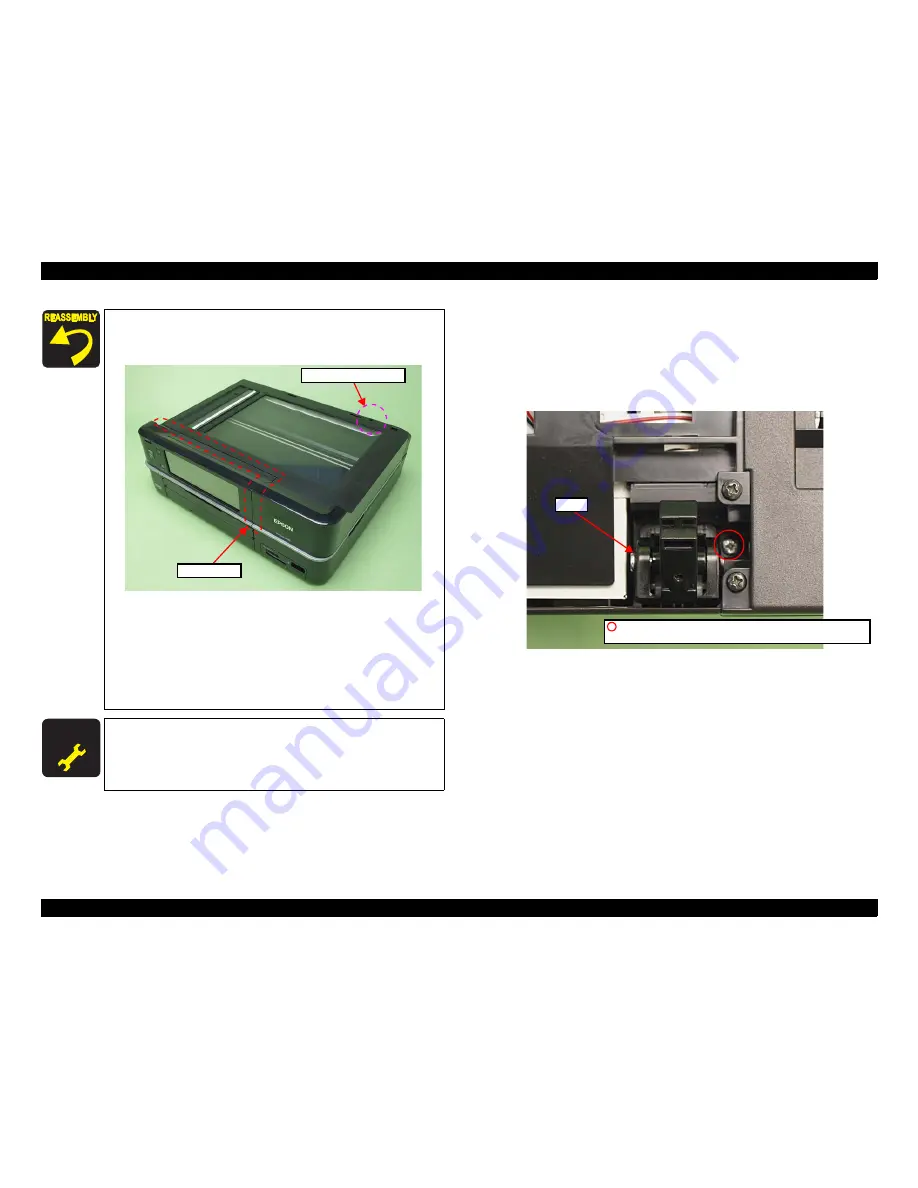
Remove the screw (x1) that secures the Hinge and remove the Hinge.
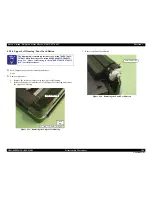
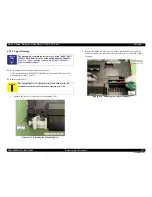
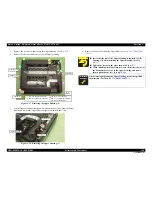
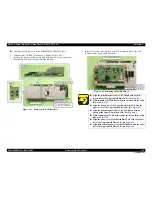
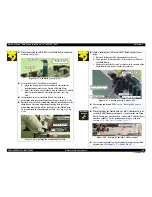
Figure 4-12. Removing the Hinge
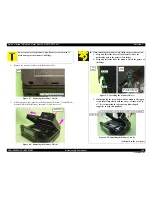
4. Close the Scanner Unit.
5. Tighten the screw (x1) finally after making sure that there
is no gap between the Scanner Unit and the printer.
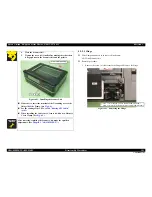
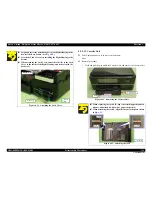
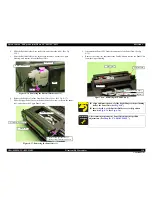
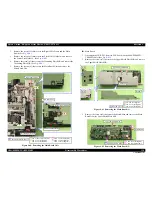
Figure 4-11. Installing the Scanner Unit
Make sure to insert the terminal of the Grounding wire to the
fixing rib of the Frame. (See
Fig. 4-6
.)
For the routing of the FFCs, see
4.4 "Routing FFC/cables"
(p202)
.
When installing the Cable Cover, secure it with a new Harness
Cover Clamp. (See
Fig. 4-3
.)
A D J U S T M E N T
R E Q U I R E D
After removing/replacing the Scanner Unit, make the specified
adjustments. (See
Chapter 5 "ADJUSTMENT"
.)
Screw (Final tightening)
Check the gap
Hinge
C.B.P. 3x10 (6±1Kgfcm)(Artisan 800/PX800FW/TX800FW)
C.B.P. 3x12 (black) (6±1Kgfcm)(Artisan 700/PX700W/TX700W)
Summary of Contents for Artisan 700 Series
Page 7: ...Confidential C H A P T E R 1 PRODUCTDESCRIPTION ...
Page 42: ...Confidential C H A P T E R 2 OPERATINGPRINCIPLES ...
Page 48: ...Confidential C H A P T E R 3 TROUBLESHOOTING ...
Page 189: ...Confidential C H A P T E R 5 ADJUSTMENT ...

